Quickstart
The quickest way to engage with ssv network is to distribute and register your validator. Feel free to start with Testnet and then proceed to Mainnet.
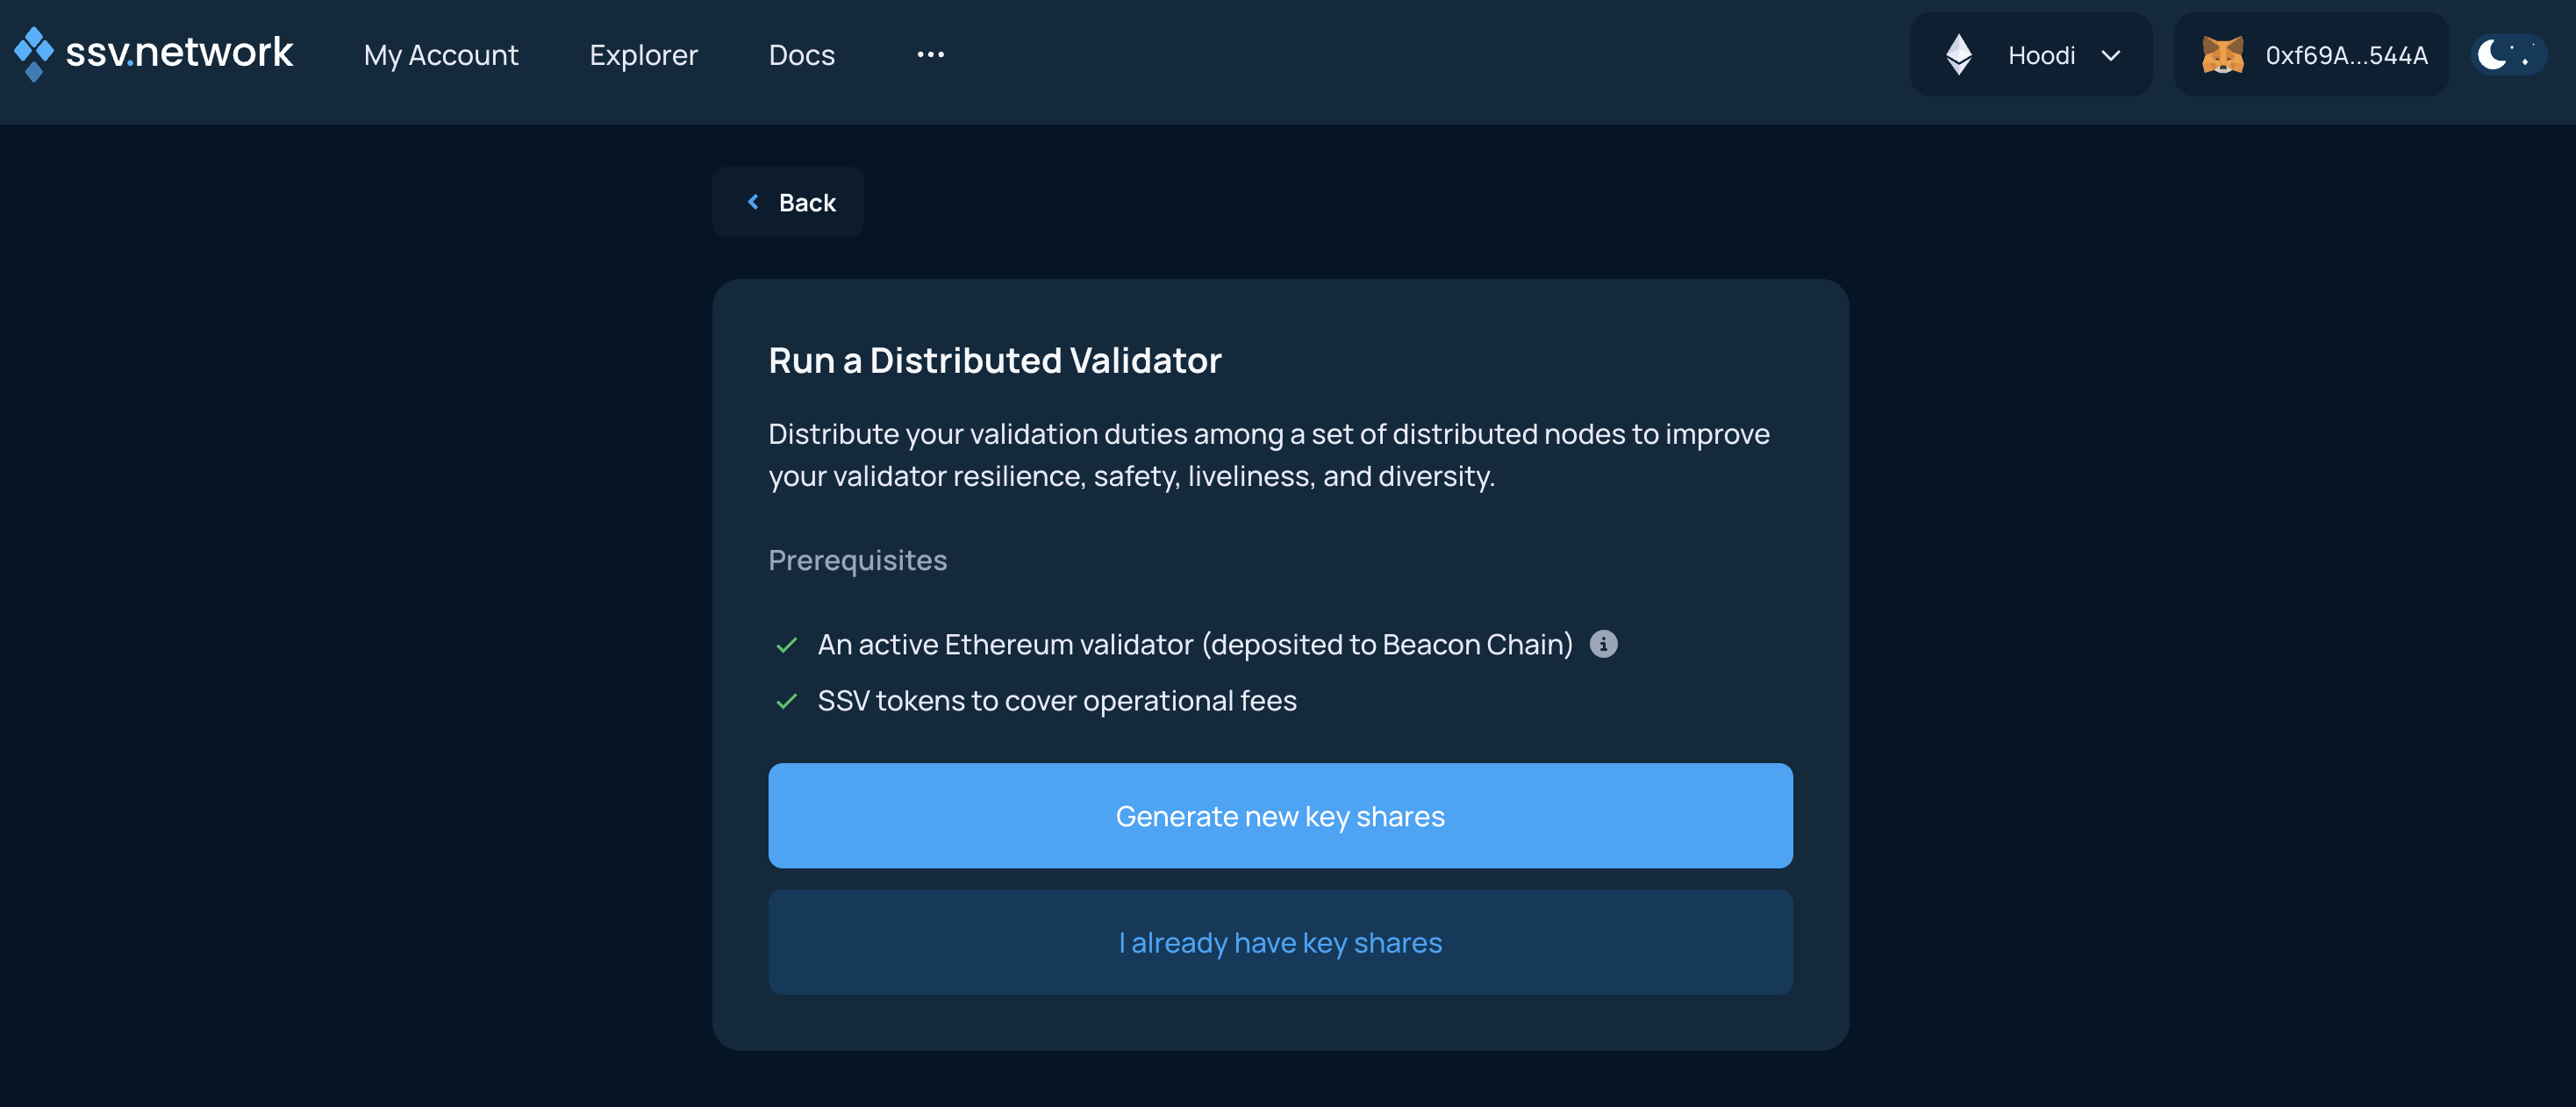
In order to run a validator, you'll need to be in possession of its keys, have made the deposit to the Deposit Contract to activate it, and own the necessary amount of ETH to cover operational costs.
To learn how to create a new set of validator keys and activate them, please refer to this guide.
Overview
At a high level, here is what involved in distributing your validator:
- Connect your wallet
- Select Operators
- Split your validator key
- Set the cluster runway
- Deposit ETH to finalize
Connect your Web3 wallet to WebApp
Make sure to connect your Web3 wallet with the WebApp, and that the address corresponds with the one you want to manage your Validators with.
Your account is associated with your Web3 wallet. This wallet will be the owner, so having access to it is vital. It can only be changed by removing validator and register using a new wallet.
When creating a new account, you can Create a new cluster for your validators.
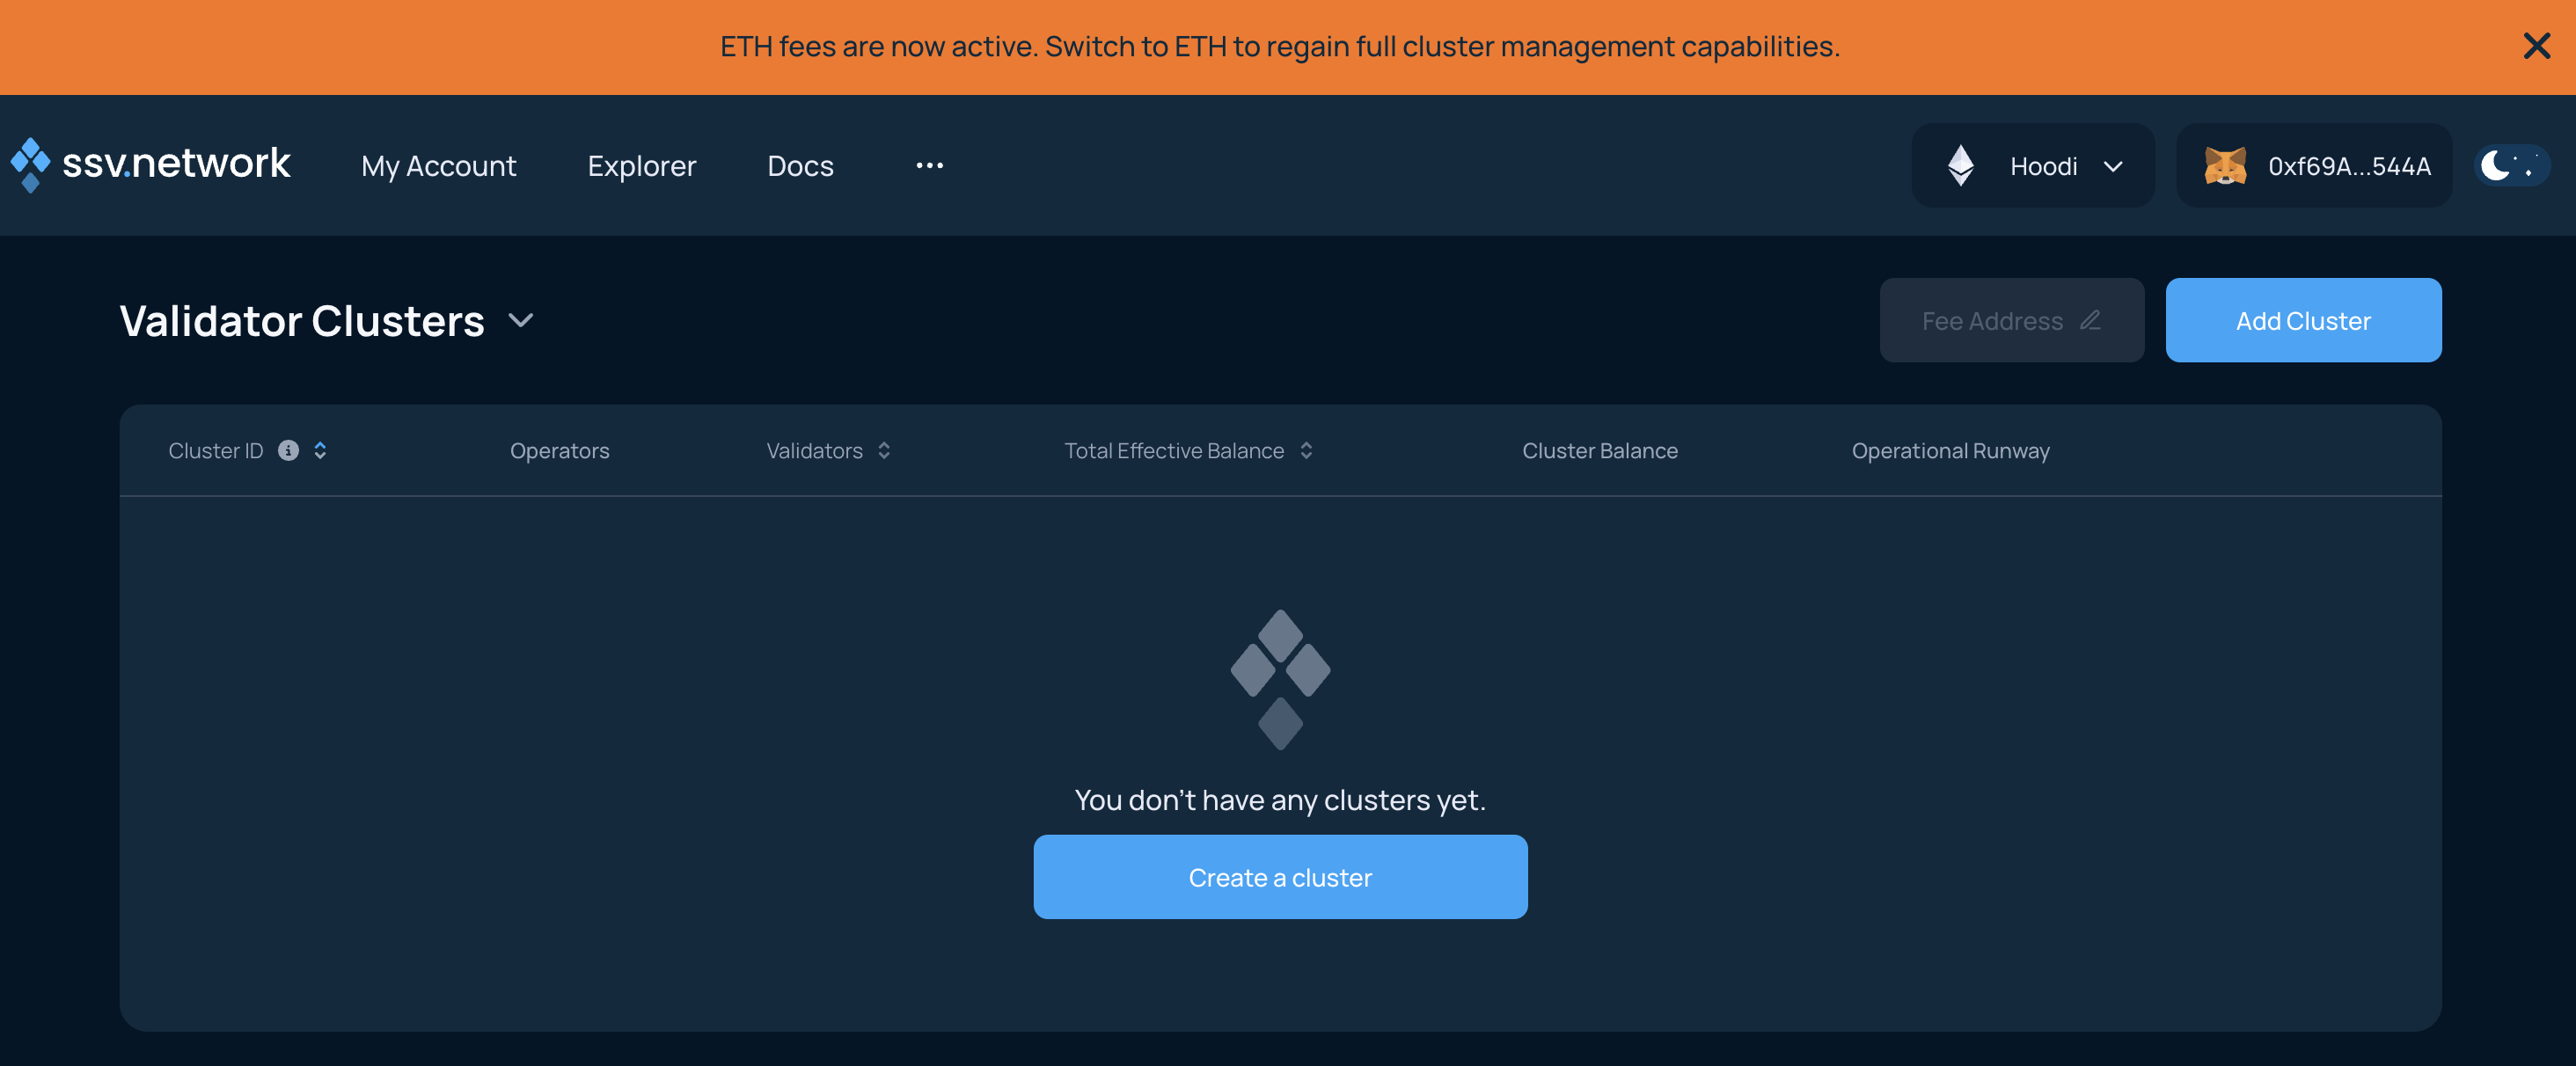
Accept the disclaimer by clicking Next if you have all the pre-requisites.
Select operators
Now, select four operators to manage your validator. Please note the Yearly Fee for the setup you created before hitting the Next button.
Important: Verified Operators (VOs) are operators that have been granted the Verified status by the DAO for completing KYC and providing consistent high-quality service. You can sort the operator list by their daily performance, yearly fee, and # of validators they manage. You can also filter to view only Verified Operators.

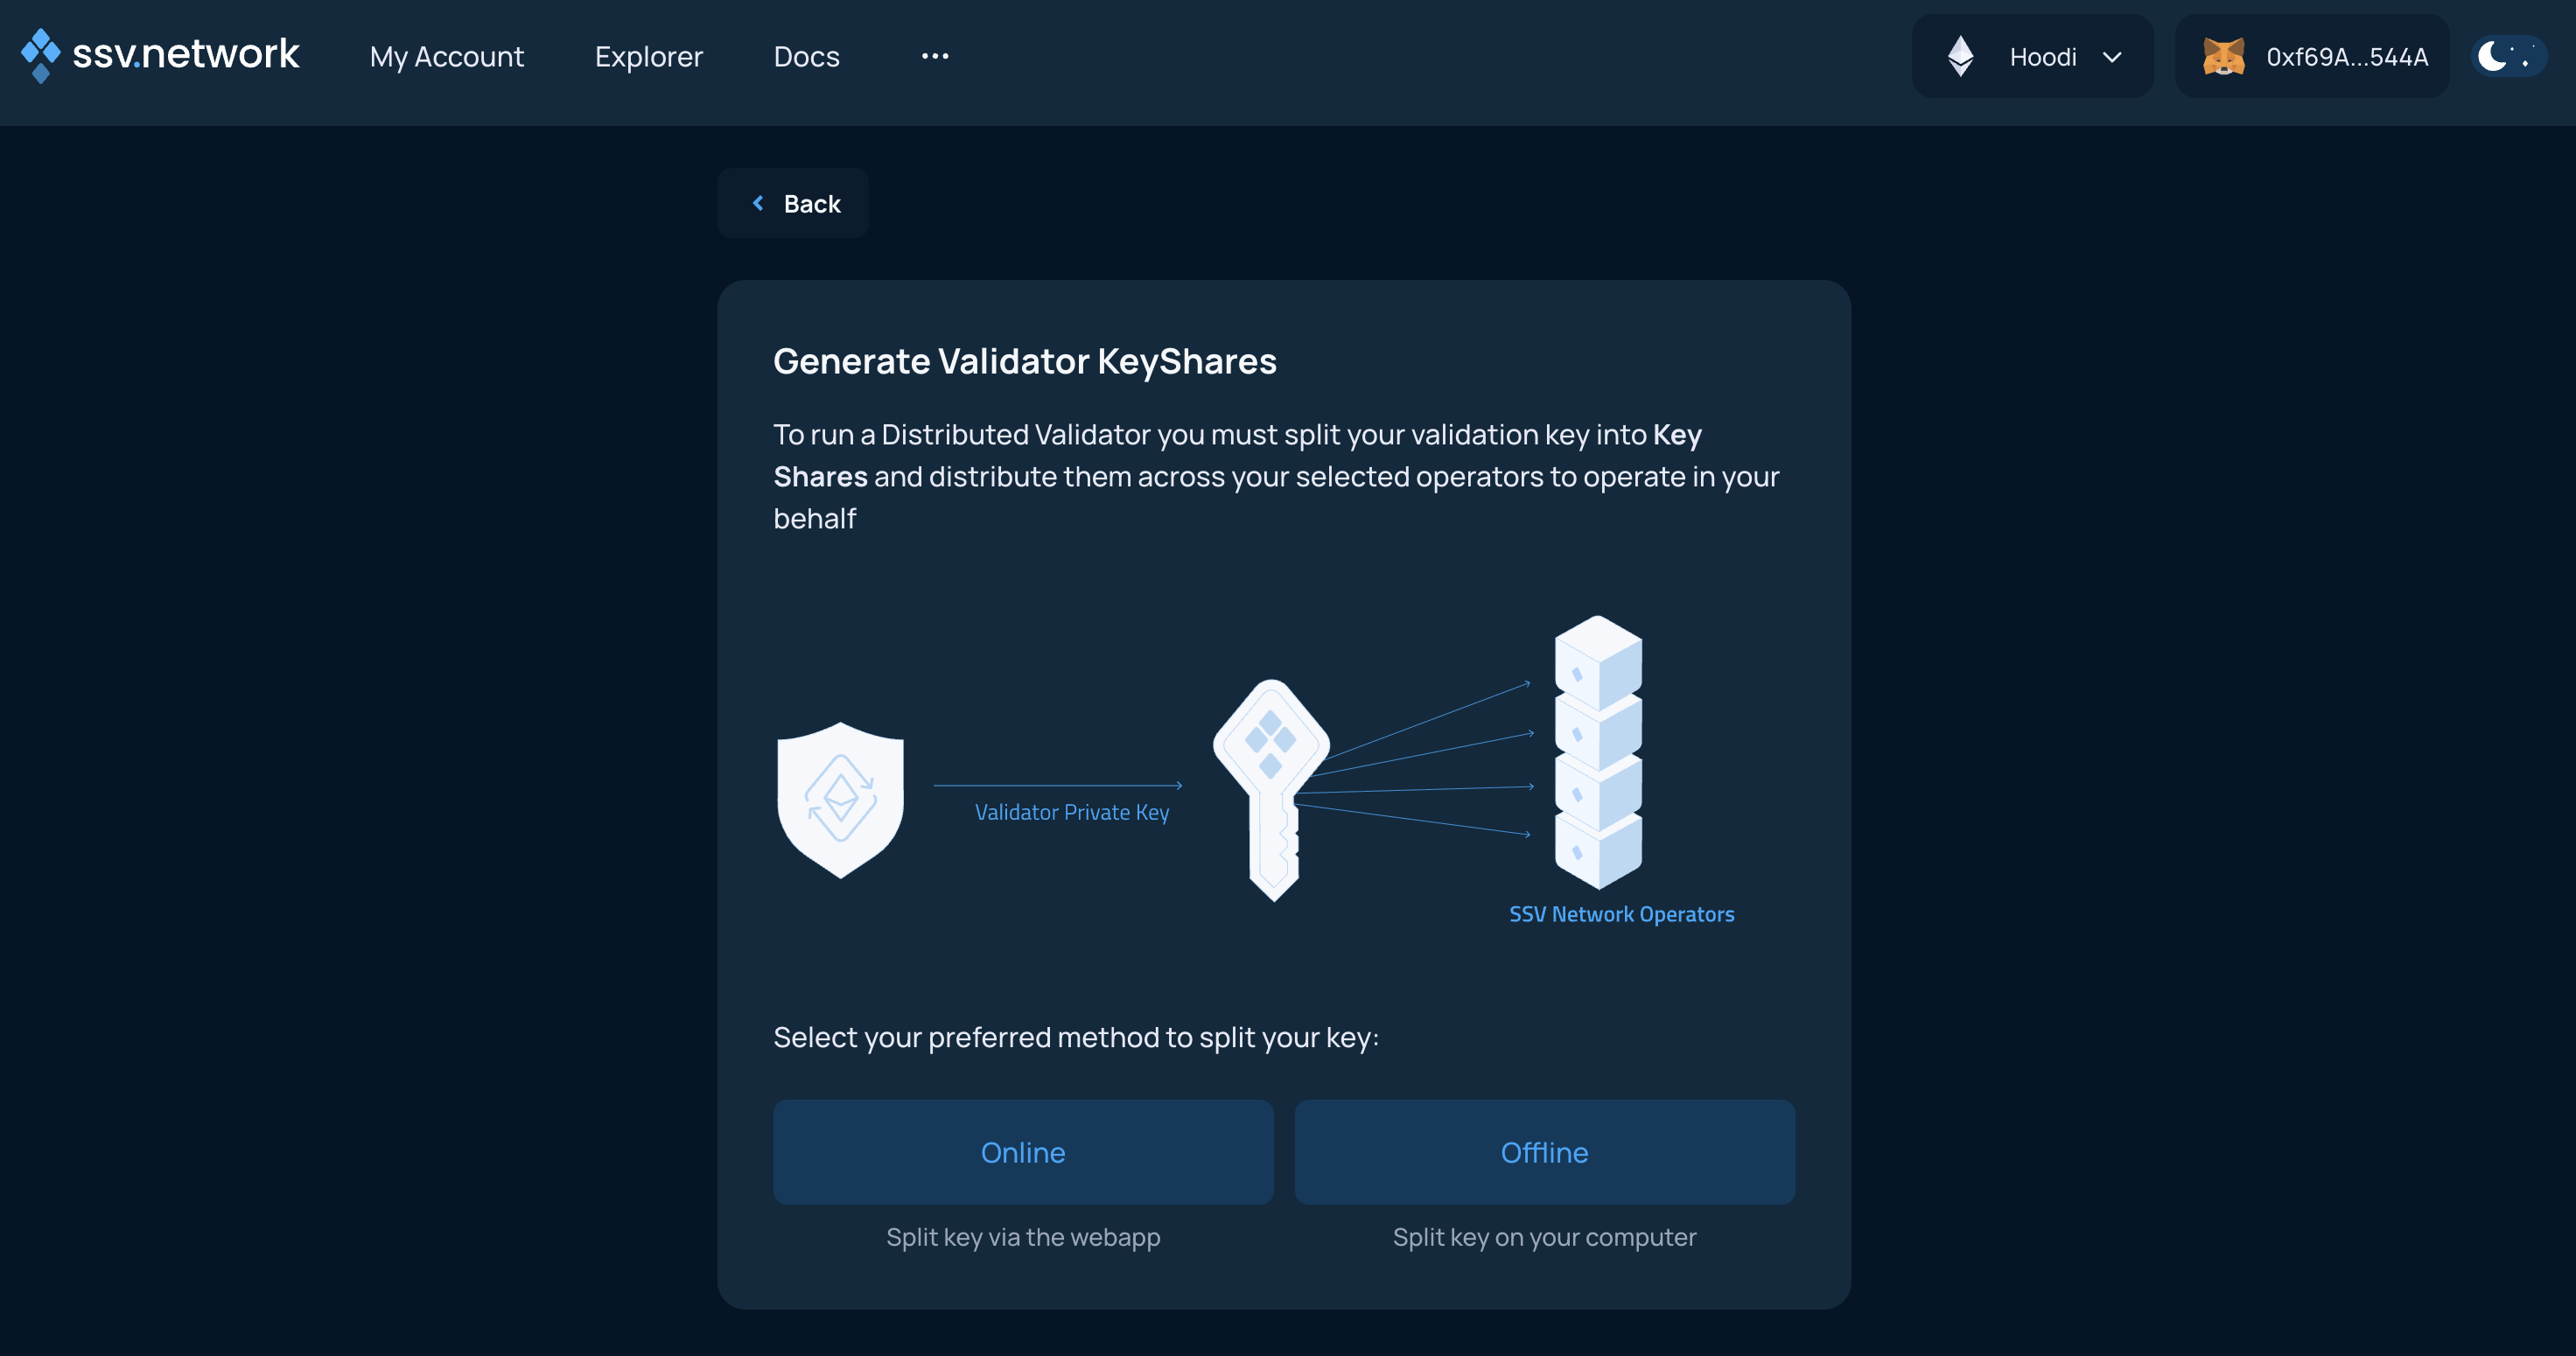
Key splitting
The next screen will allow you to generate KeyShares for your validator key.
- On Testnet, this can be done Online, directly on the WebApp, or Offline, on your computer.
- On Mainnet, only the Offline option is available.
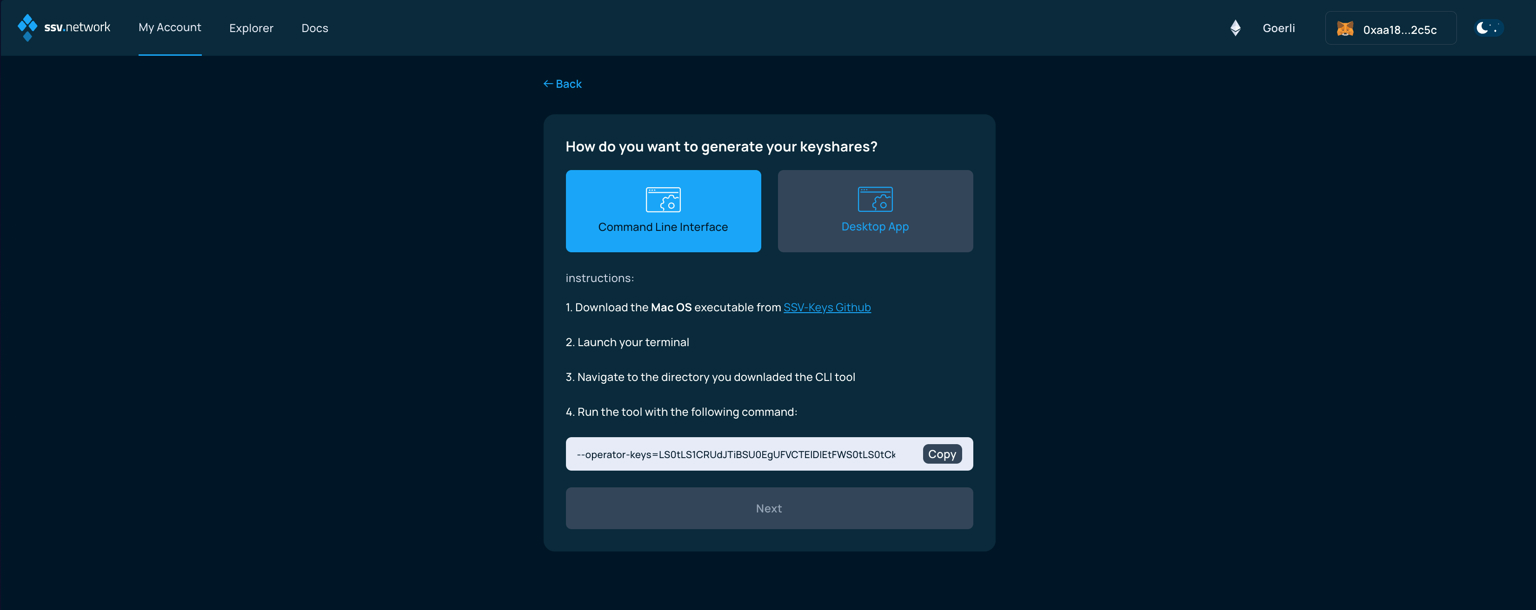
- Offline Key Splitting
- Online Key Splitting
Offline key splitting is the most secure option, although less convenient, as it requires running a command line tool. For more information, refer to the specific User Guide on how to use the ssv-keys CLI tool.
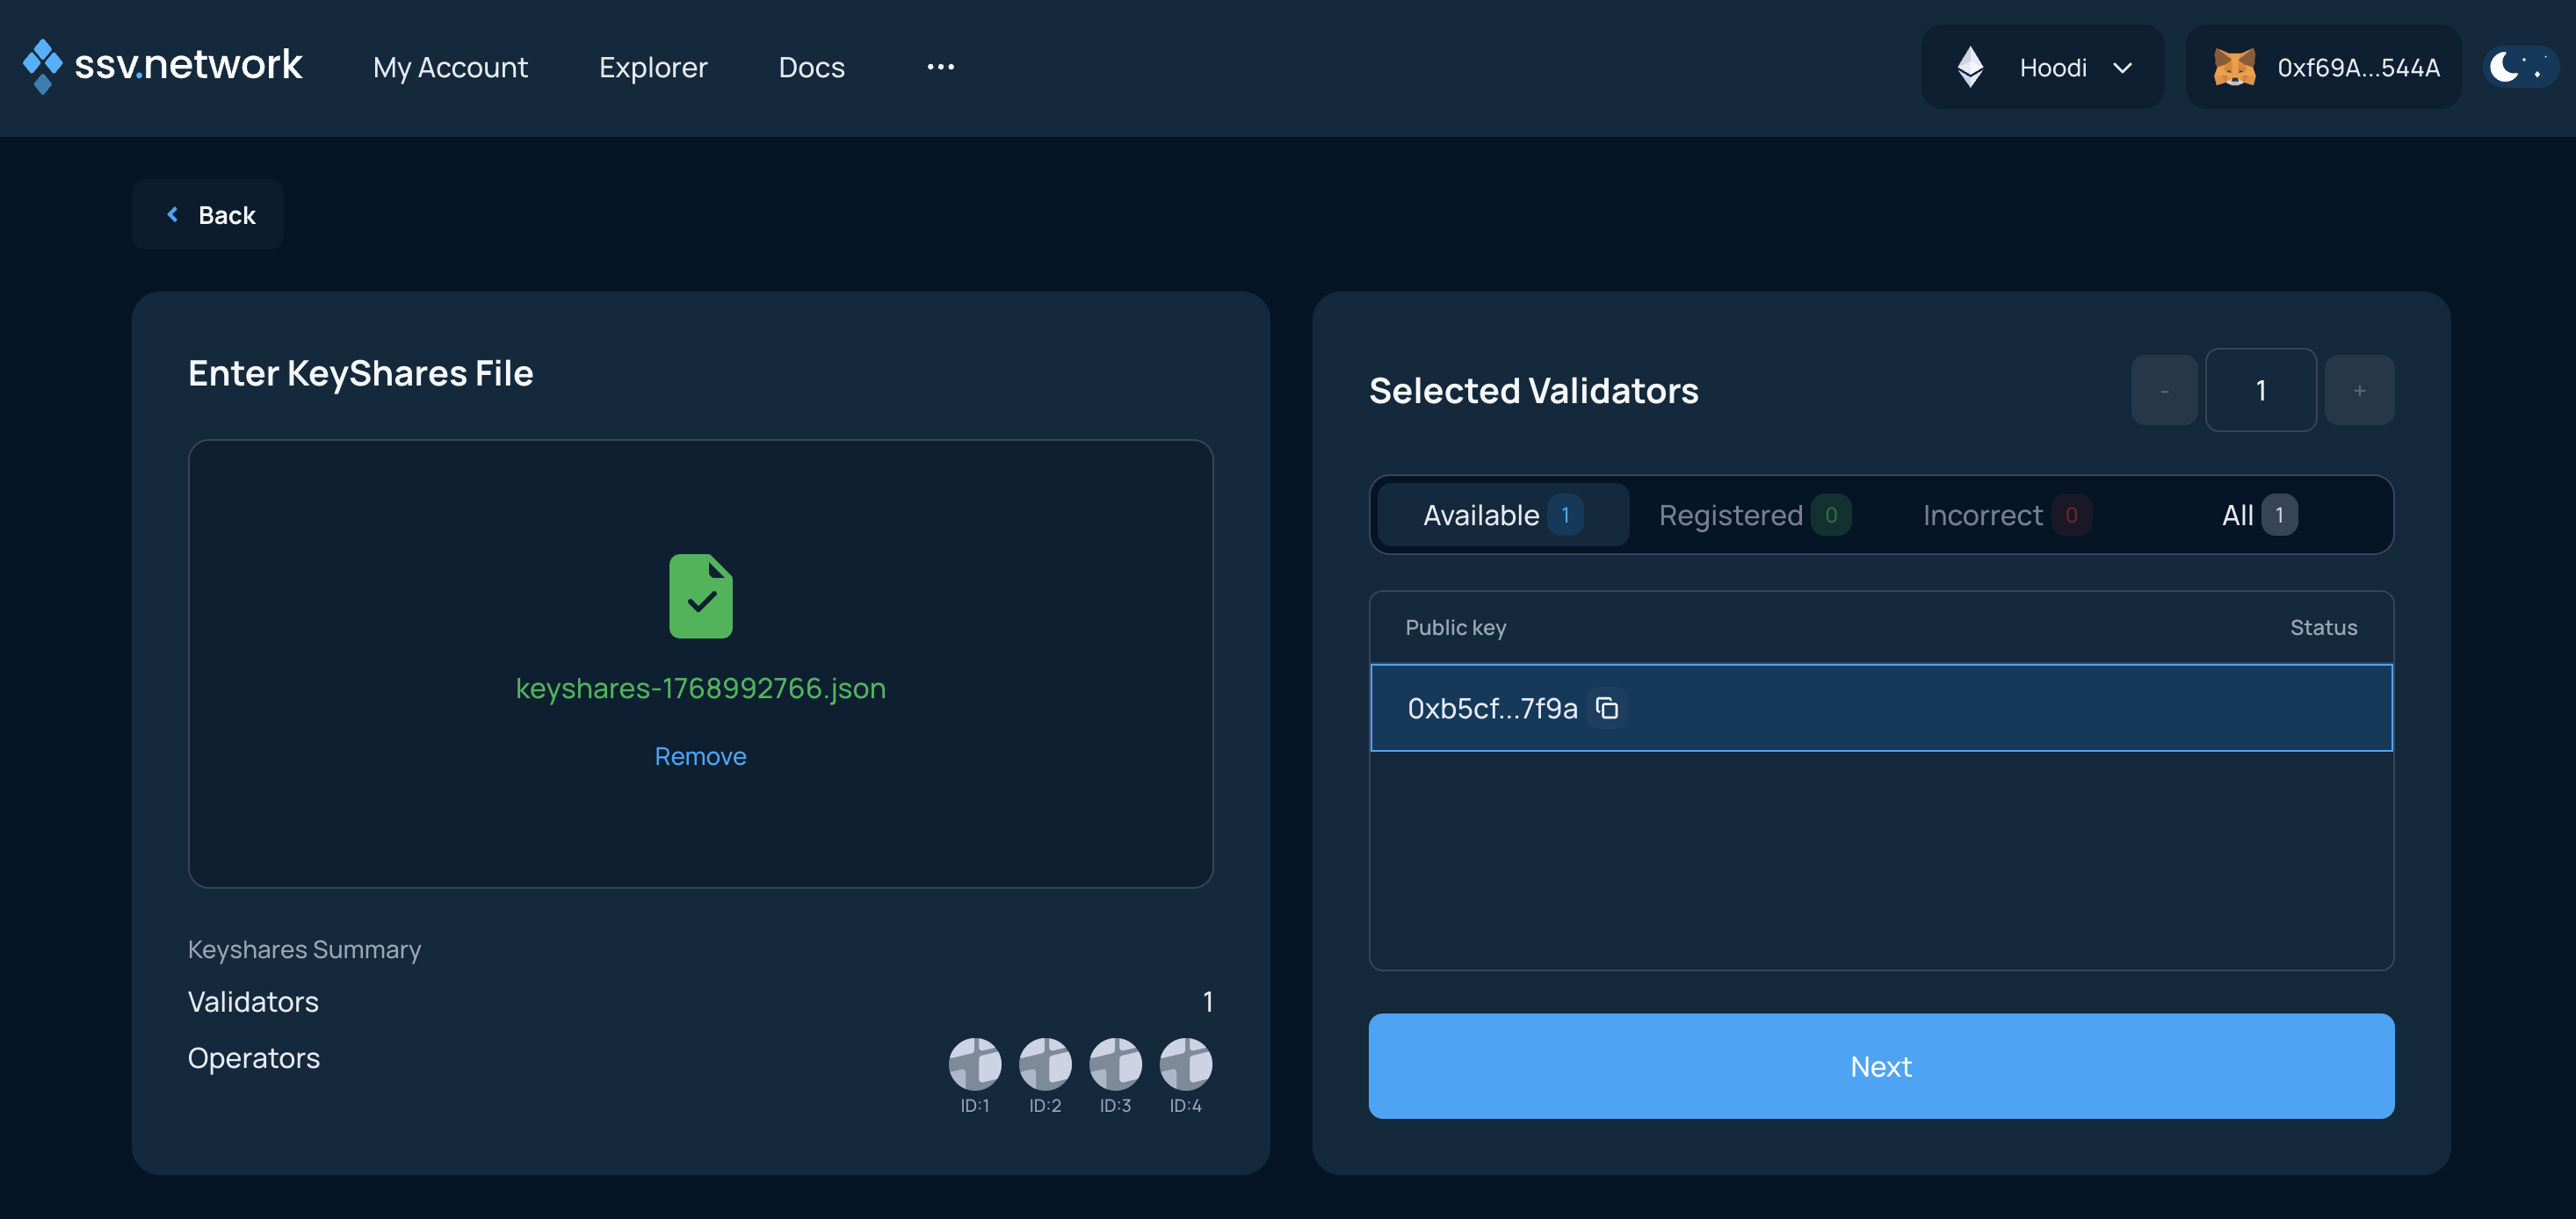
If the Offline option was selected, please follow the indications and upload the generated keyshares-[DATE]-[TIME].json file in the following screen.
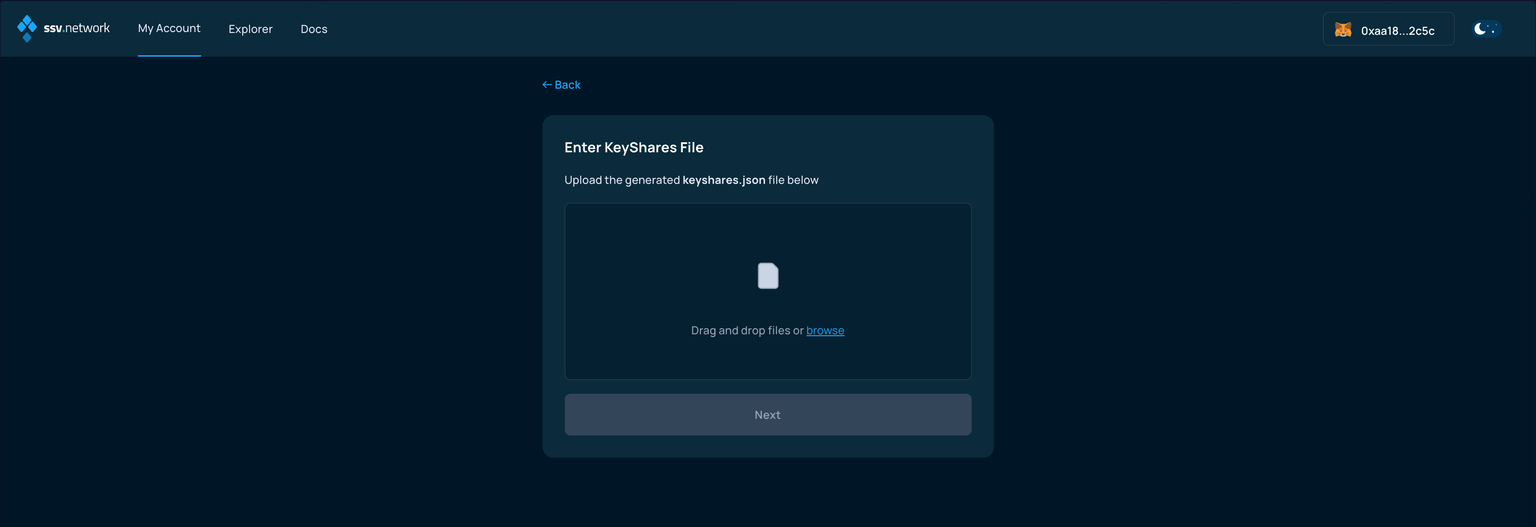
Once uploaded, if successfully validated, advance to the next screen clicking Next.
Online key splitting presents a convenient option, especially for those not familiar with the console, or command line clients.
This is not considered safe and is only available on testnet for testing purposes.
Please never perform a Online key splitting on testnet, with a private key that you intend to use on mainnet.
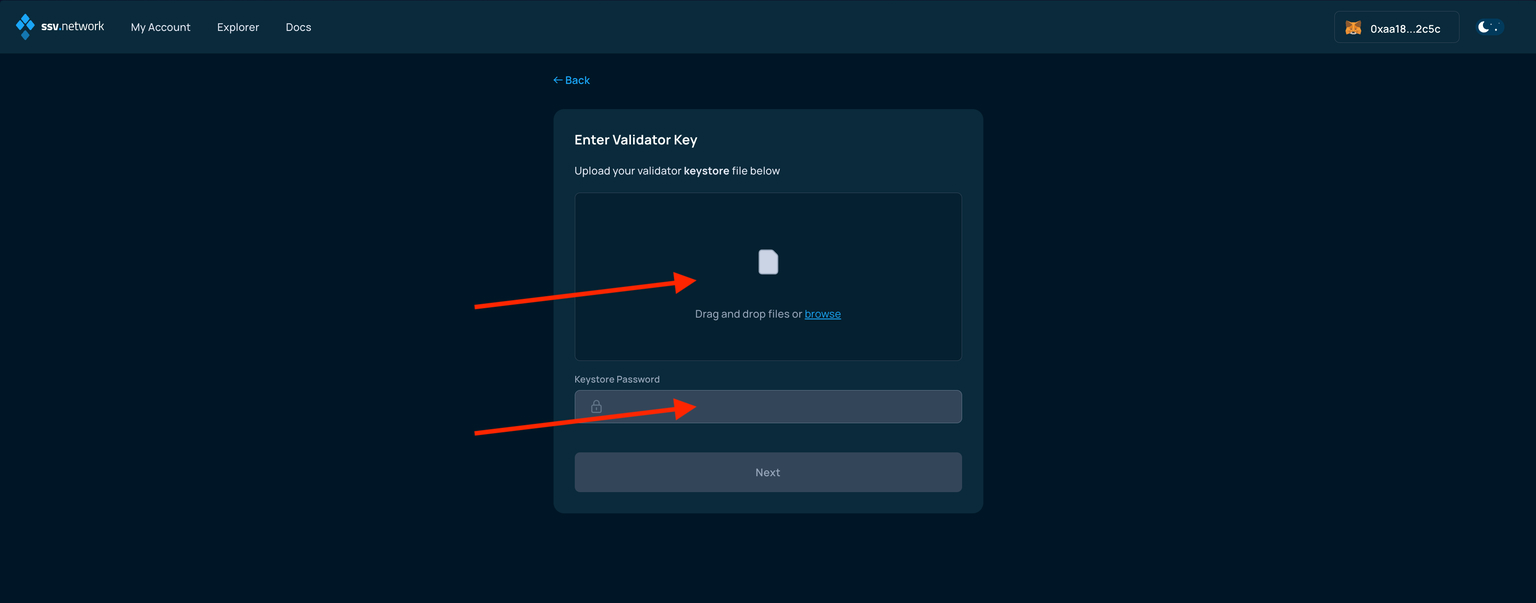
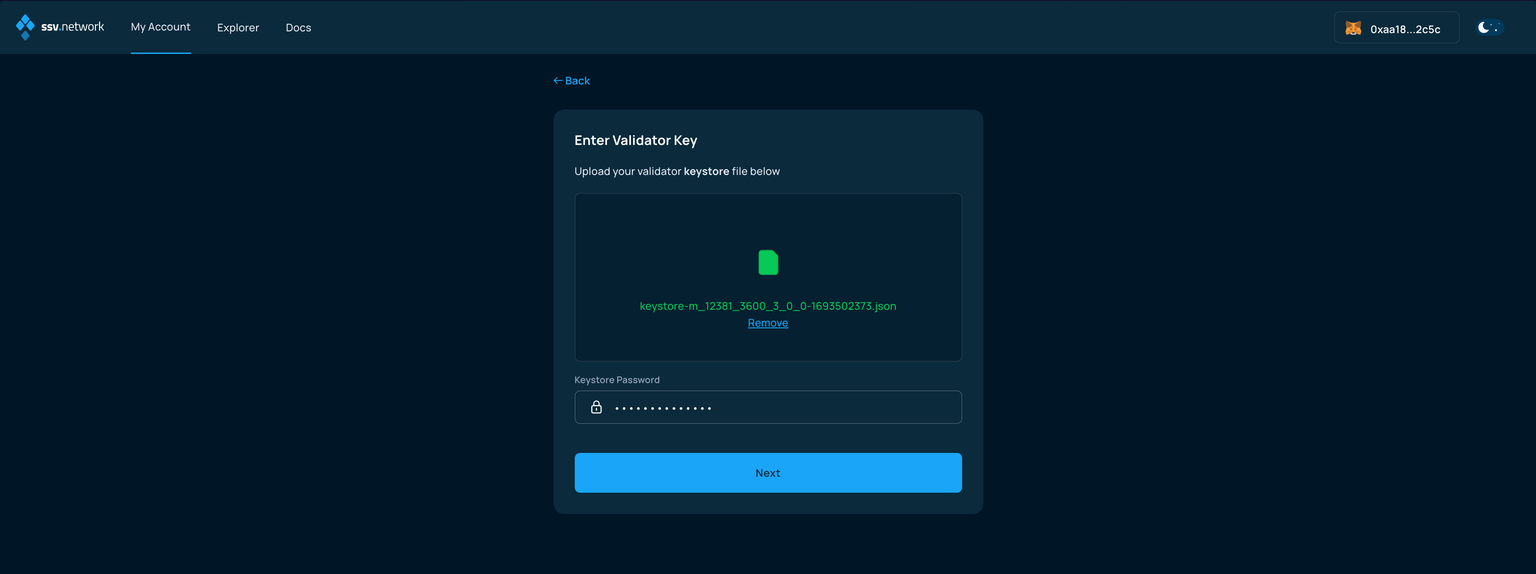
If the Online option is chosen, the next screen allows you to upload the Validator key (file named keystore) and enter the password to decrypt it.
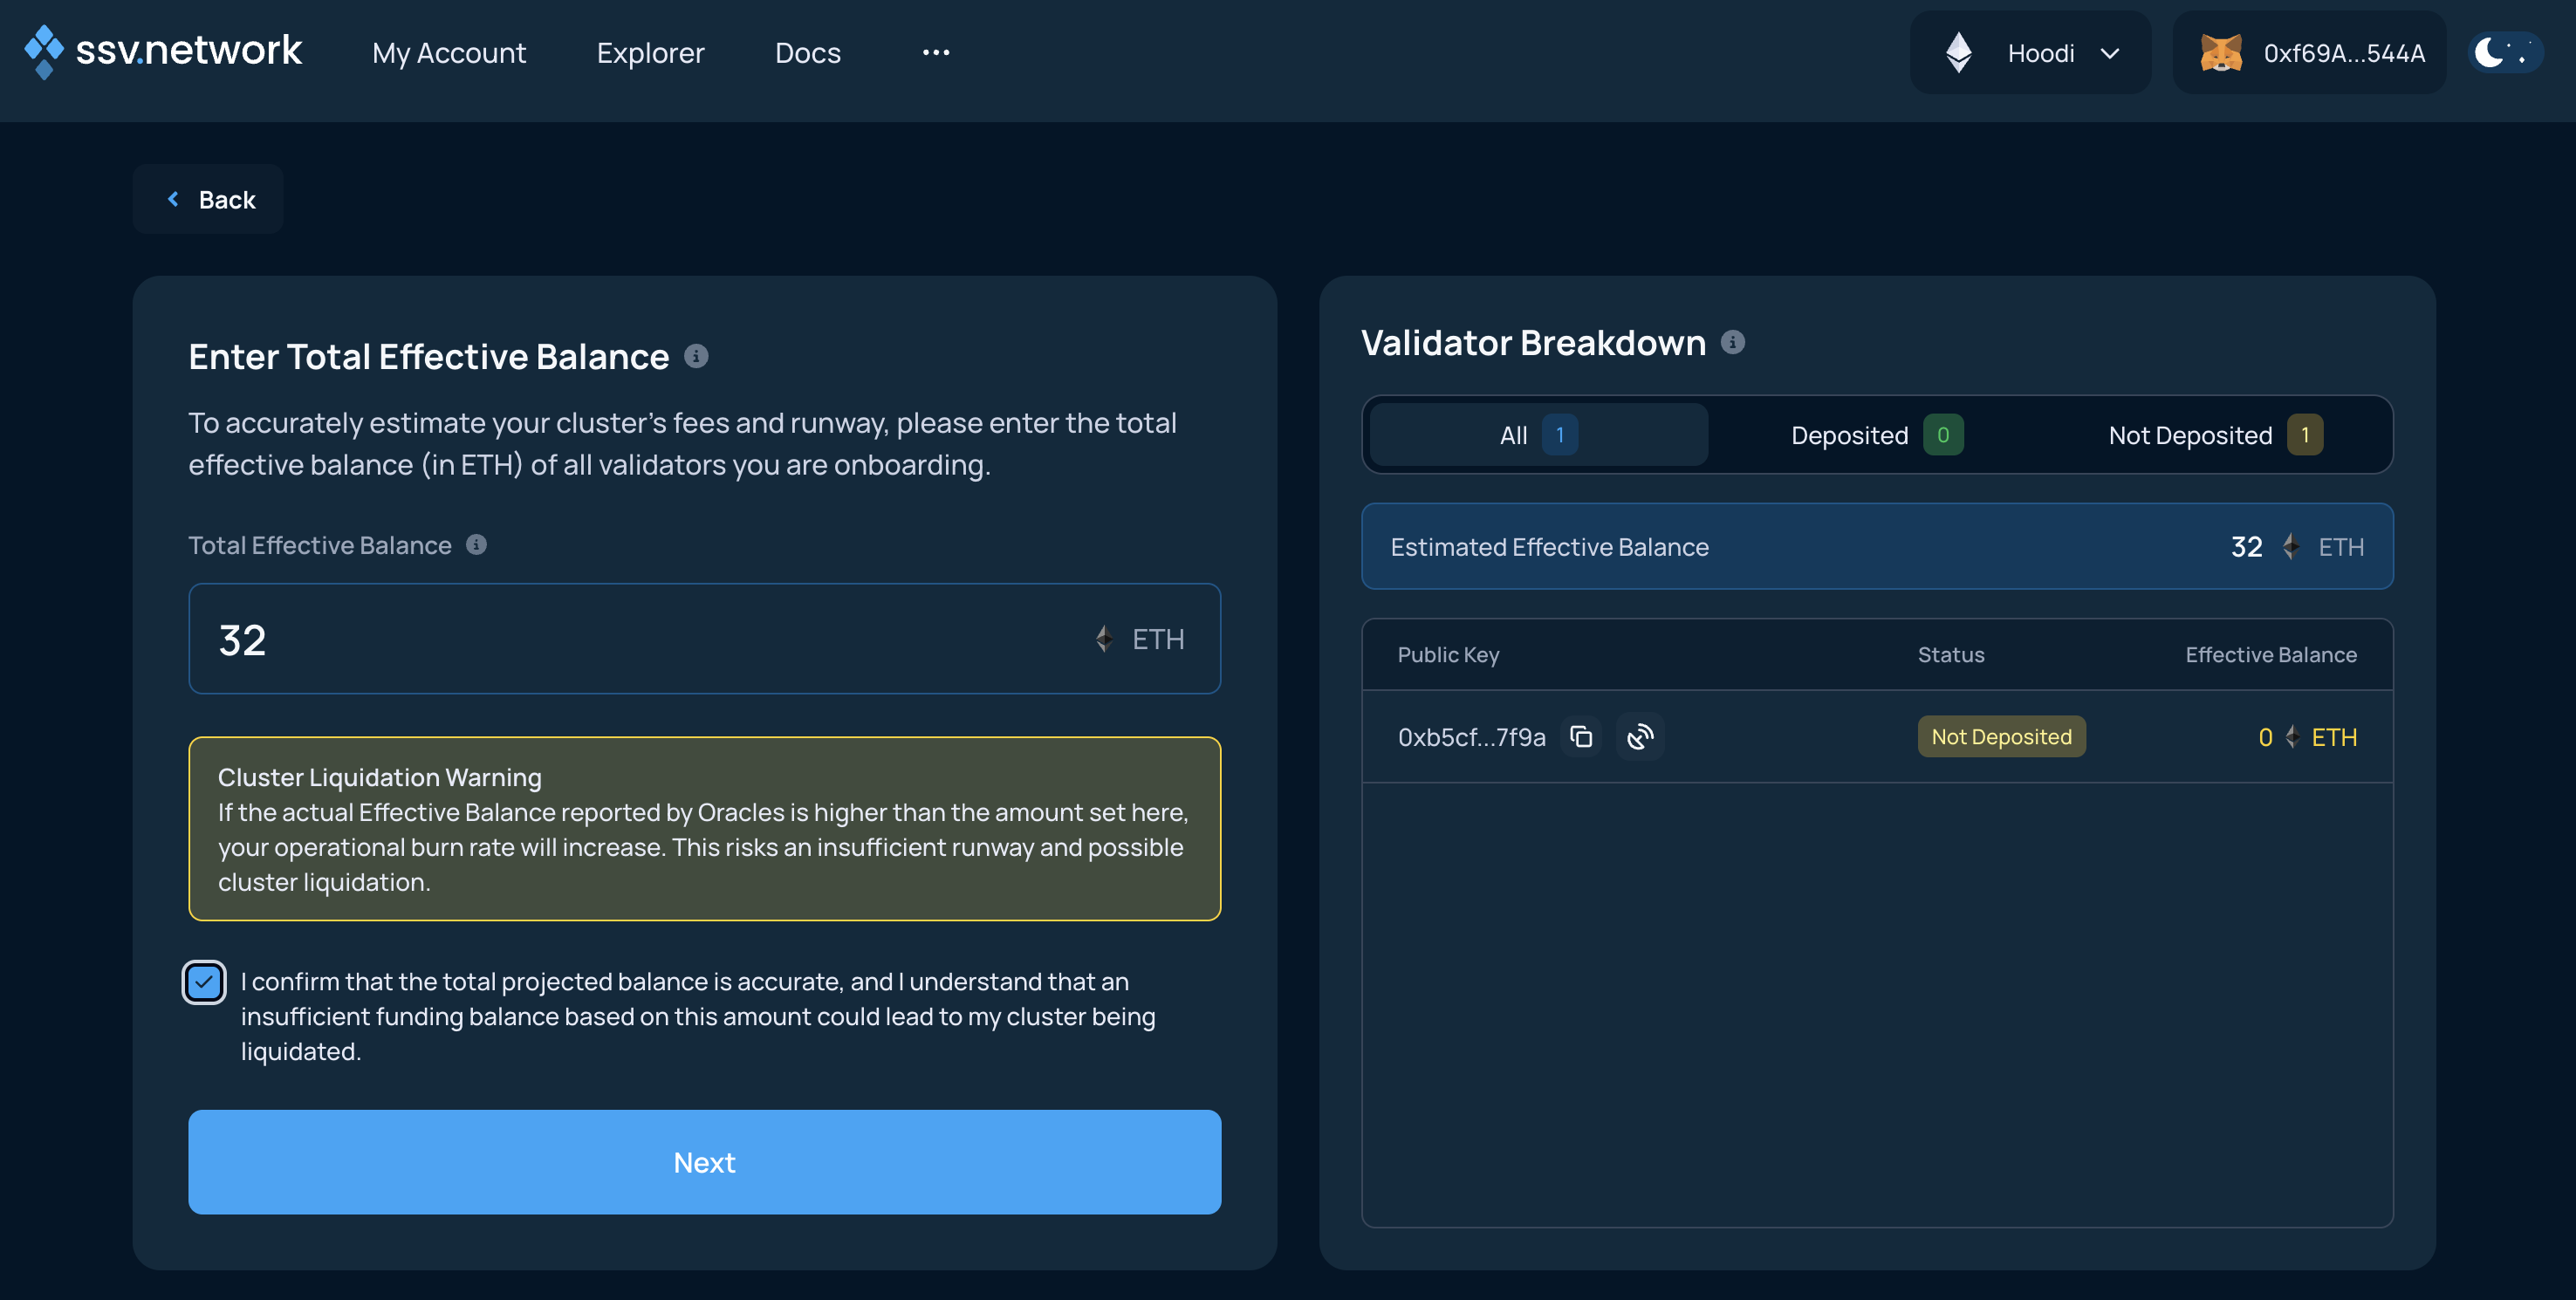
Effective Balance input
For accurate runway estimation, you need to manually input the Effective Balance of your validators. If this won't be done, it will be defaulted to each validator having 32 ETH balance. You can read more about Effective Balance accounting for detailed calculations of fees.
Read the warning on the page, input your Effective Balance and proceed to the next step.
Validator operational runway
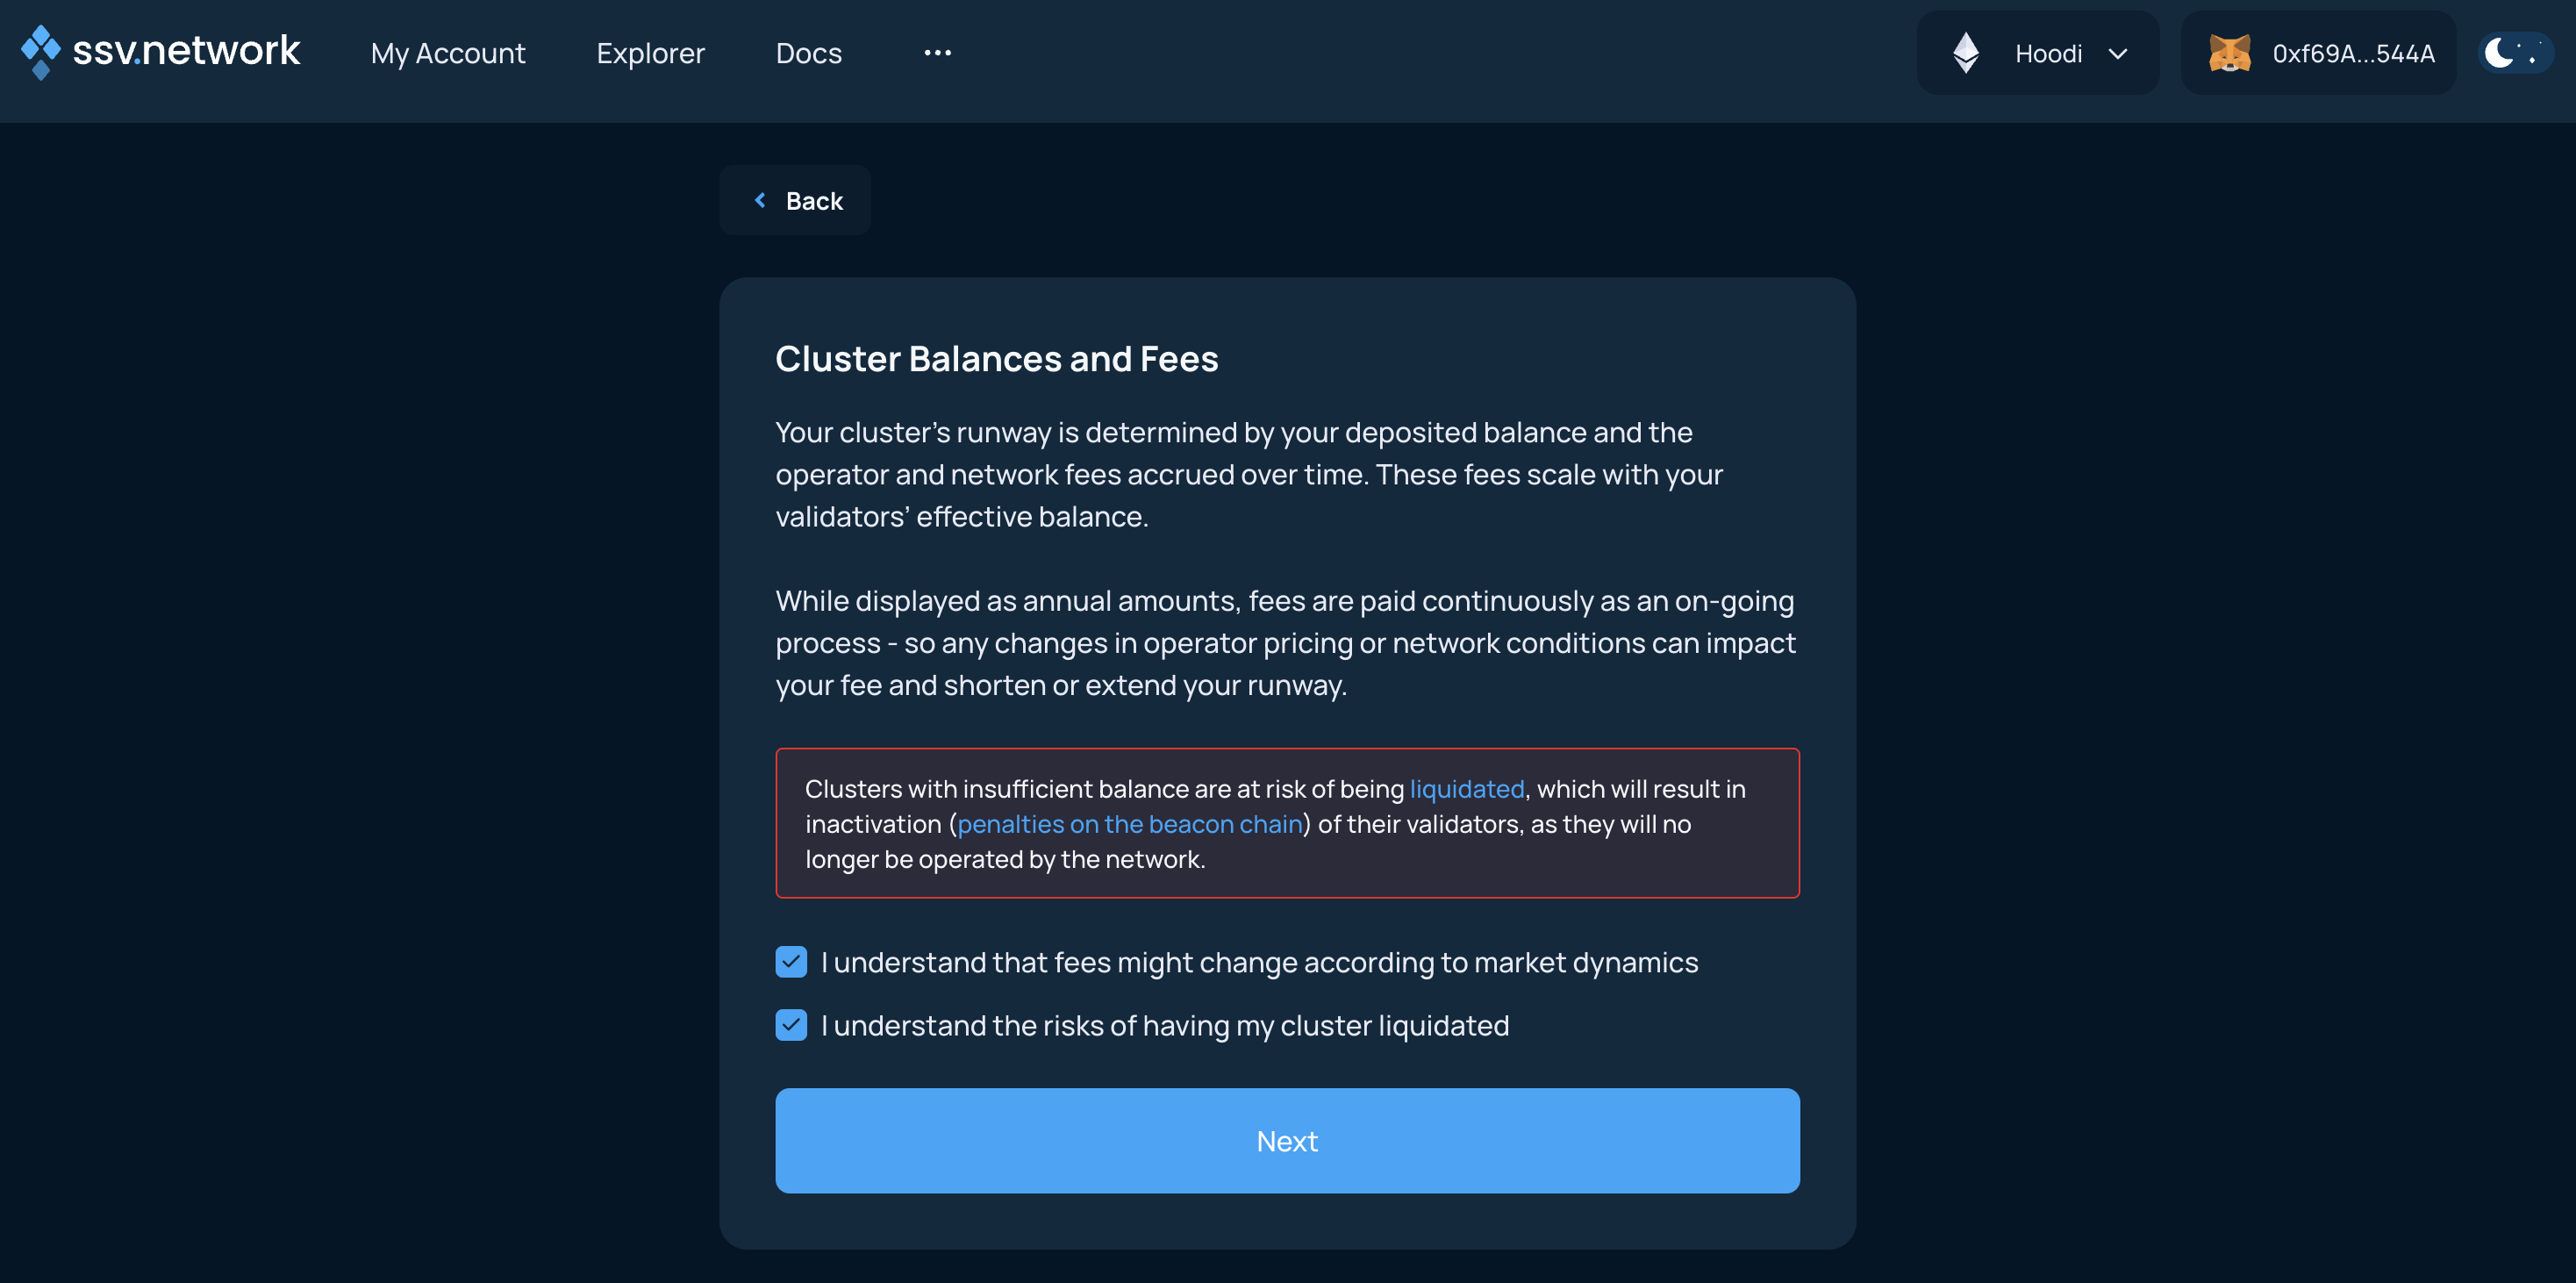
You can select the operational runway period of your validator, in accordance with the Yearly Fee of previously selected operators. This will dictate the initial amount of ETH to be deposited in the cluster, but it can always be managed later.
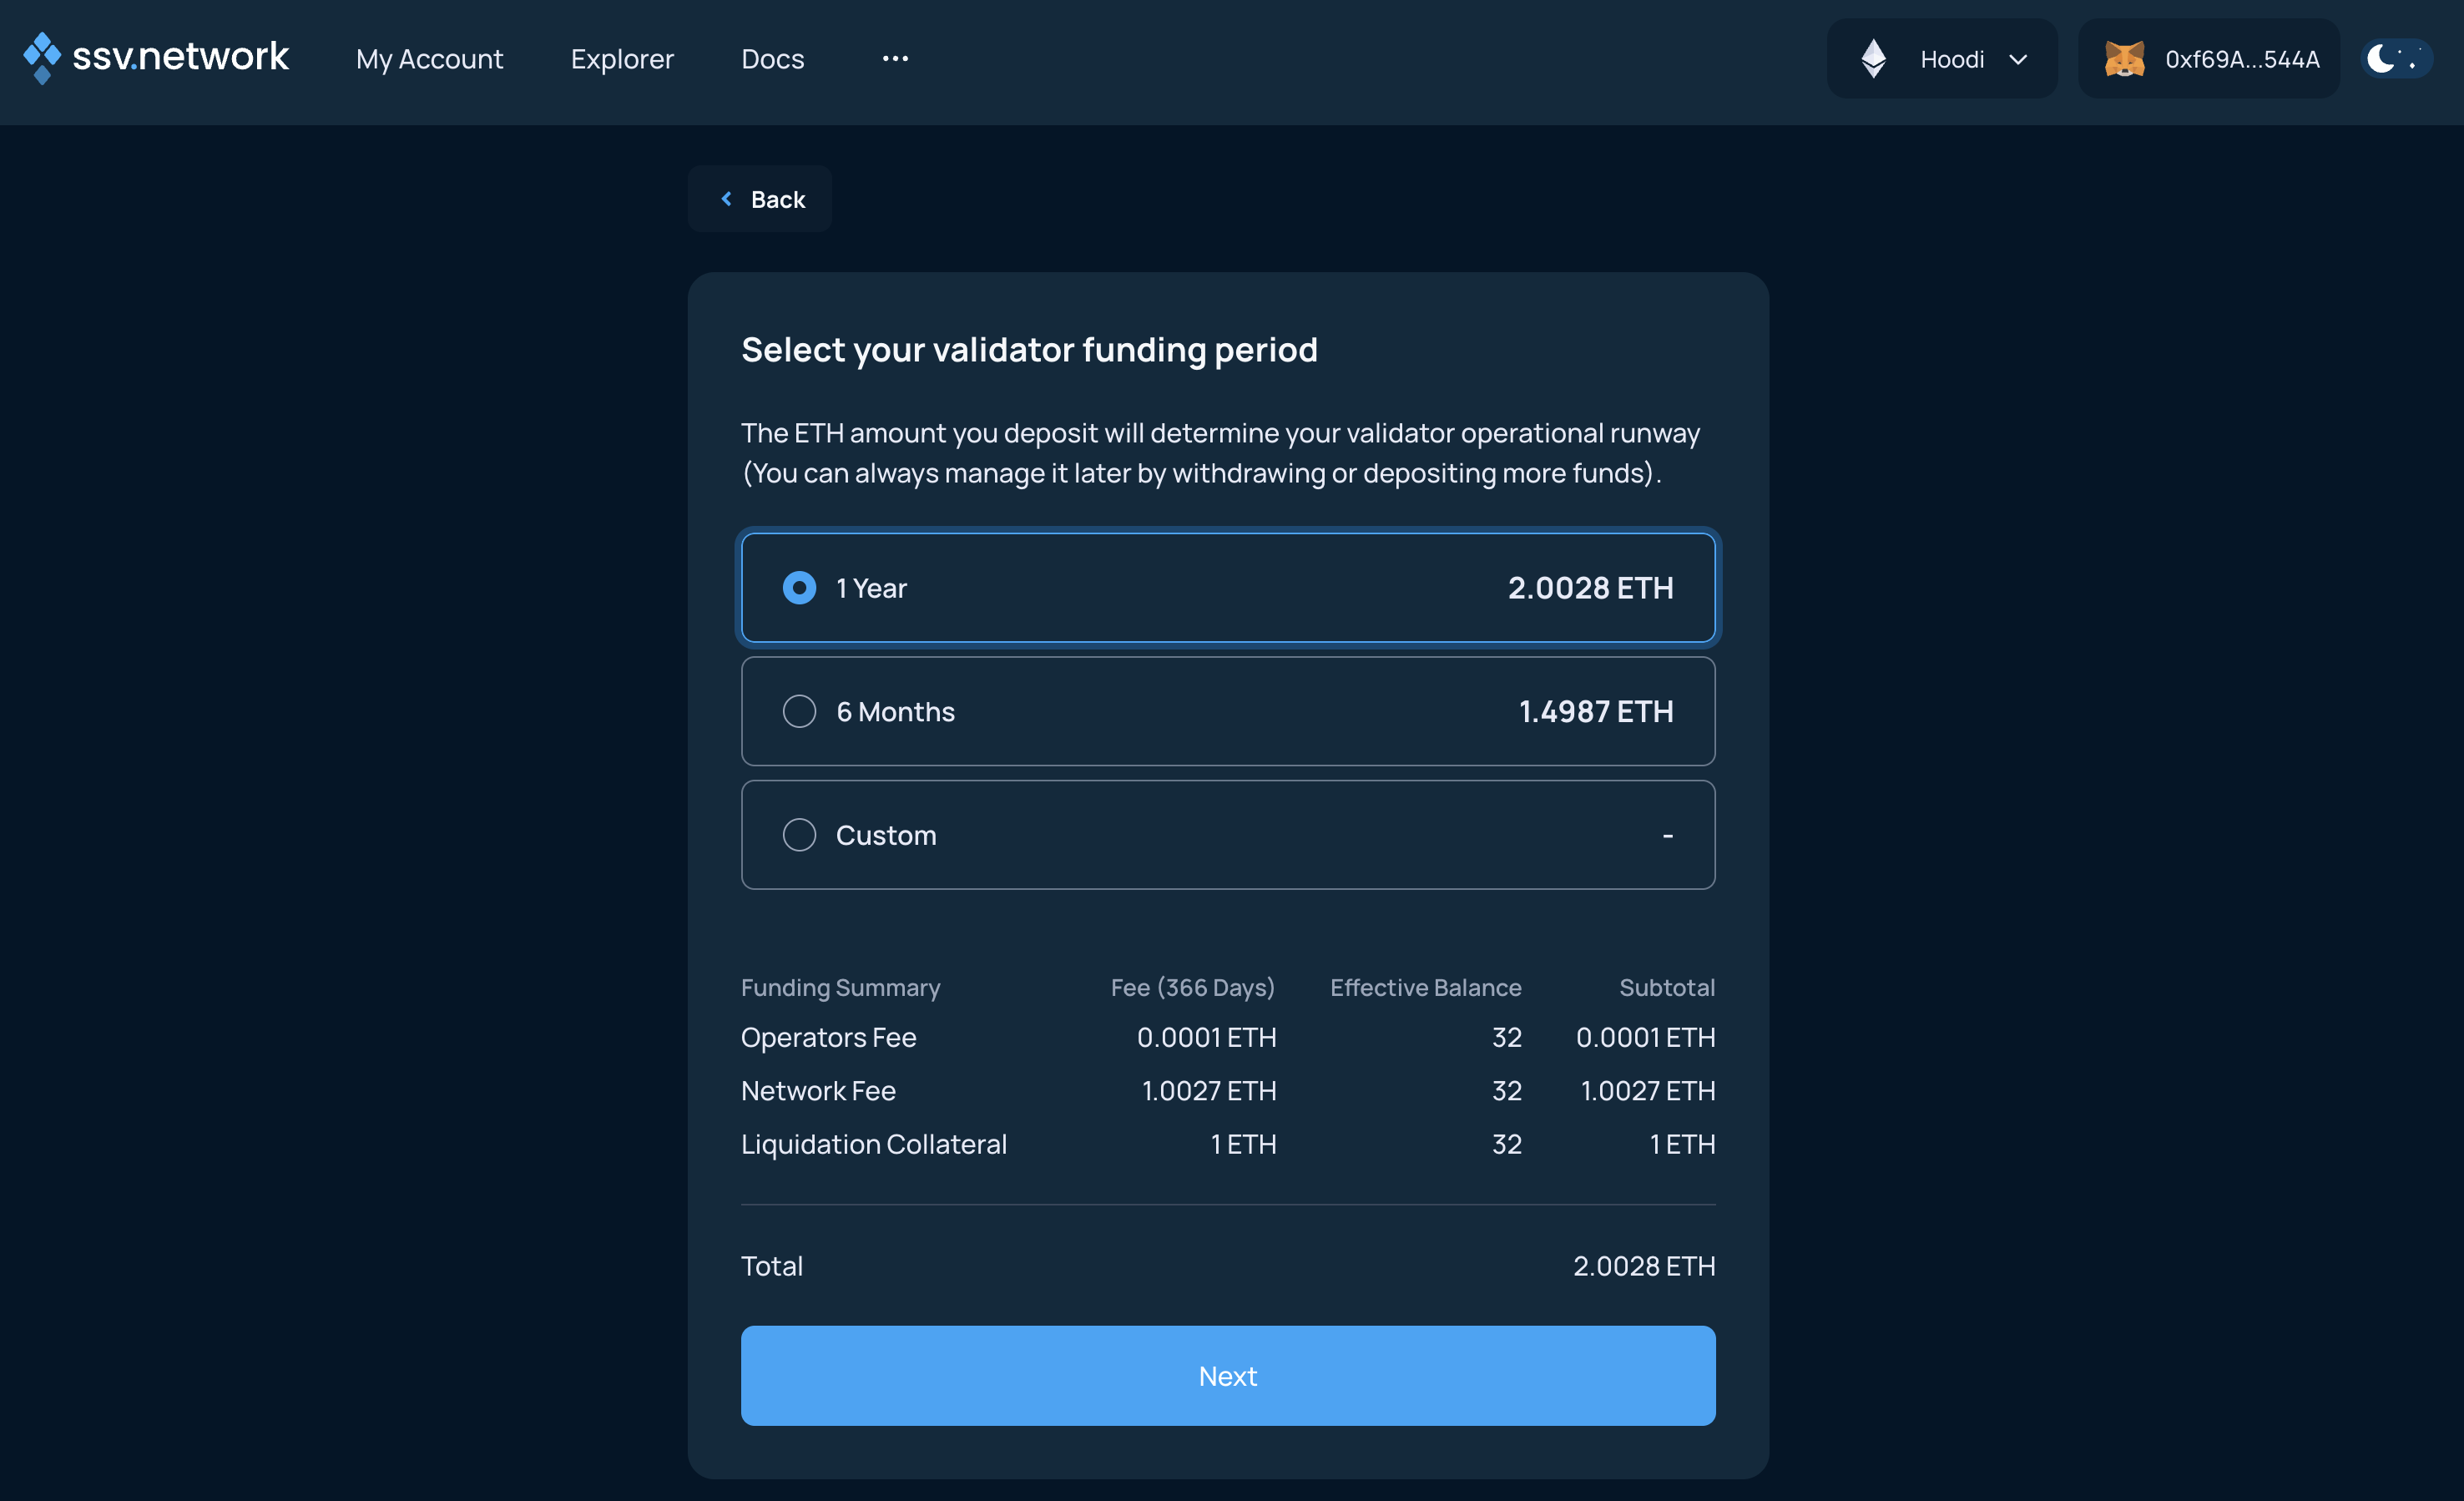
Please read carefully and understand how fees are managed and the risks of account liquidation if your account balance falls below the Threshold Balance.
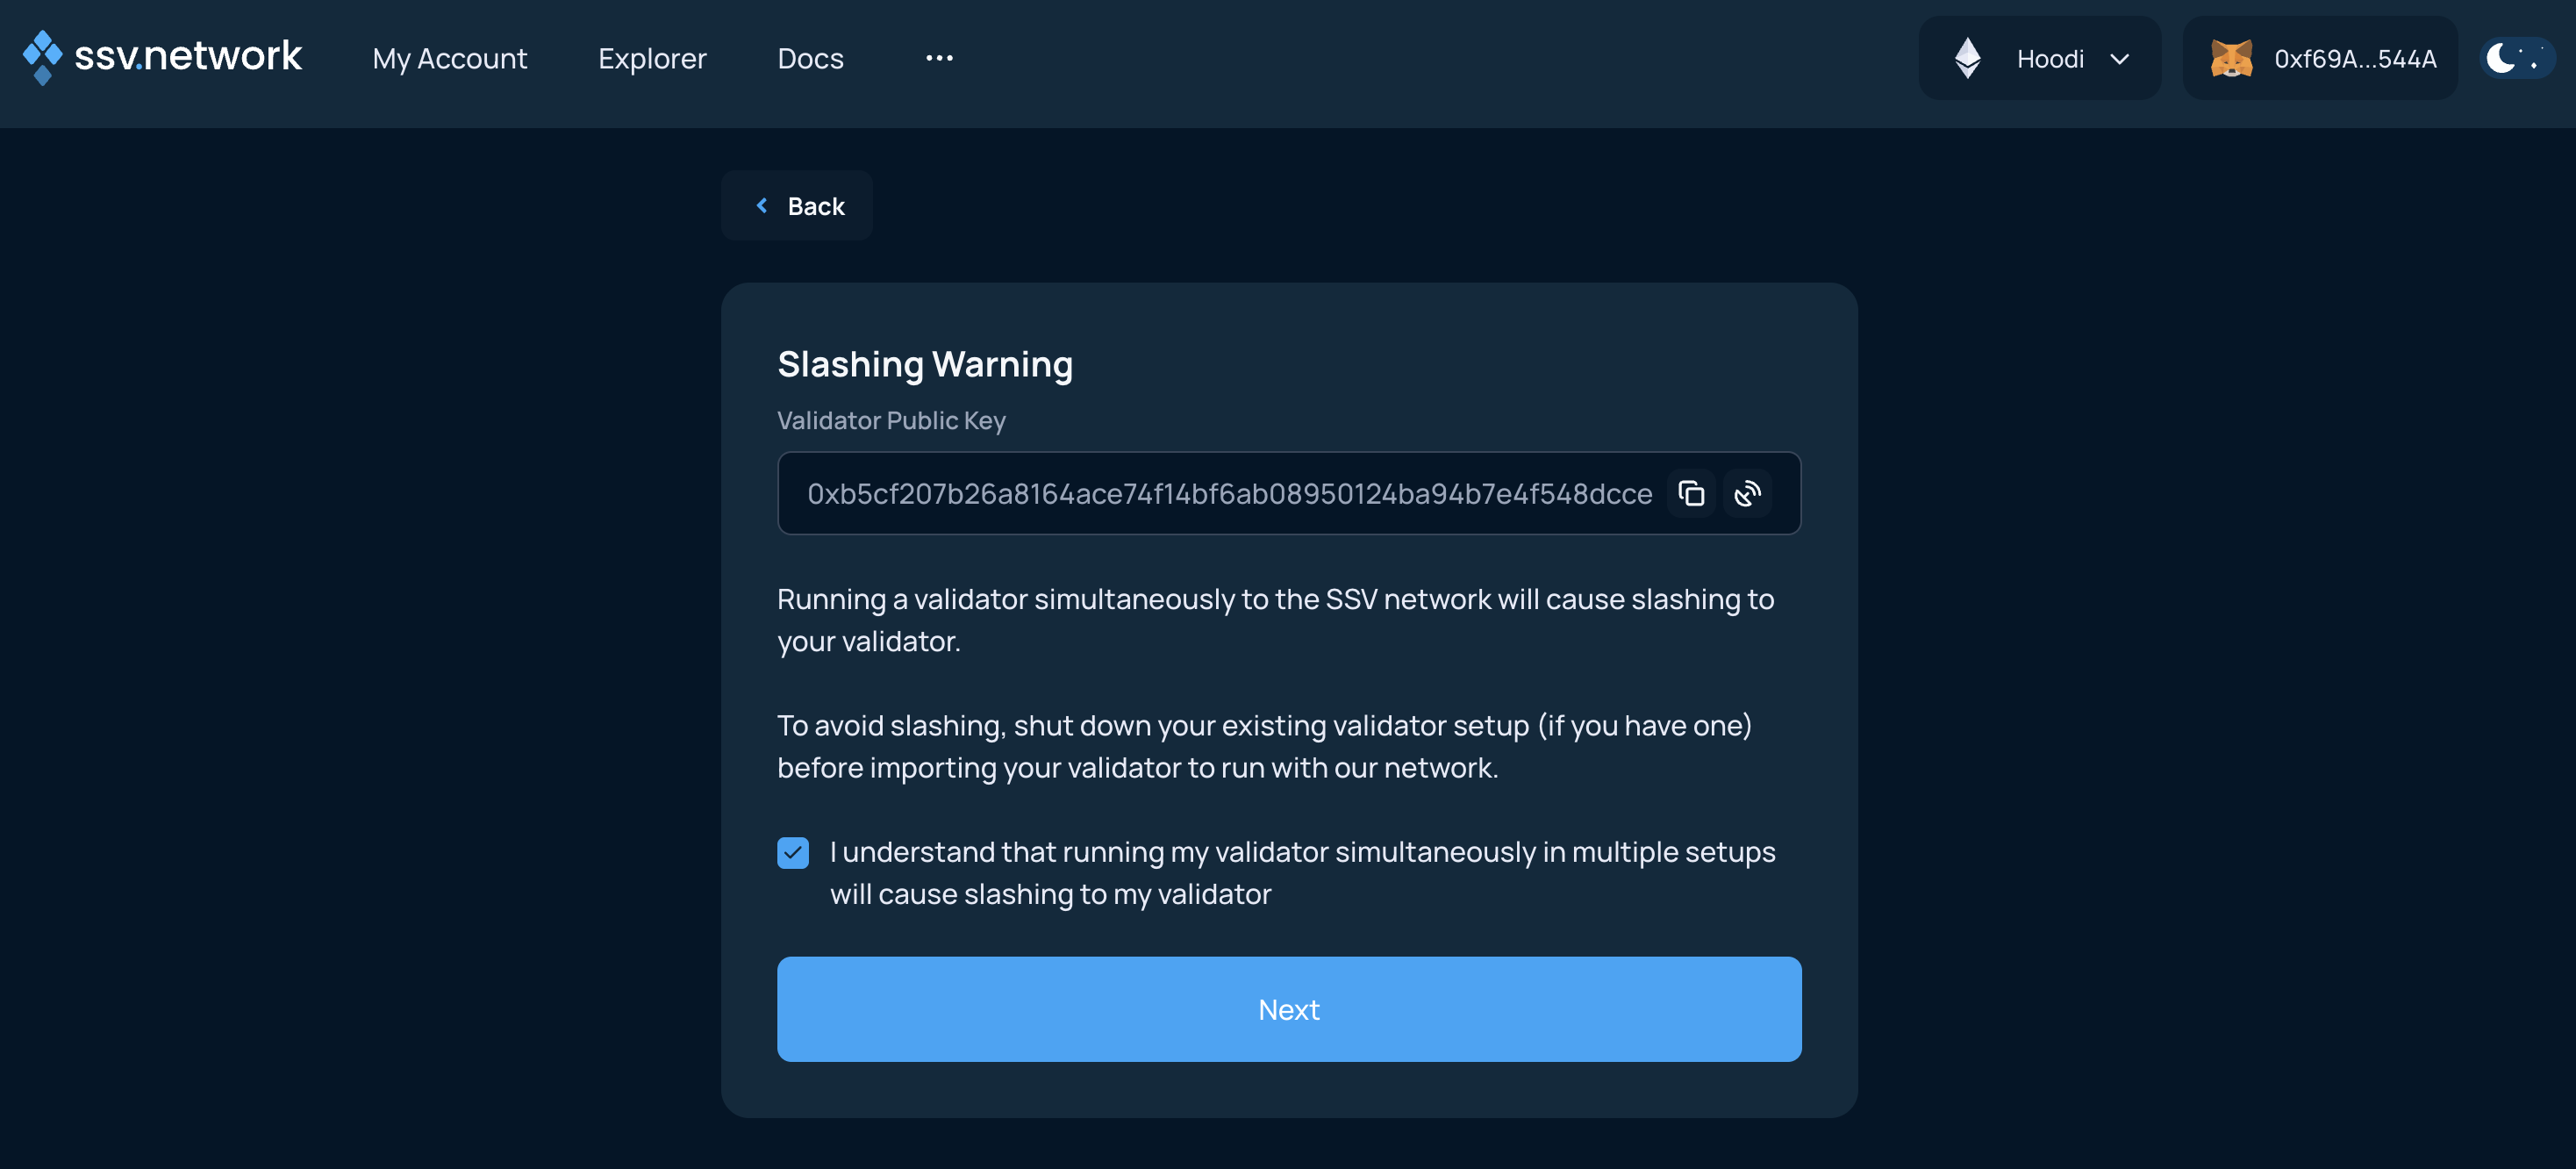
Slashing warning
The following screen alerts you of the potential dangers of registering a validator on the SSV network, if the same set of validator keys is also being used by other consensus and validator clients.
Please make sure to stop any other running validator setup, if you have any.
Validator summary
The next screen presents a summary of your validator setup.
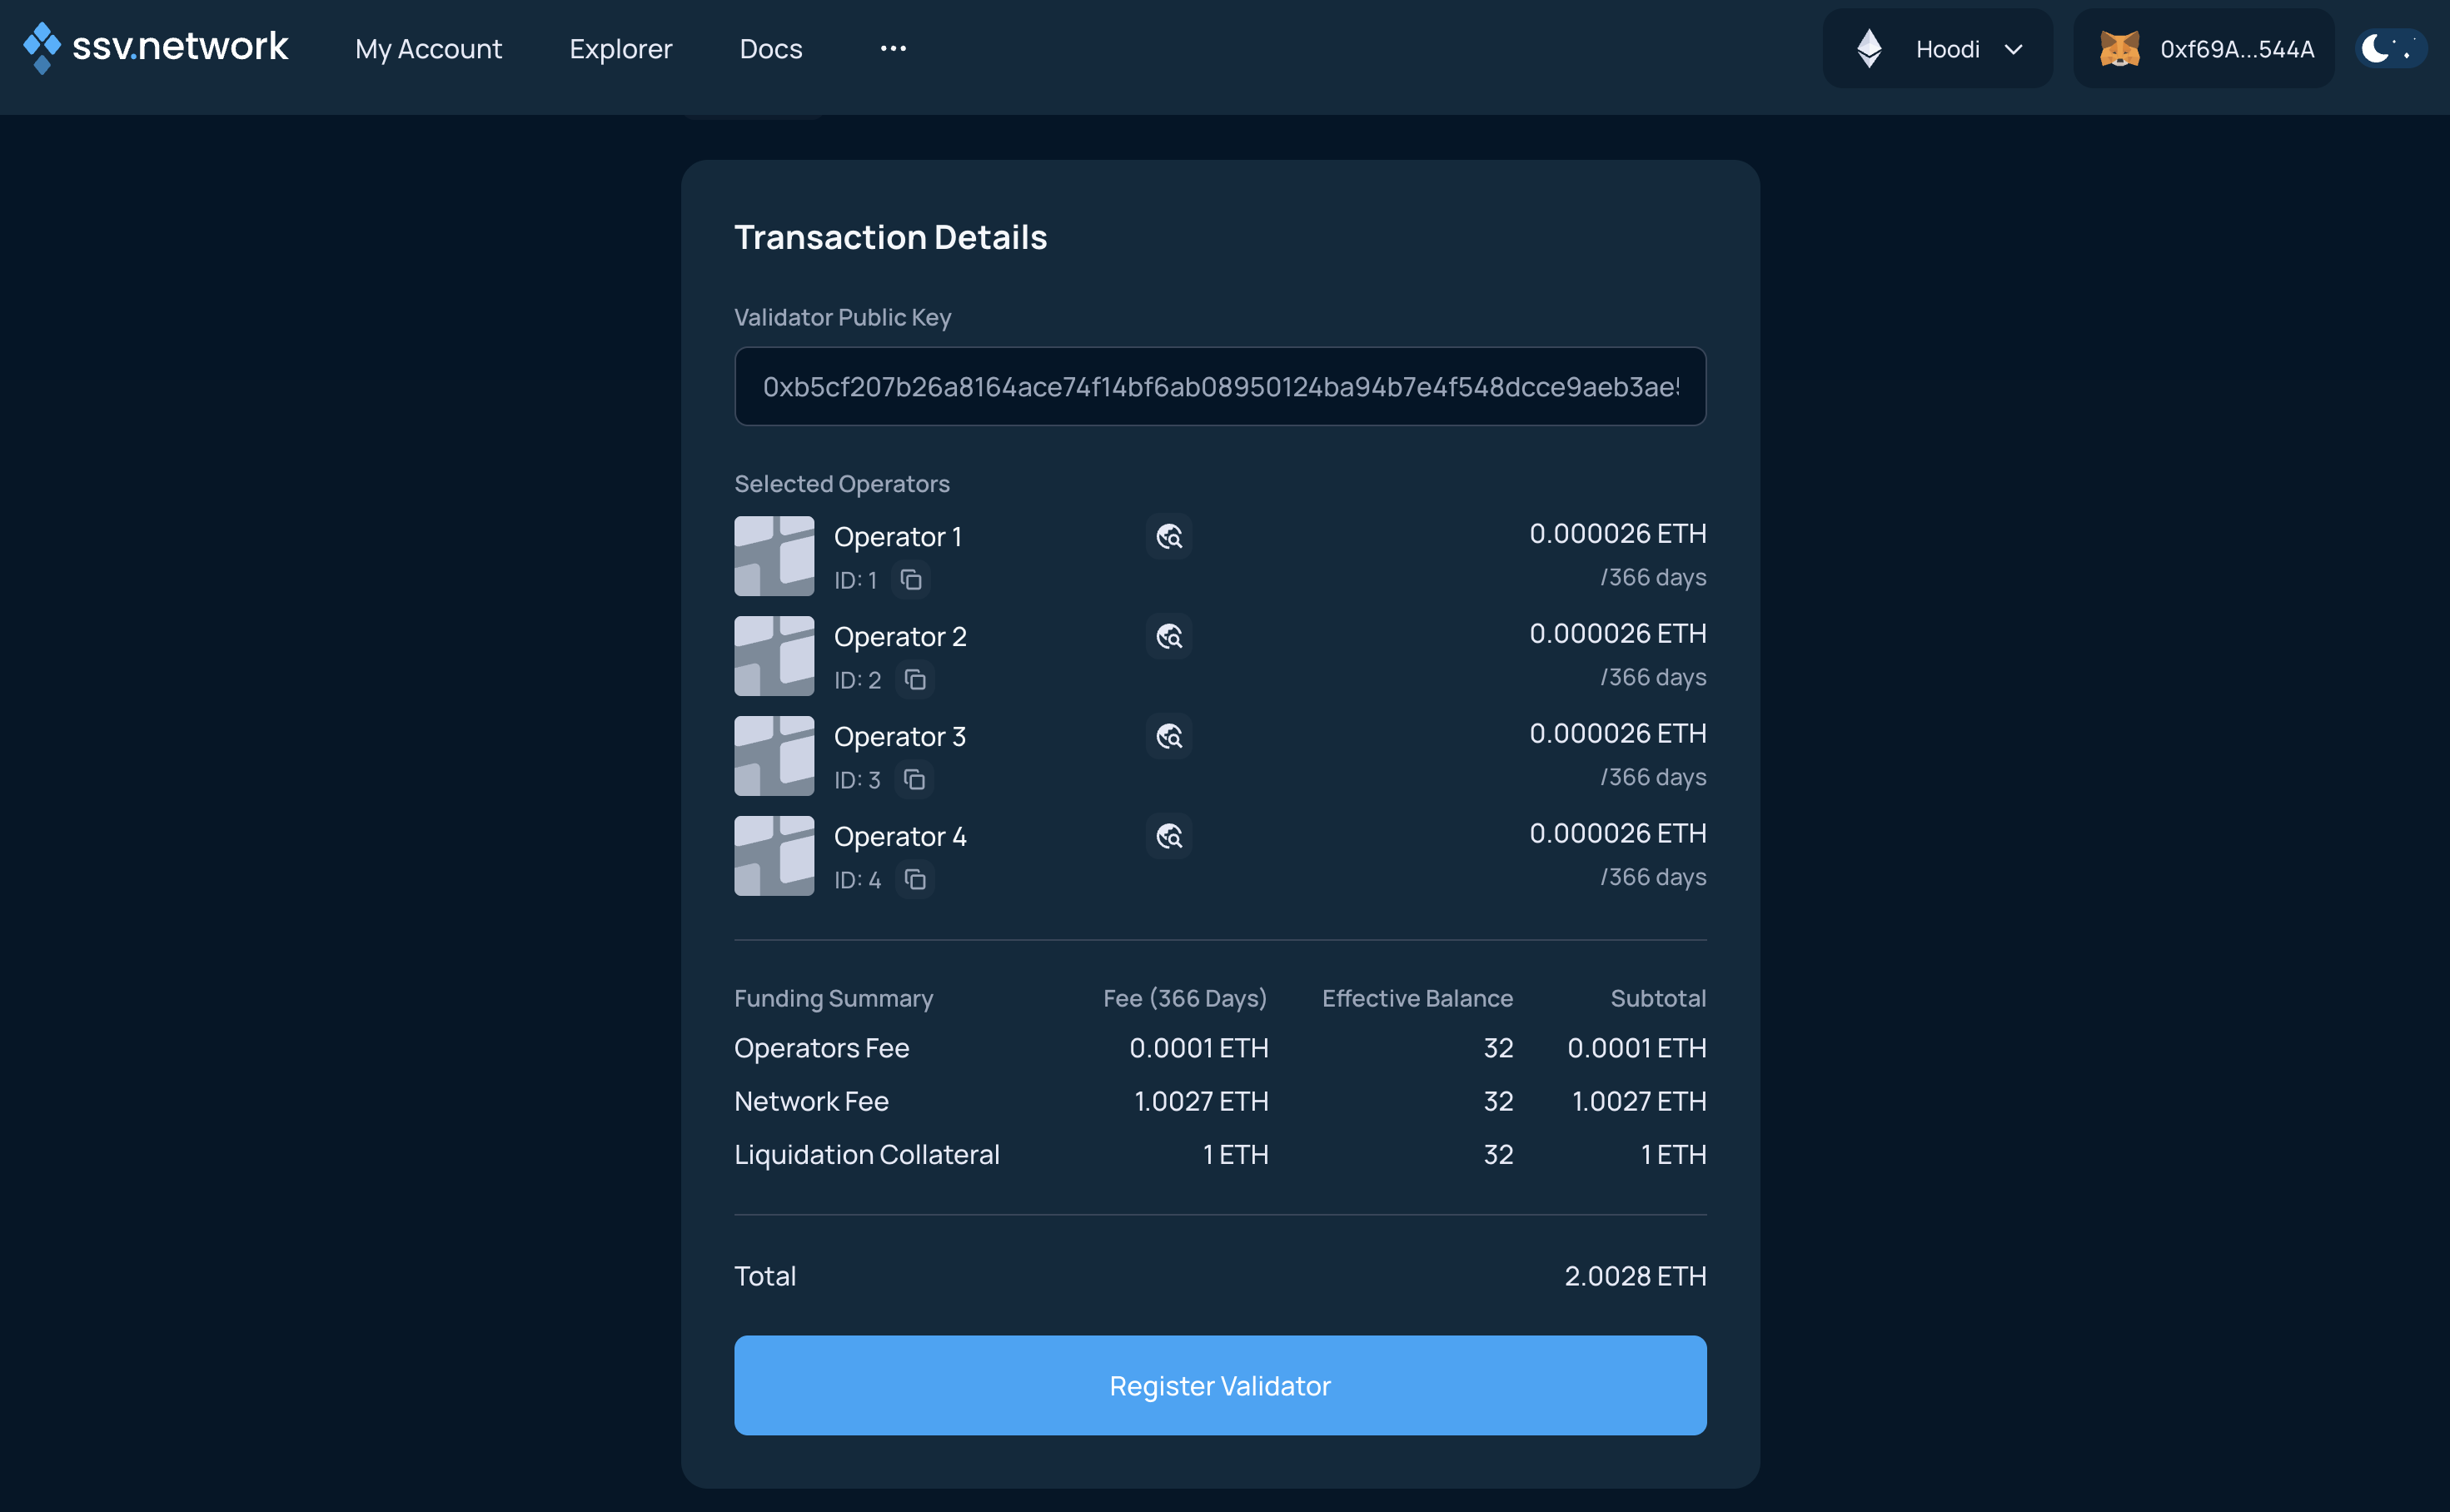
By clicking on Register validator(s), you'll be proposed to sign a transaction to confirm your choice and deposit the ETH balance necessary to cover for the operational costs.
ETH Balance deposit
Now, finalize the validator registration by signing the transaction and adding ETH to your cluster balance.
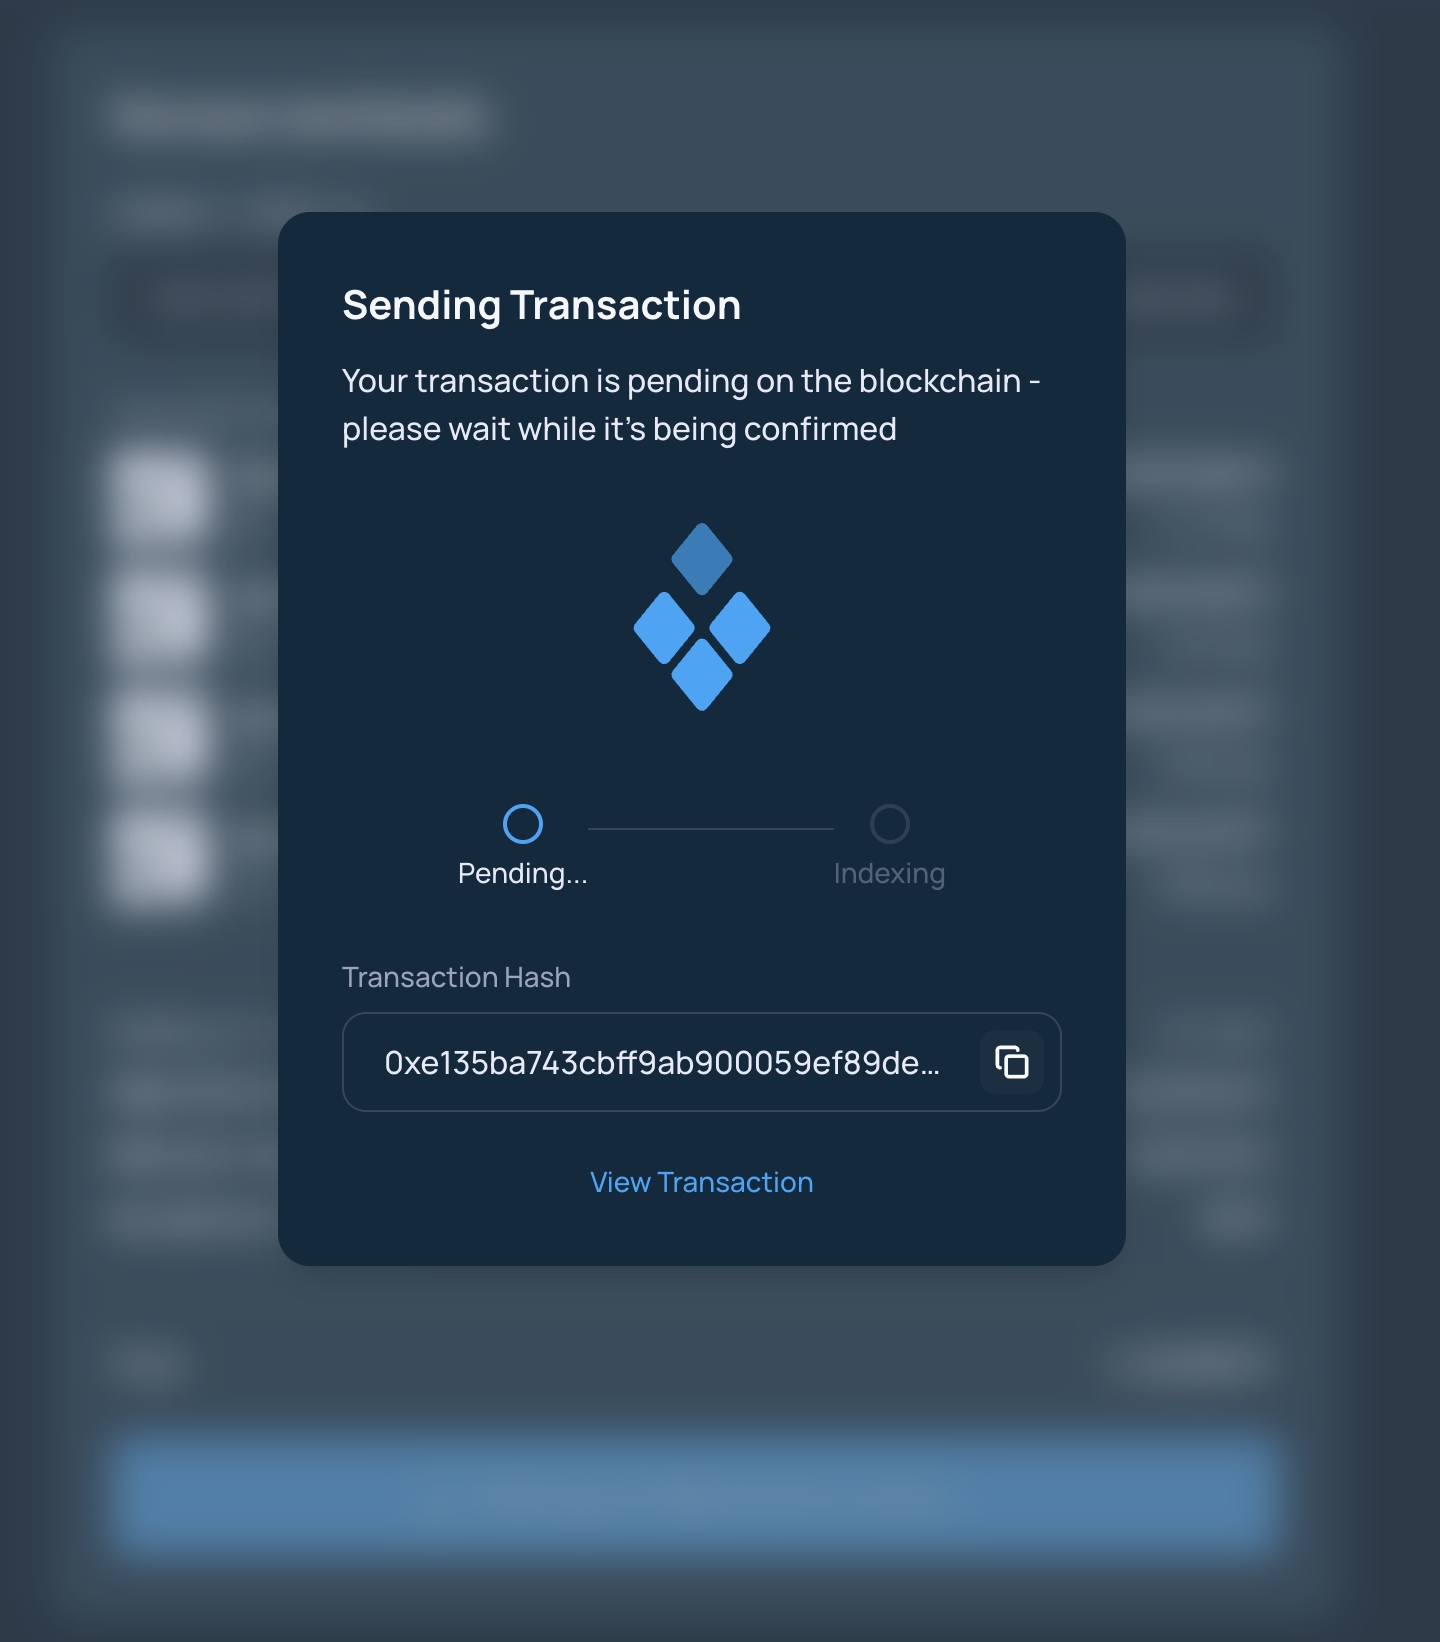
You will need to confirm the transaction in your web3 wallet.
Once the transaction has been signed and confirmed by the network, you'll be presented with the summary screen.
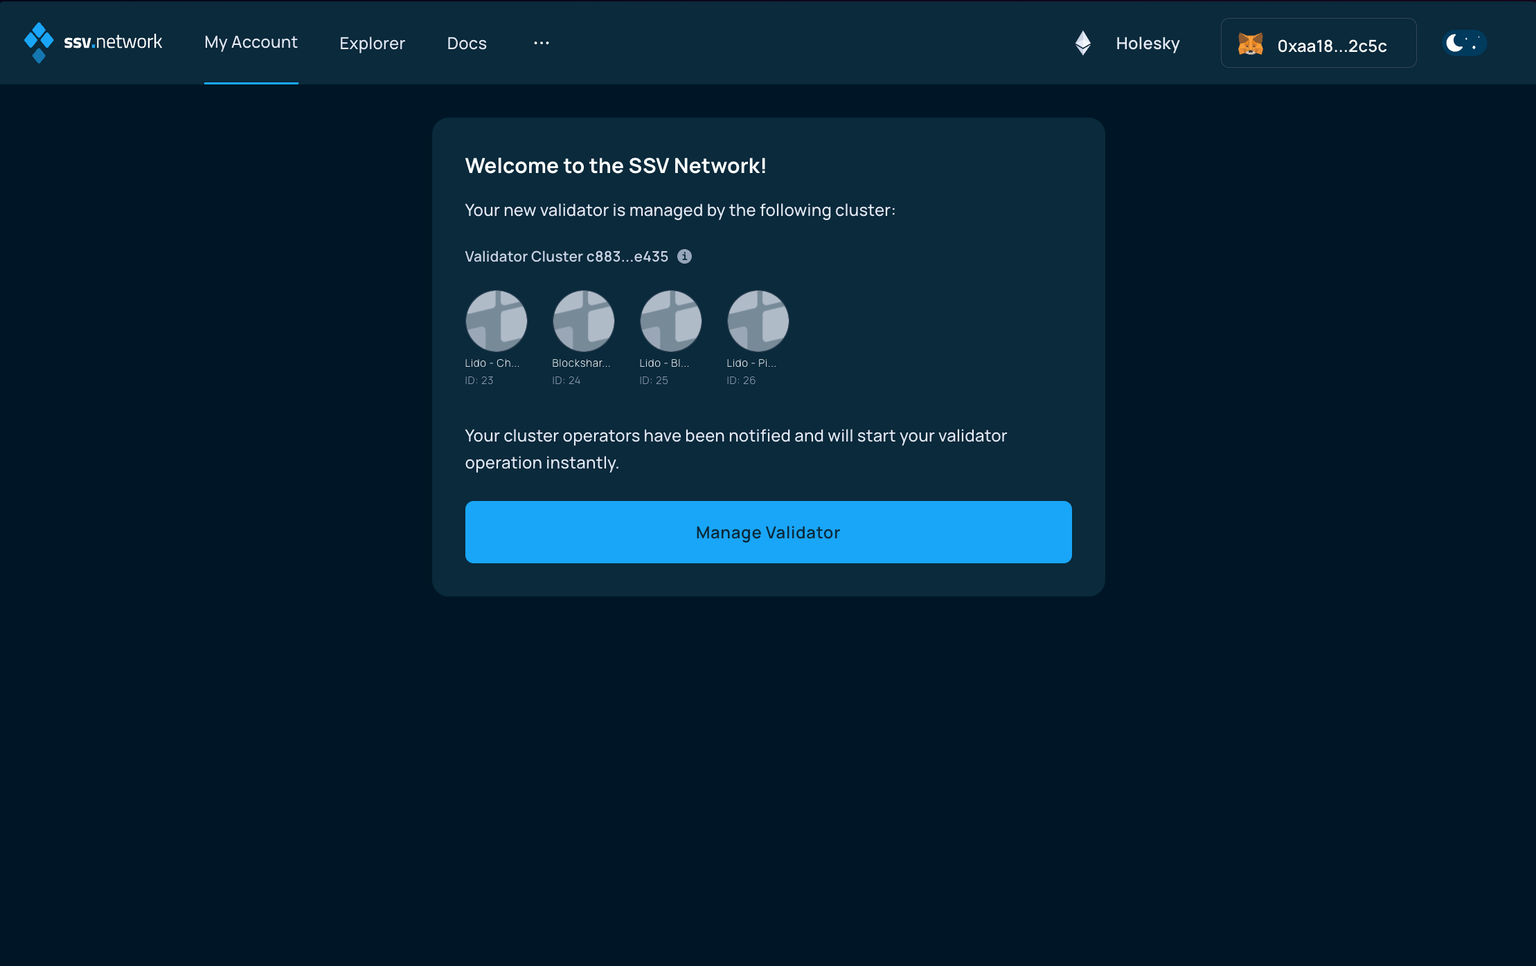
Congratulations! You're all set! 🥳
Allow a couple of epochs to pass for the validator status to change to Active on the Explorer page.