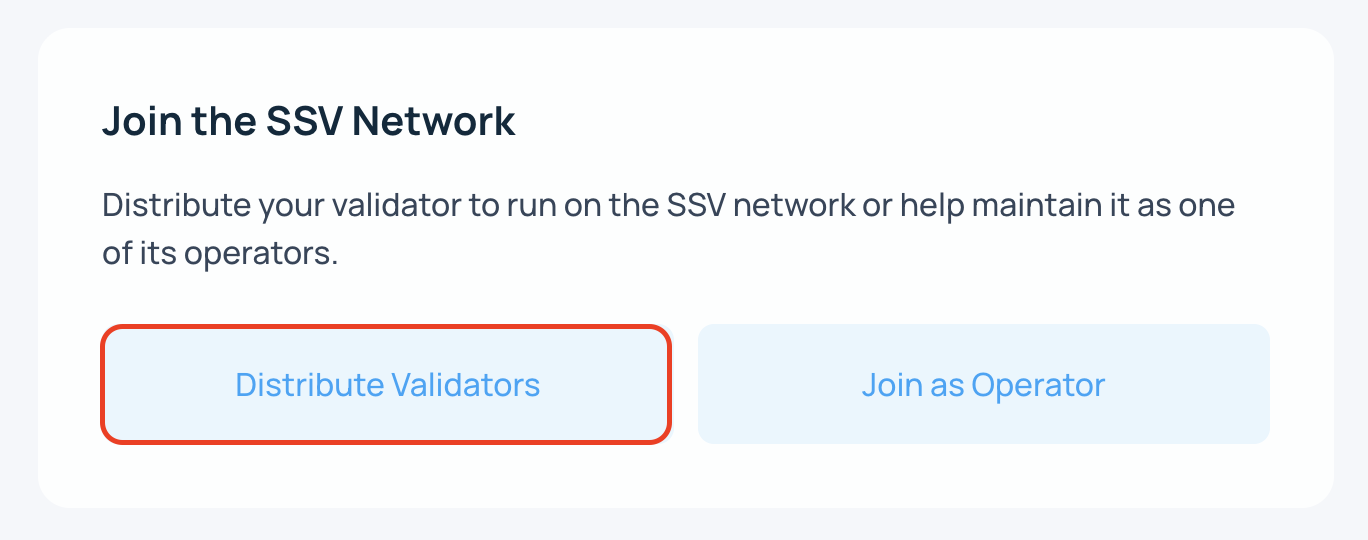
Creating a New Validator
There are two ways to create a validator for SSV Network:
- Vanilla key generation - if you want to generate and hold the validator keystore yourself.
- Distributed key generation - if you want the validator key to be generated as distributed shares without ever creating the full validator private key in one place.
- Vanilla Key Generation
- Distributed Key Generation
Vanilla Key Generation
This flow generates standard validator files such as keystore-m...json and deposit_data...json.
Prerequisites
- Be comfortable using the command line.
- Have 32 ETH per validator, plus extra ETH for gas.
- Prepare a secure Web3 wallet address to use as the withdrawal address.
Generate the validator keys
The recommended tool is the Staking Deposit CLI. Follow the EthStaker Deposit CLI guide and complete the full process in a secure environment.
At the end of the flow, you should have:
- one or more
keystore-m...jsonfiles - a
deposit_data...jsonfile
Record where these files are stored. You will need the deposit_data file in the next step.
Your mnemonic and password can be used to recover the validator keys. If they are exposed, your funds may be at risk.
Store the mnemonic and password securely. They cannot be recovered if lost.
When the validator files are ready, continue to Deposit Validator Keys.
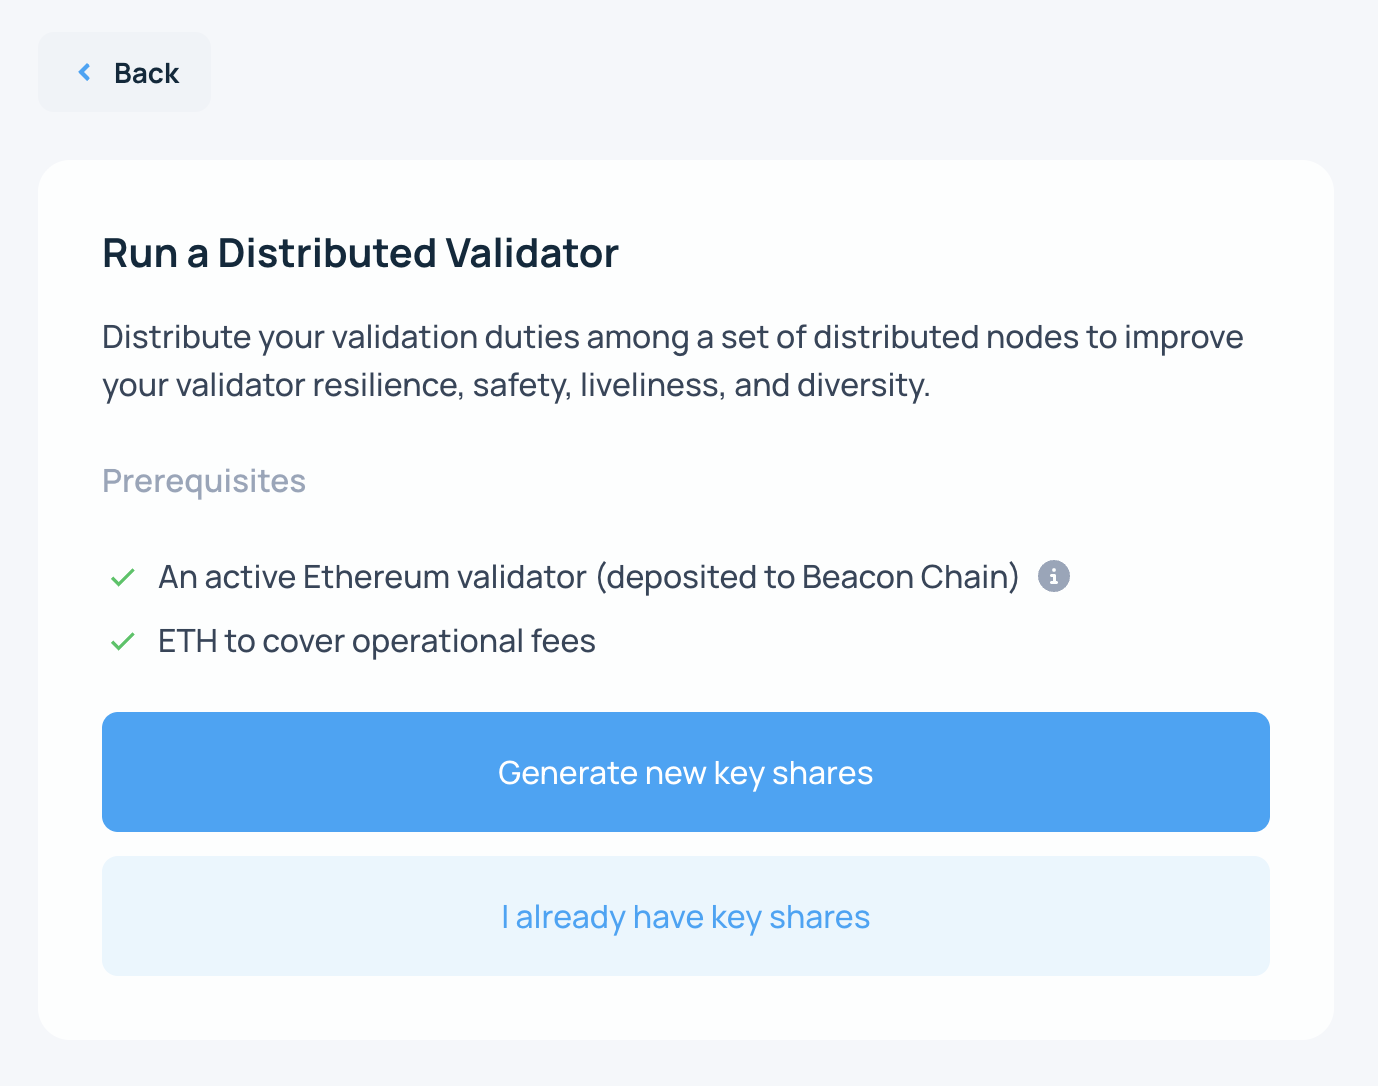
Distributed Key Generation
The DKG flow creates validator key shares directly with the selected SSV Network operators. The full validator private key is never assembled in one place.
This improves key security, while your owner or withdrawal address still remains the owner of the validator.
Prerequisites
- Be comfortable using the command line.
- Have 32 ETH per validator, plus extra ETH for gas.
- Install Docker on the machine that will run the DKG ceremony.
Connect to the Web App
Connect the Web3 wallet you want to use as the validator owner in the SSV Web App.
- Select Distribute a Validator.
- Select Generate new key shares.
- Select the operators.
Review the Yearly Fee before you continue. Use the filter to show DKG-enabled operators.
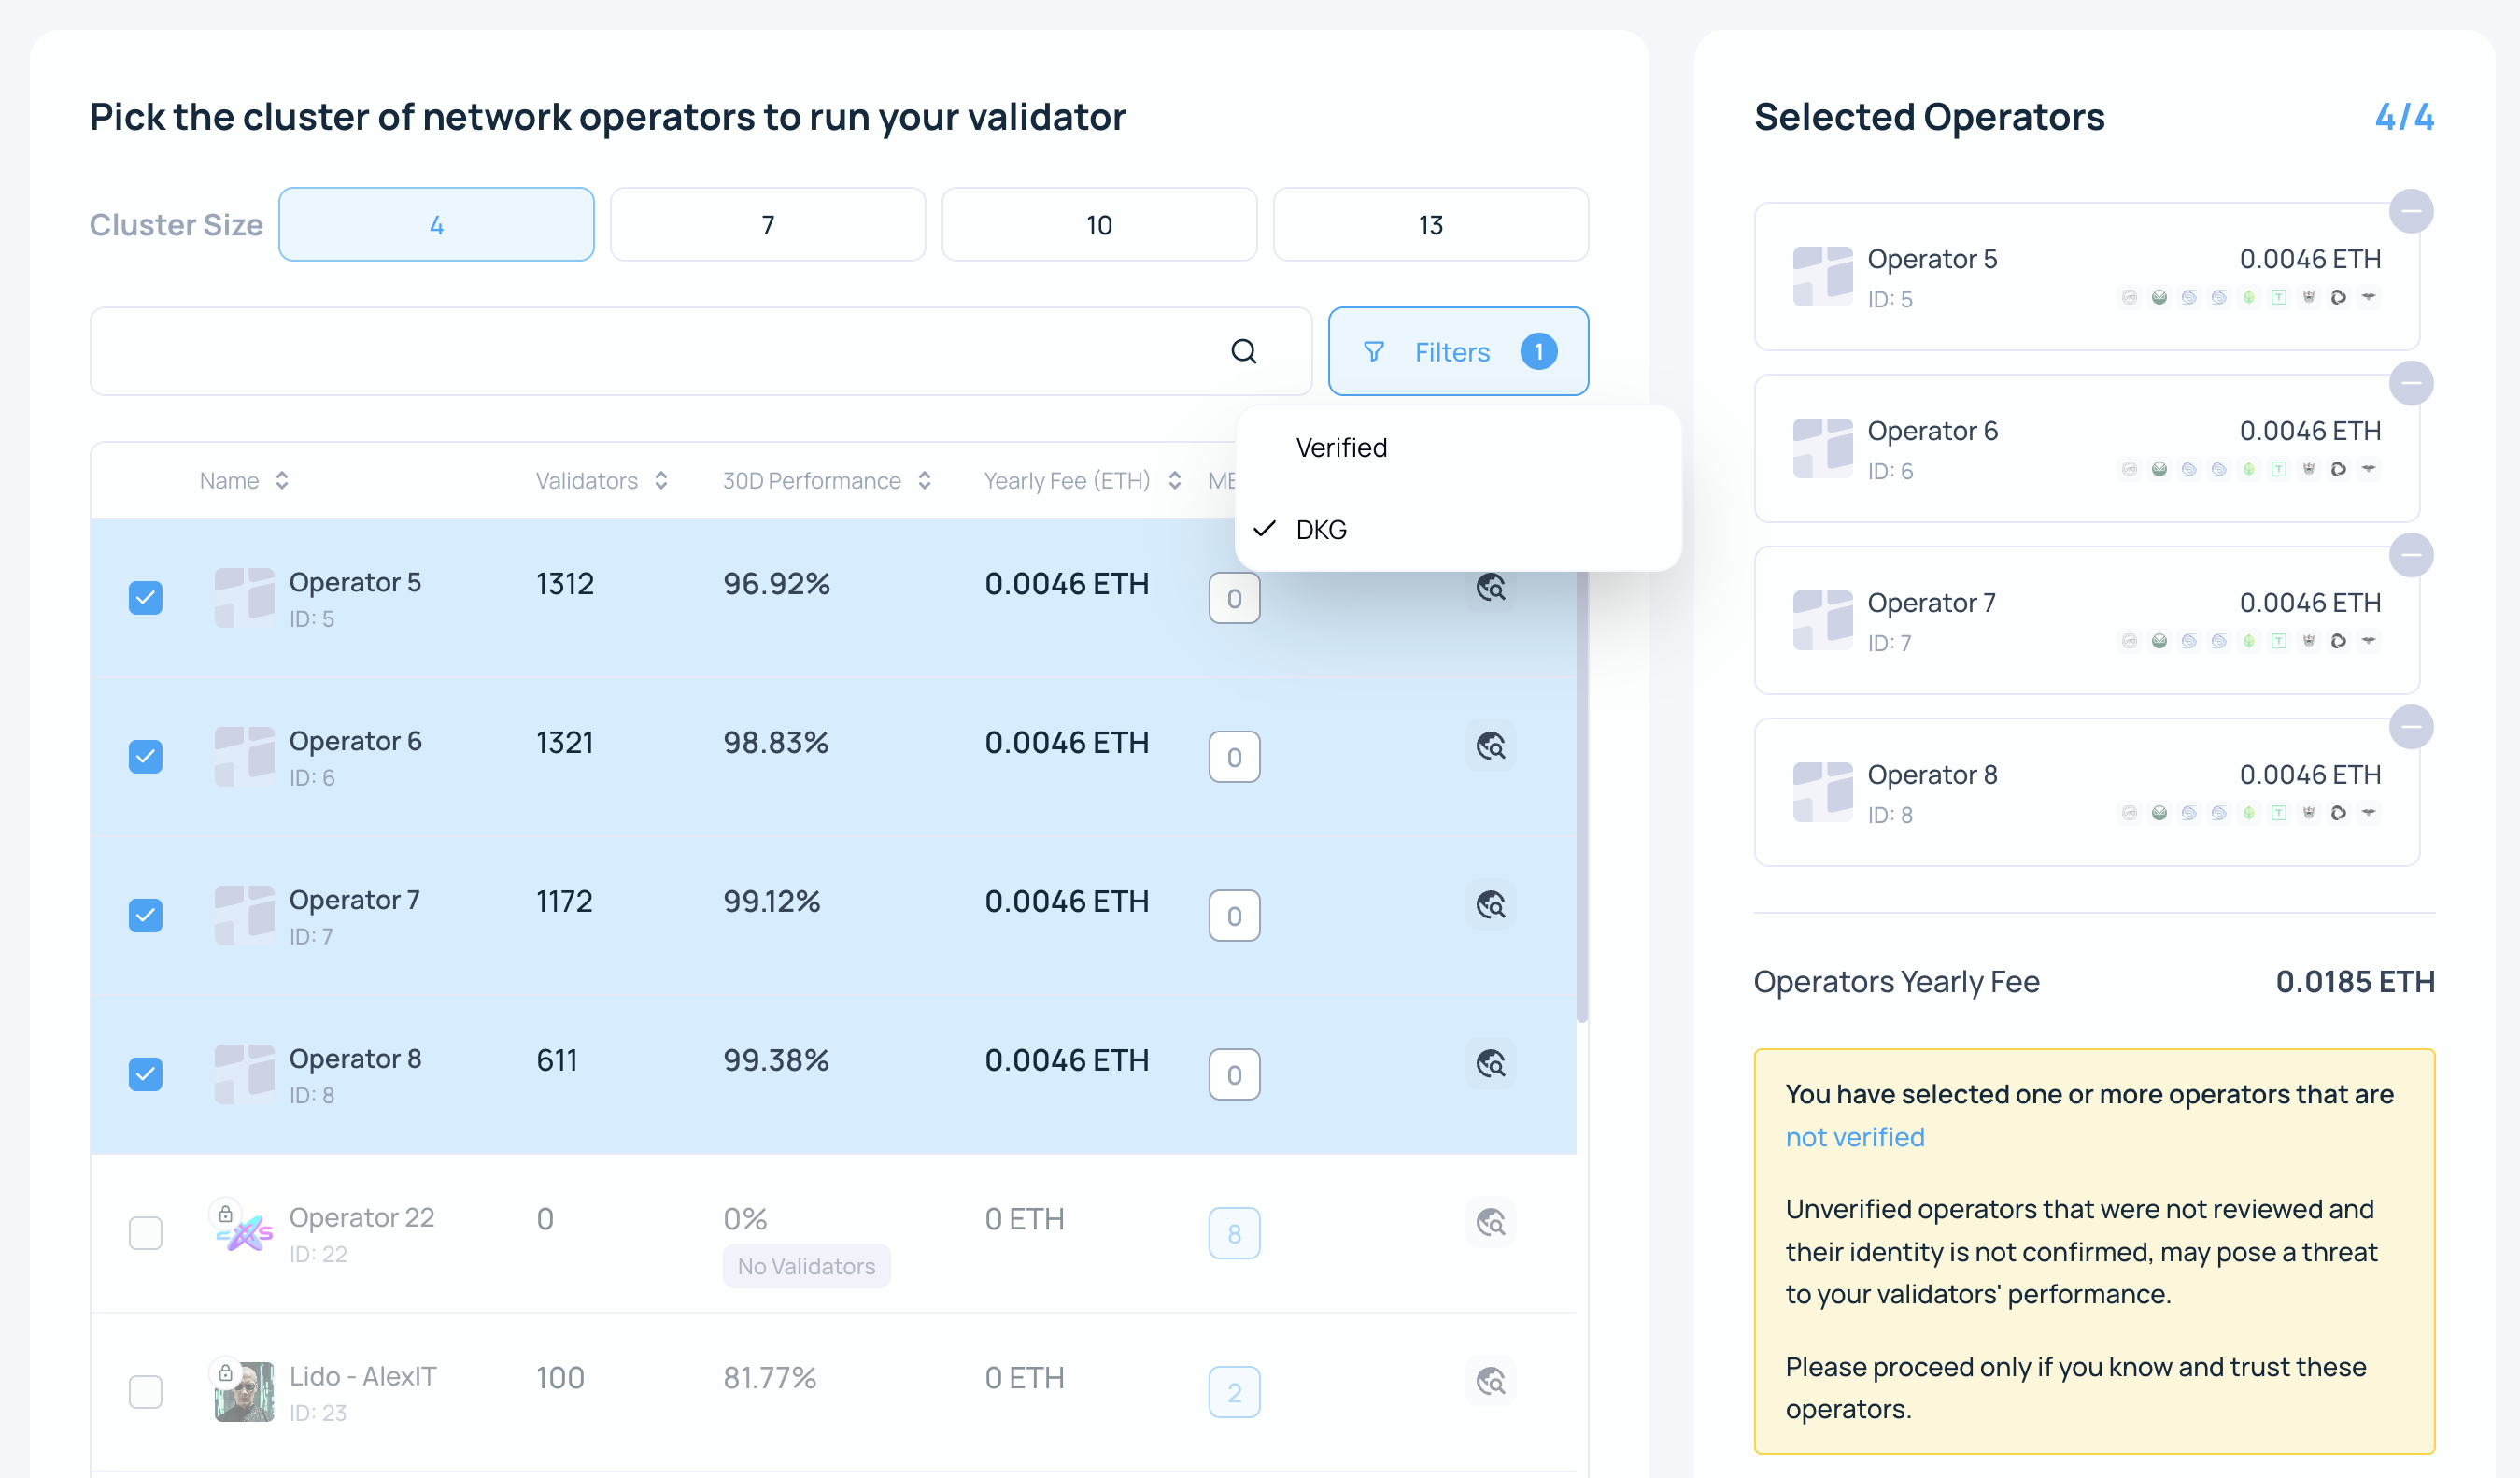
Verified Operators (VOs) are operators that the DAO has marked as Verified after KYC and ongoing service review. You can sort and filter the list by performance, yearly fee, validator count, and verified status.
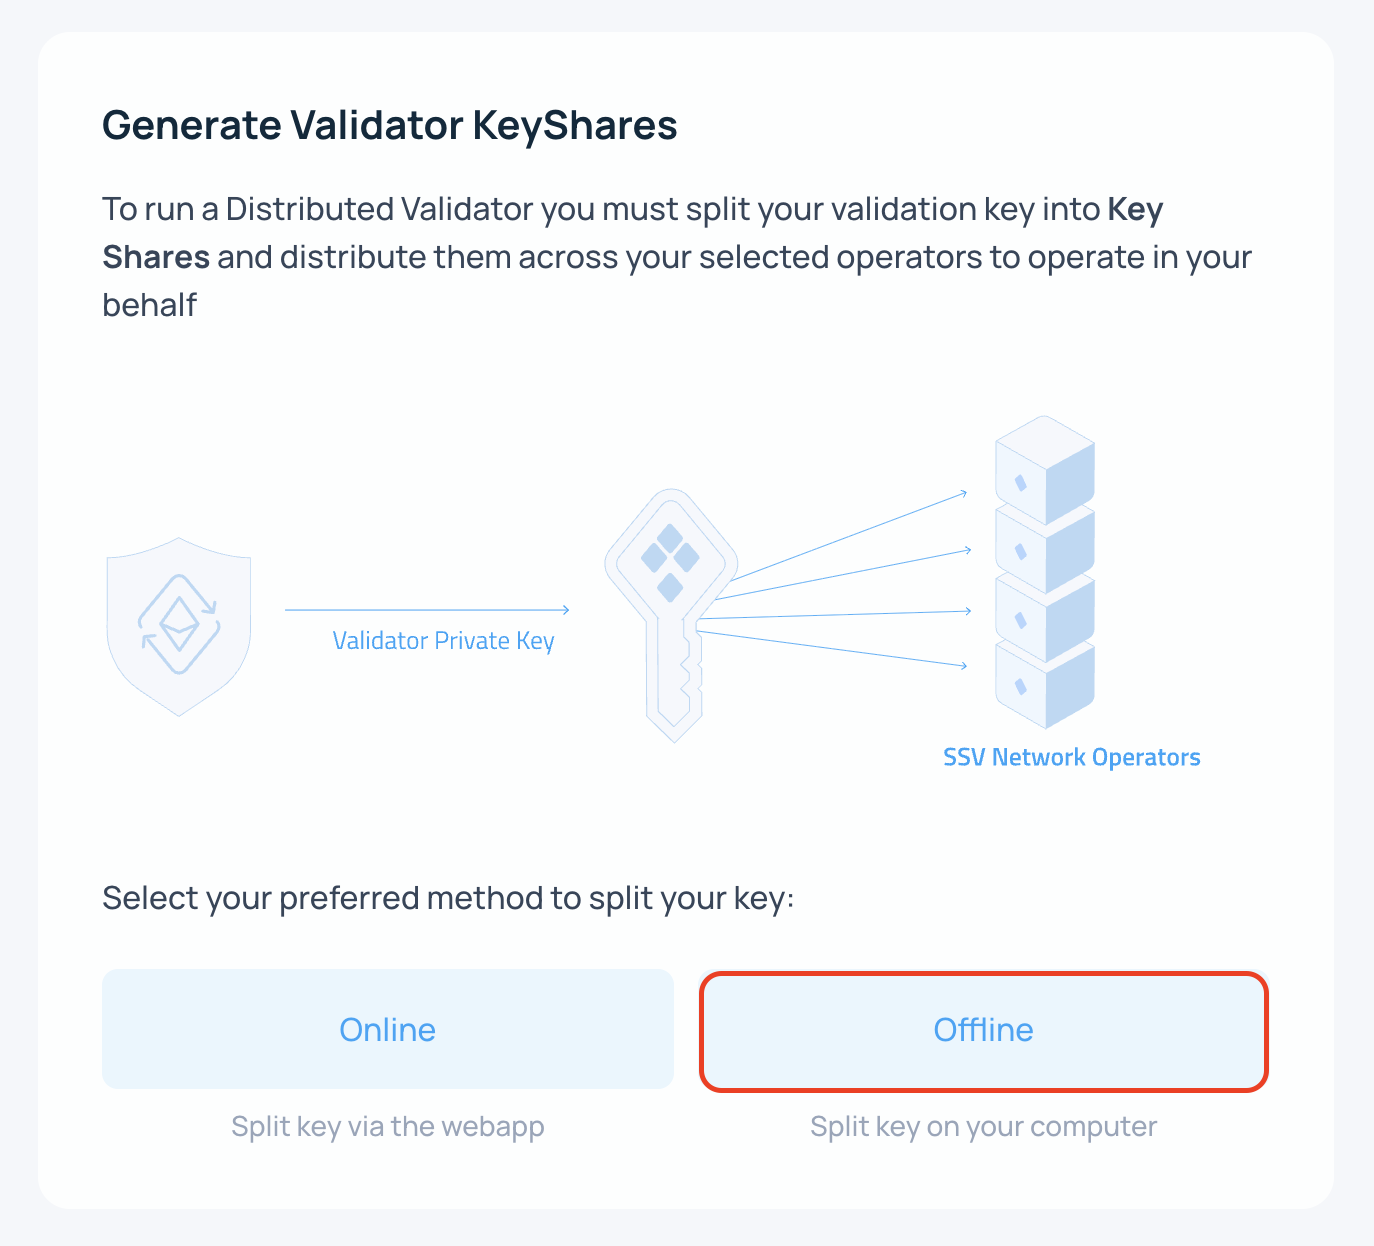
- Choose Offline.
The DKG ceremony is run from the command line.
- Configure the DKG ceremony.
- Select the DKG option.
- Choose Compounding / Regular validator type.
- Choose how many validators to generate and their Effective Balance.
- Enter and confirm the withdrawal address.
- Copy the generated command.
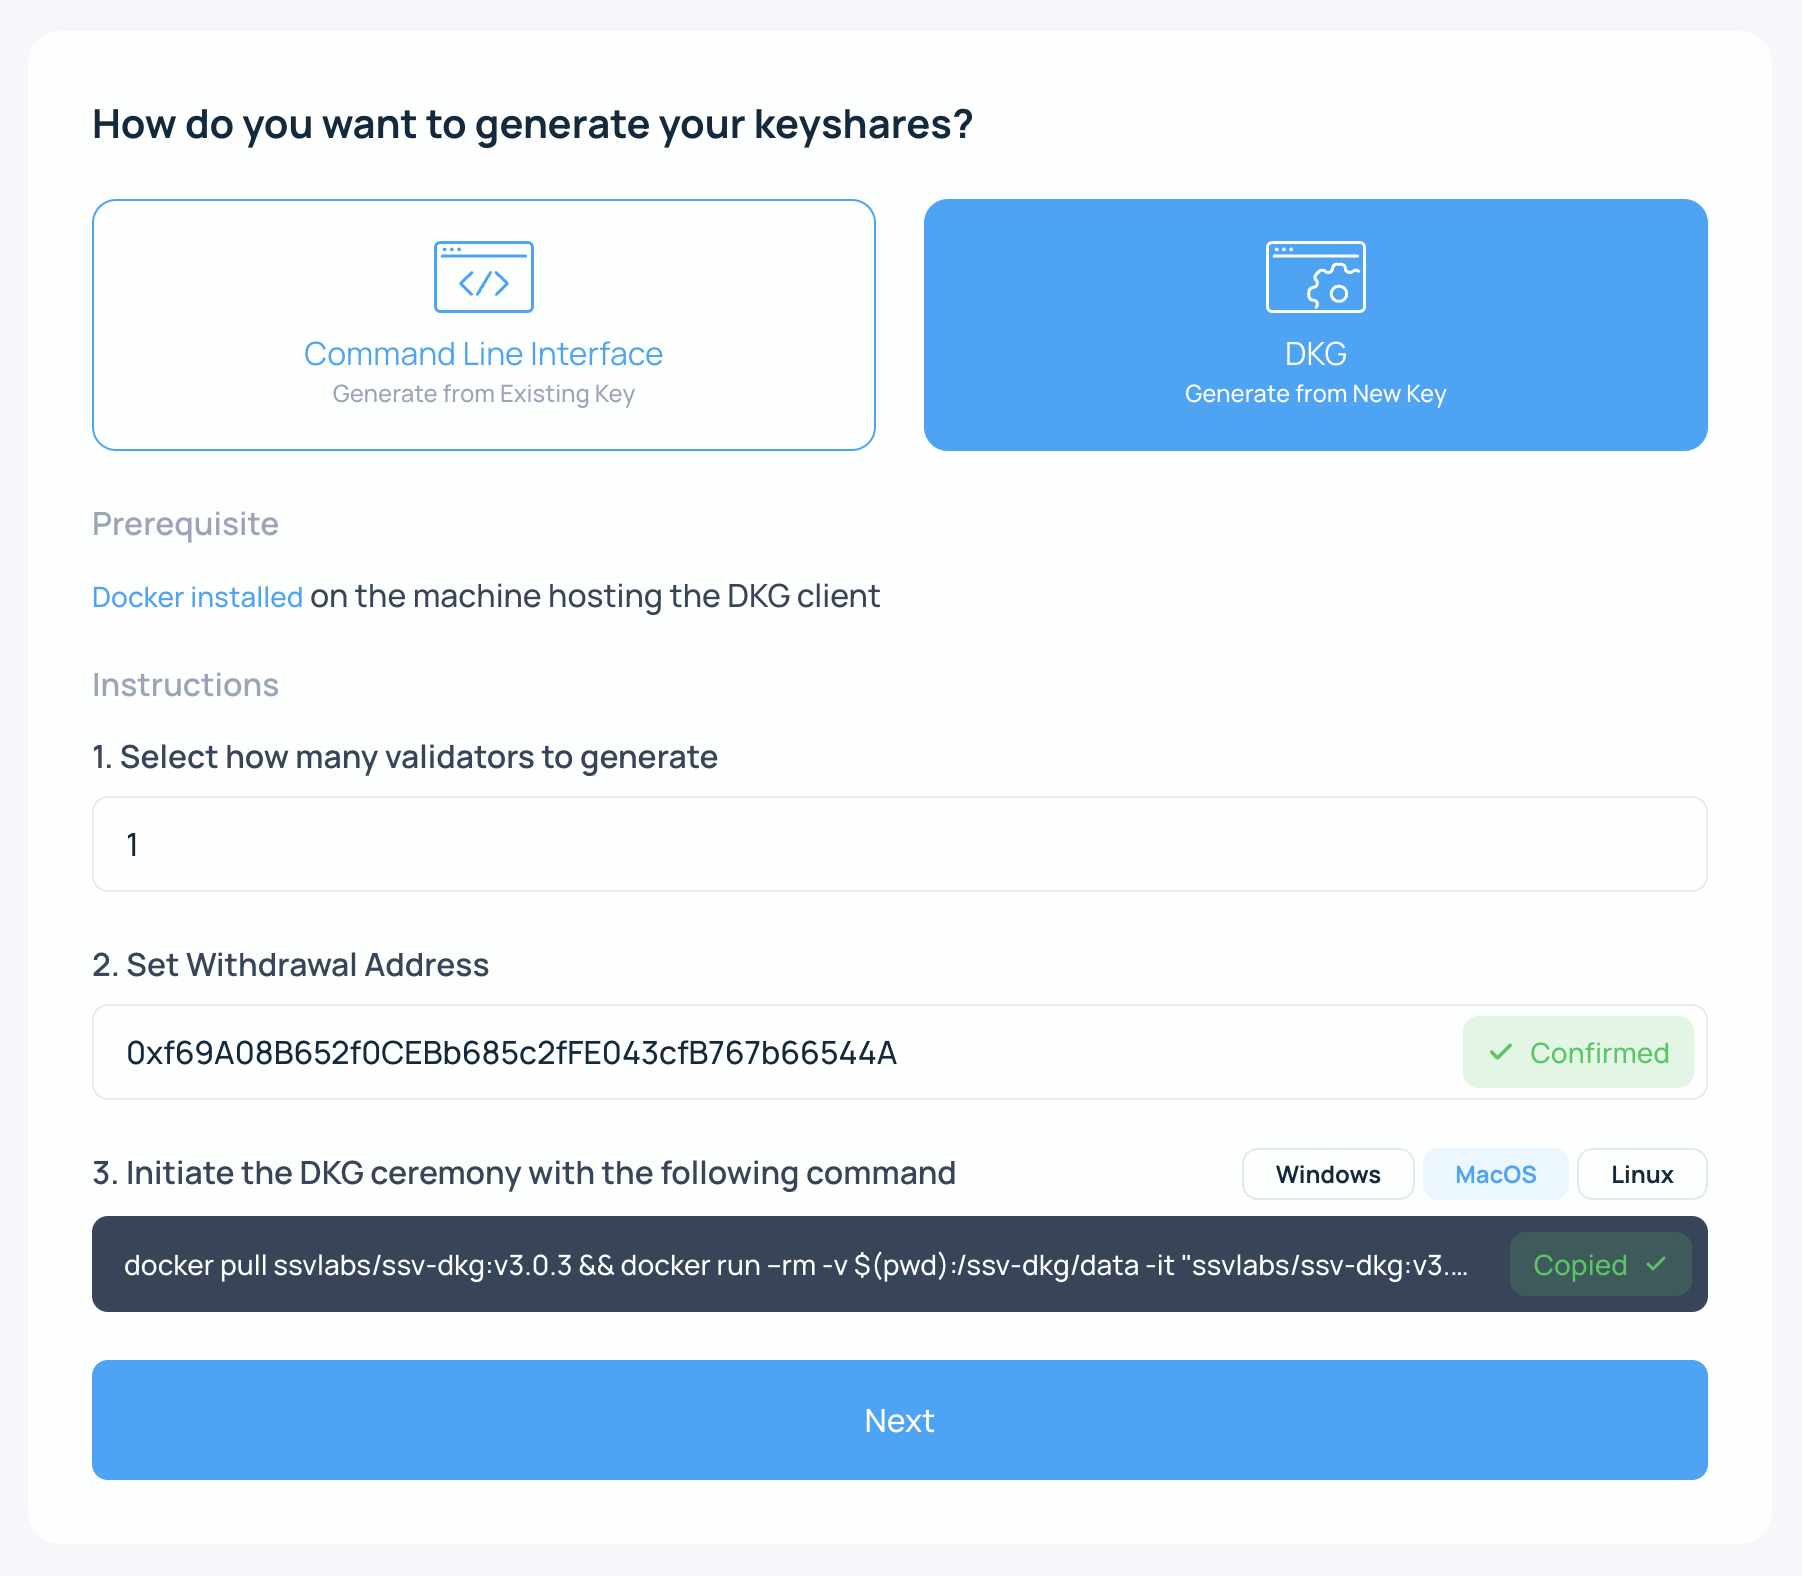
- Run the command.
Paste the command into your terminal. After a successful ceremony, the tool generates output files in the directory where you ran the command.
Important outputs include:
deposit-[validator_pubkey].json: deposit data used to activate the validator on Ethereumkeyshares-[validator_pubkey].json: key shares used to register the validator on SSV Network
- Review the next-steps checklist in the Web App.
You can close that page after you have copied the command and confirmed the generated files.
When the validator artifacts are ready, continue to Deposit Validator Keys.
Deposit Validator Keys
The simplest way to deposit validator keys is through Ethereum Launchpad. Start on testnet first if you want to rehearse the full process.
Follow this flow in Launchpad:
- Read and accept the warnings.
- Skip the execution-client selection.
- Skip the consensus-client selection.
- Provide the withdrawal address.
- Enter the amount of Hoodi ETH or ETH to stake.
- Continue to the upload step.
- Upload the
deposit_datafile. - Connect your Web3 wallet.
- Review and accept the risk warnings.
- Submit the deposit transaction for the validators shown.
Activation can take hours or days depending on the validator entry queue.
You can track validator activation on Beaconcha.in by validator public key.
Next Steps
At this point, your validators should be generated and deposited. To register them on SSV Network, continue to Onboarding a Validator.