Onboarding a Validator
The fastest way to start with SSV Network is to distribute and register an existing validator. If you are new to the flow, try it on testnet first and then continue on mainnet.
Before you begin, make sure you have:
- your validator keys
- an active deposit made to the Ethereum Deposit Contract
- enough ETH in your owner wallet to pay gas and fund the cluster's runway and liquidation collateral
To create validator keys and activate them first, follow Creating a New Validator.
Connect your Web3 wallet to the Web App
Connect the Web3 wallet you want to use as the validator owner.
Your connected wallet becomes the owner account for the validator on SSV Network. Keep access to this wallet. To move ownership to a different wallet later, you must remove the validator and register it again from the new wallet.
If this is your first validator in the account, create a new cluster.
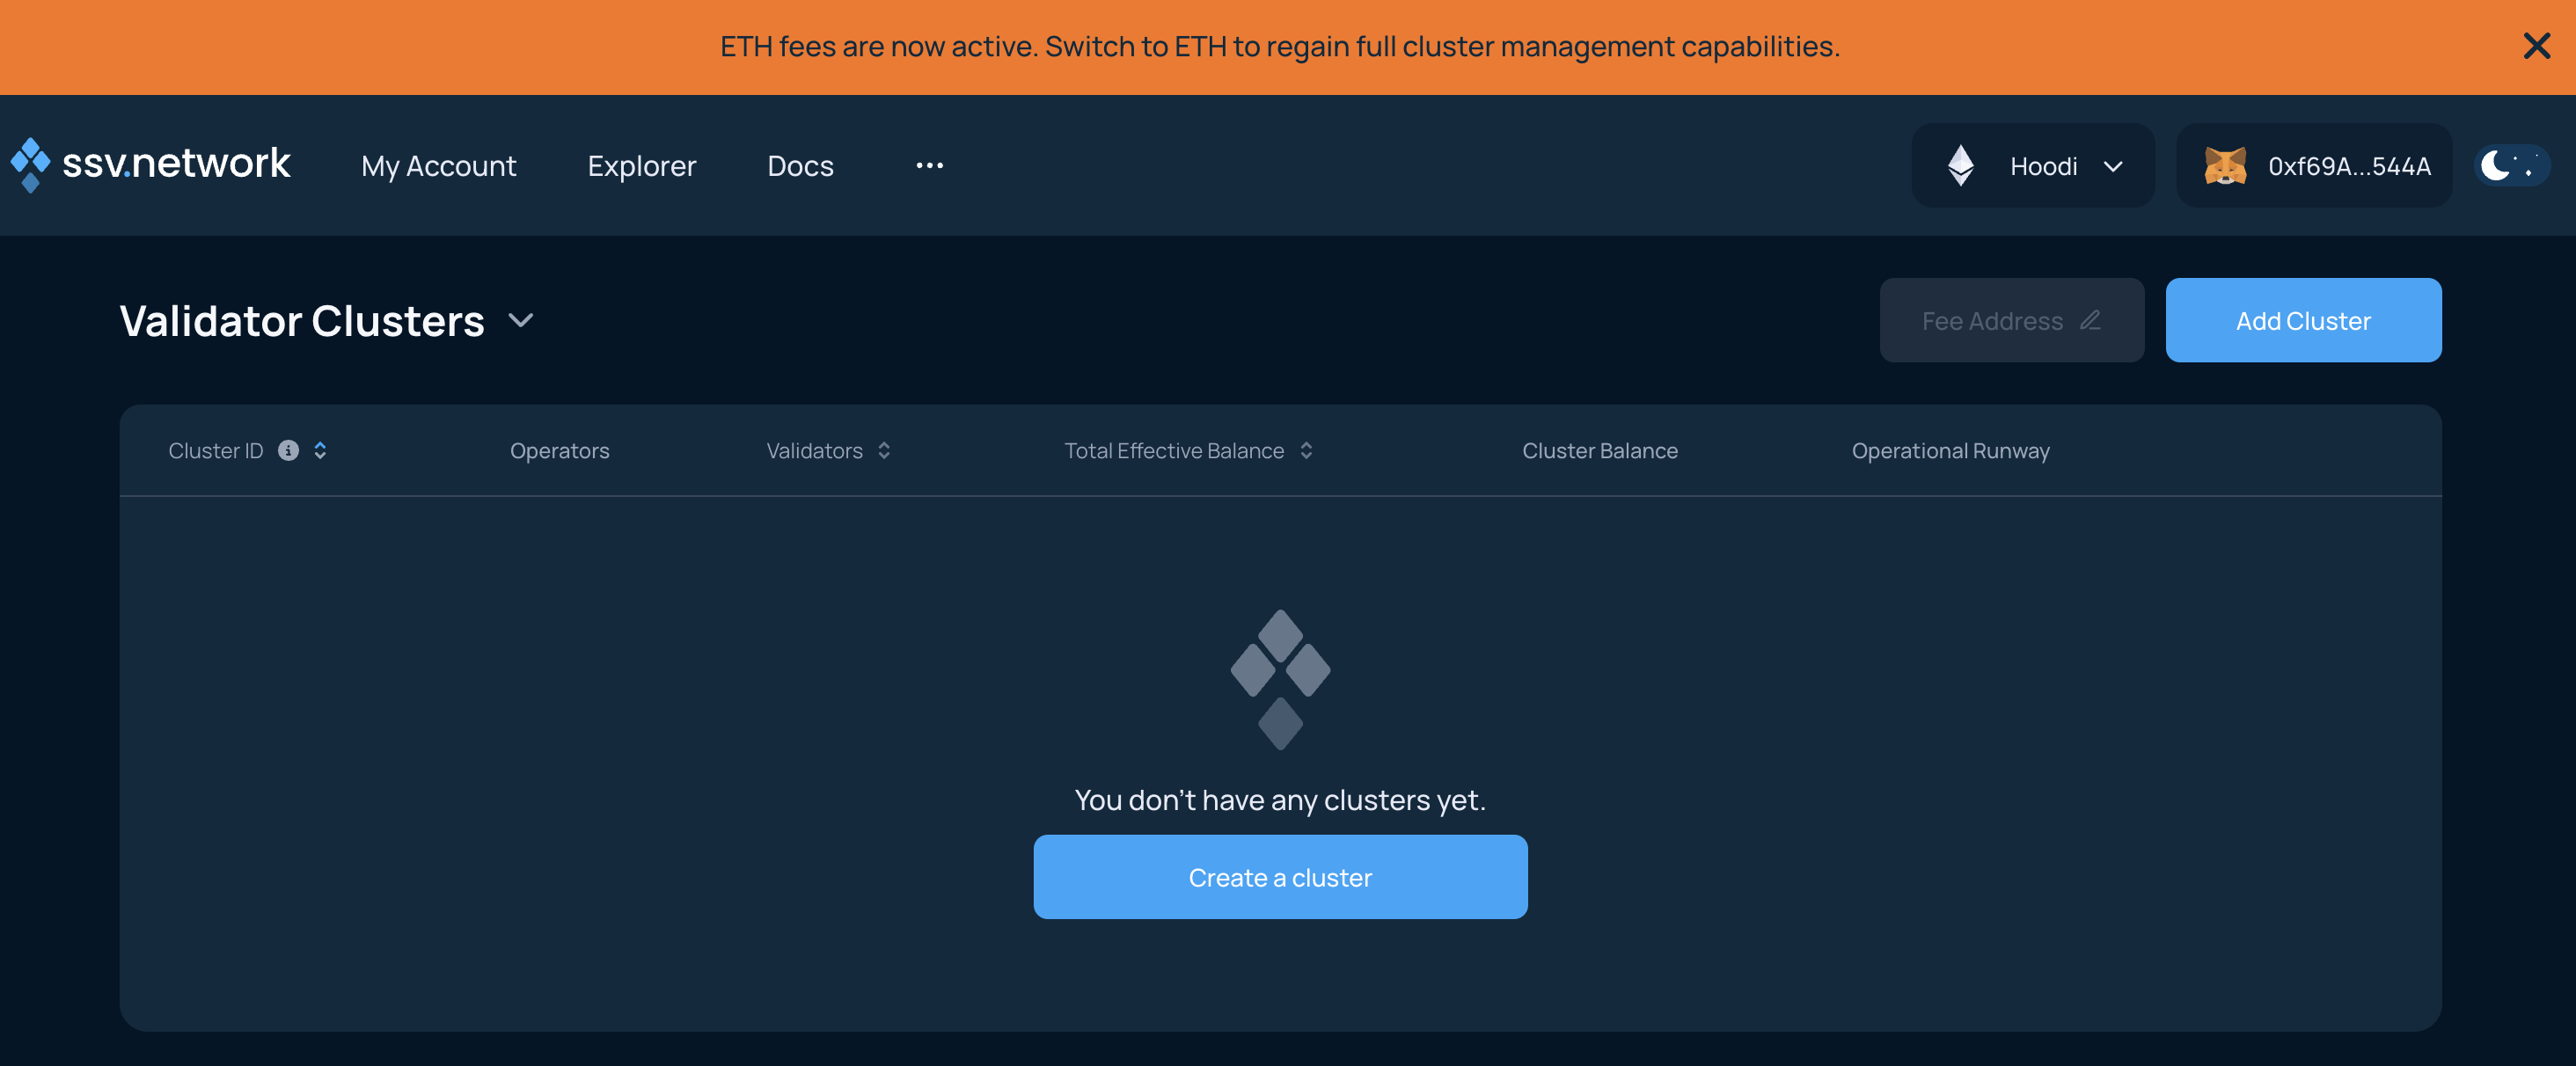
Confirm the disclaimer and click Next.

Select operators
Select four operators to run the validator. Before you continue, review the Yearly Fee for the selected set.
Verified Operators (VOs) are operators that the DAO has marked as Verified after KYC and ongoing service review. You can sort and filter the list by performance, yearly fee, validator count, and verified status.
Split the validator key
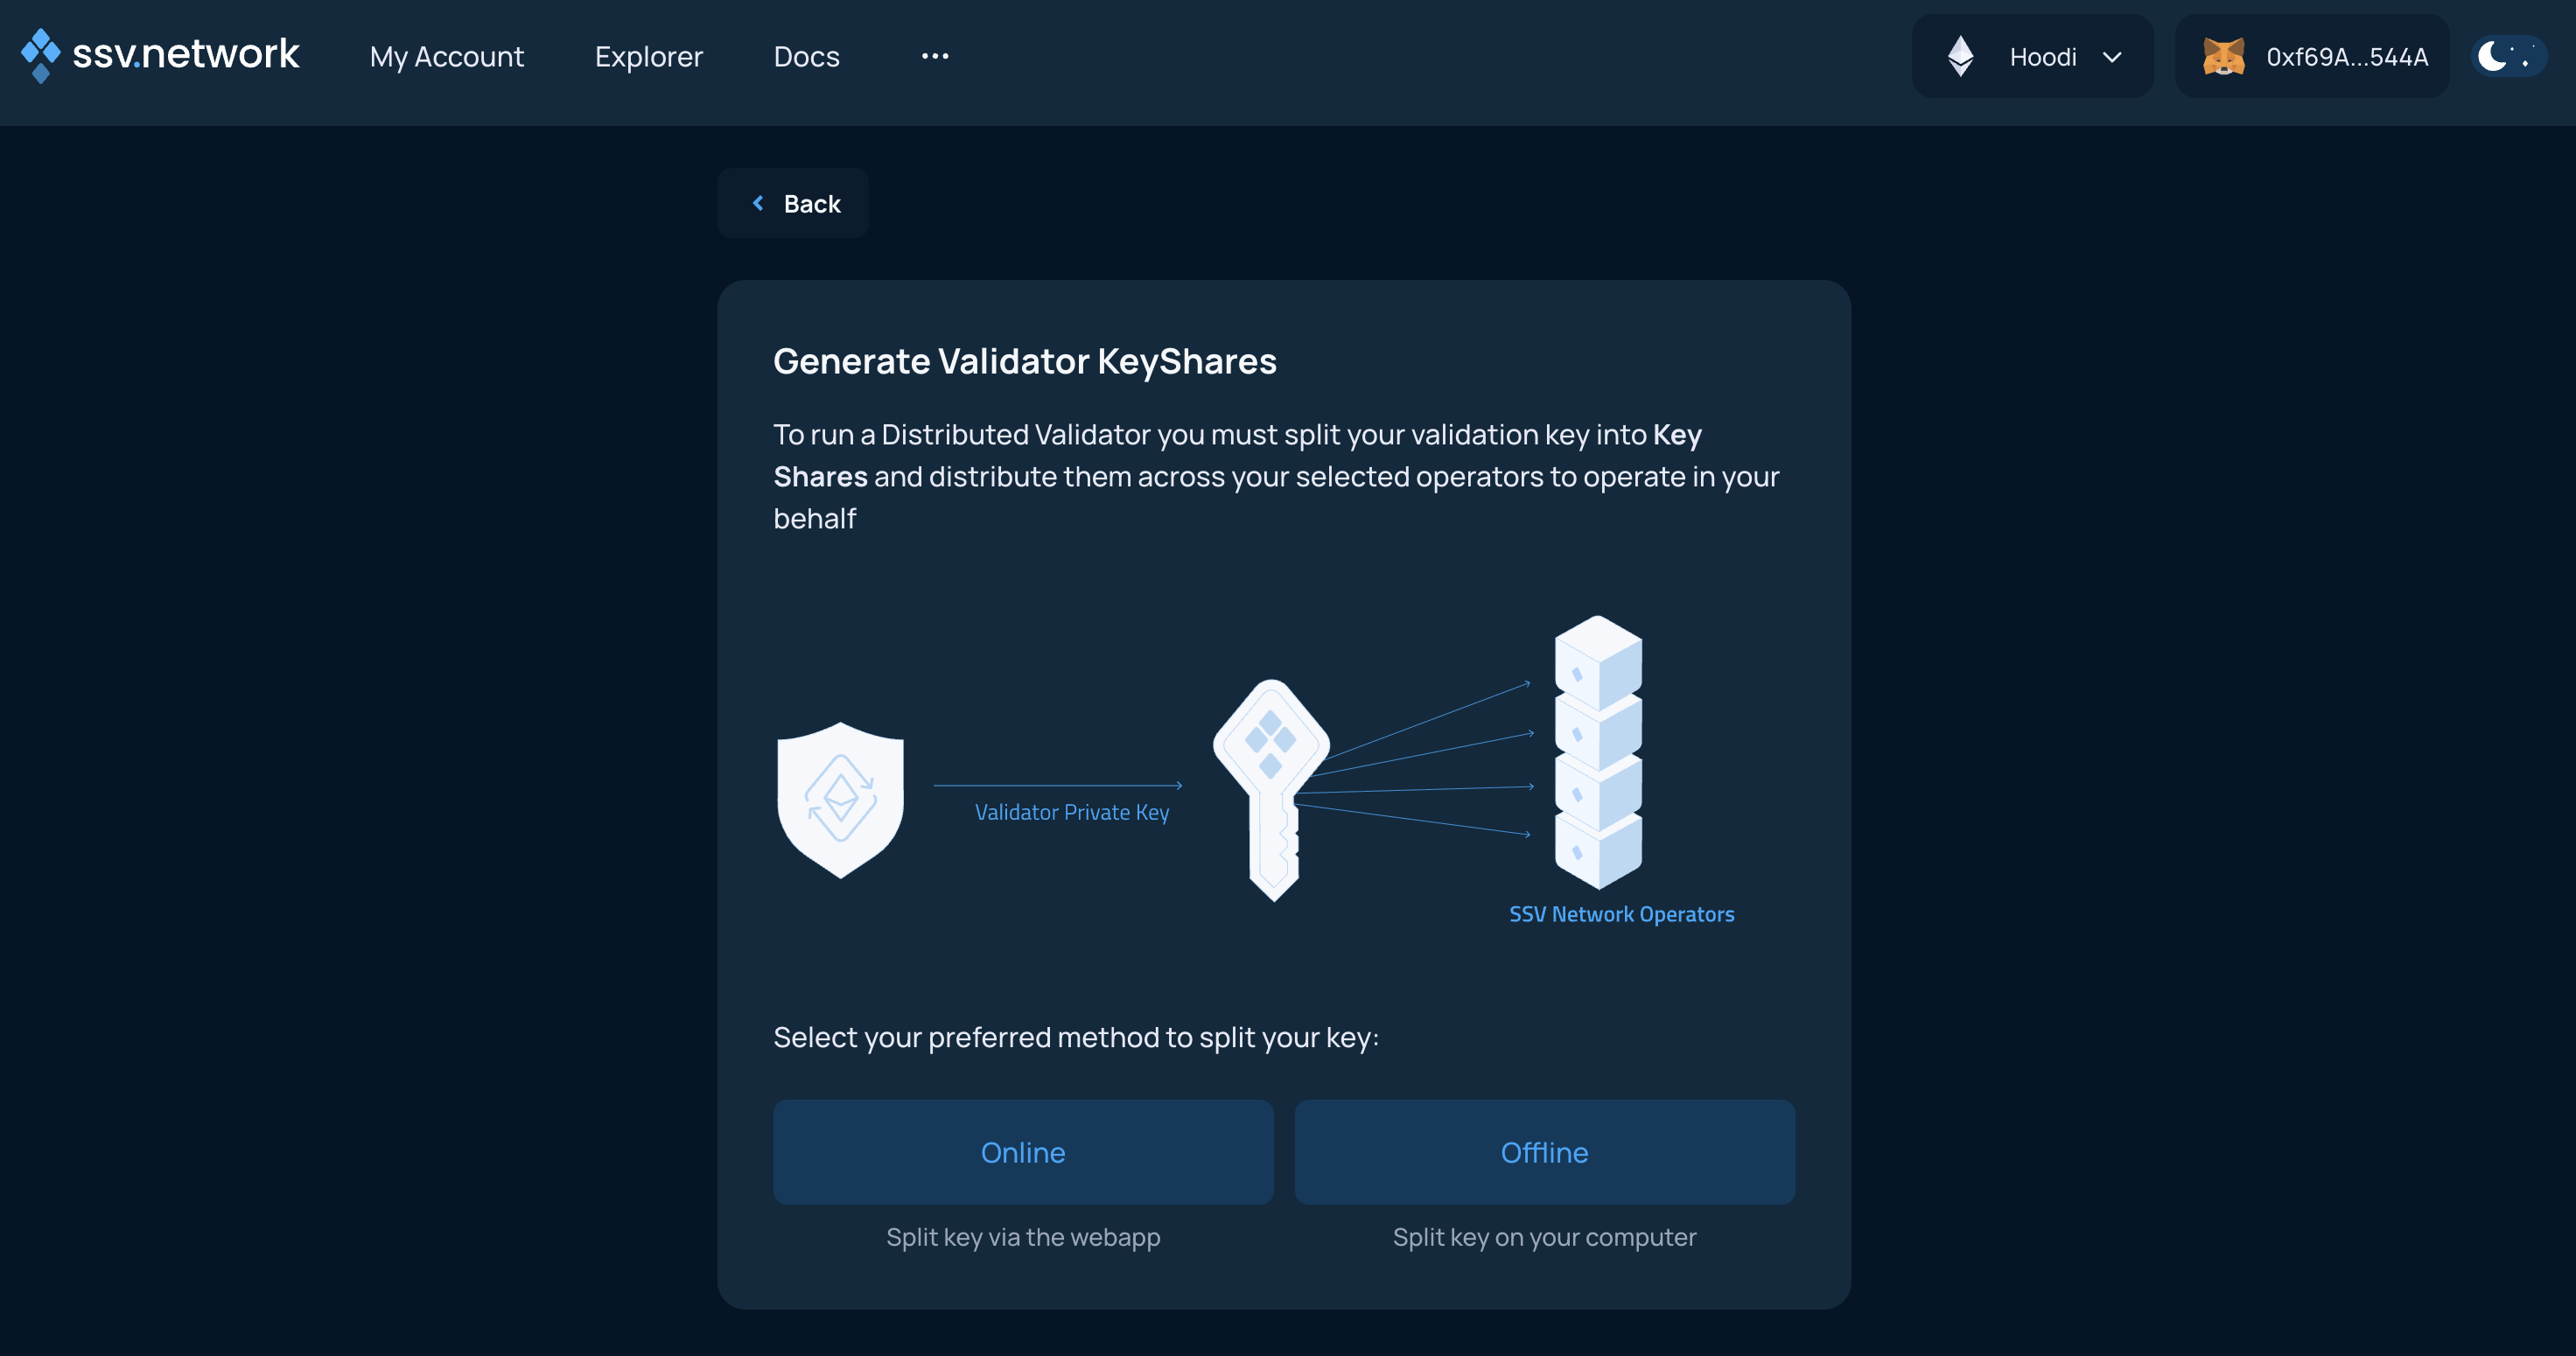
The next screen lets you generate key shares for your validator key.
- On testnet, you can split keys online in the Web App or offline on your own machine.
- On mainnet, only the offline option is available.
- Offline Key Splitting
- Online Key Splitting
Offline key splitting is the safer option. It requires the command-line tool. For details, follow the SSV-Keys CLI guide.
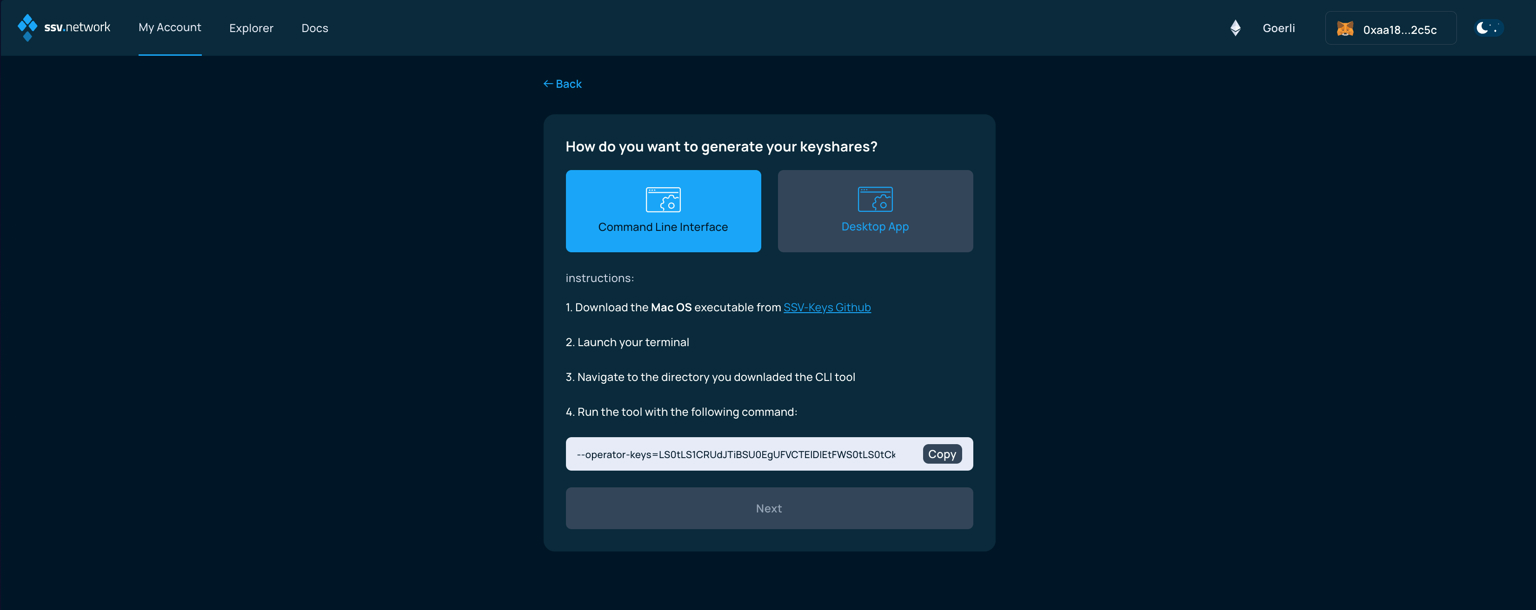
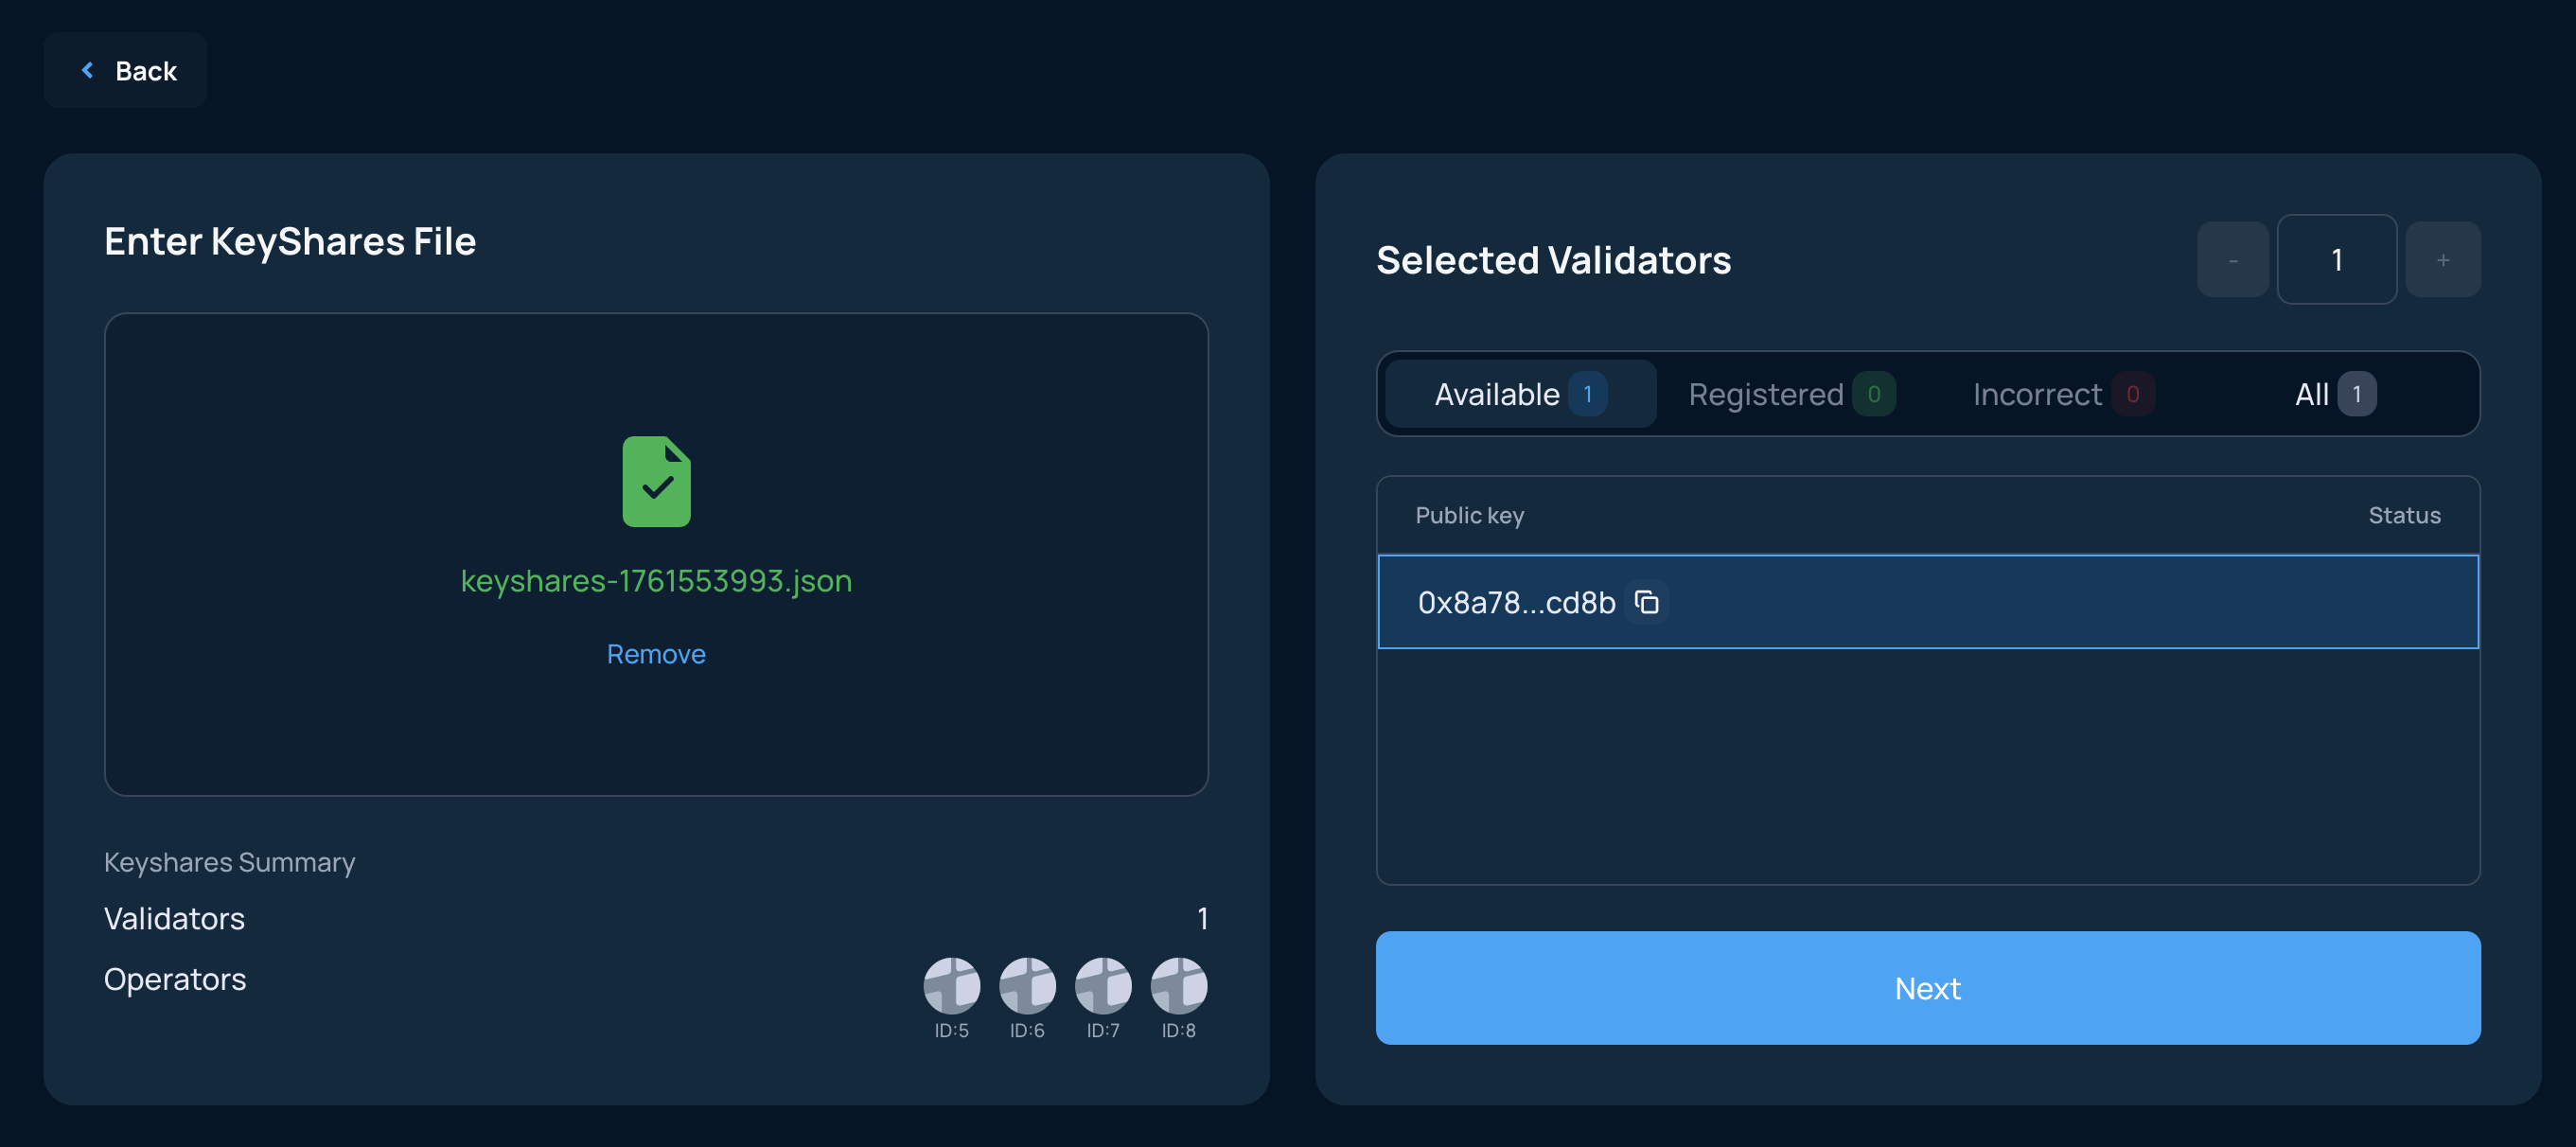
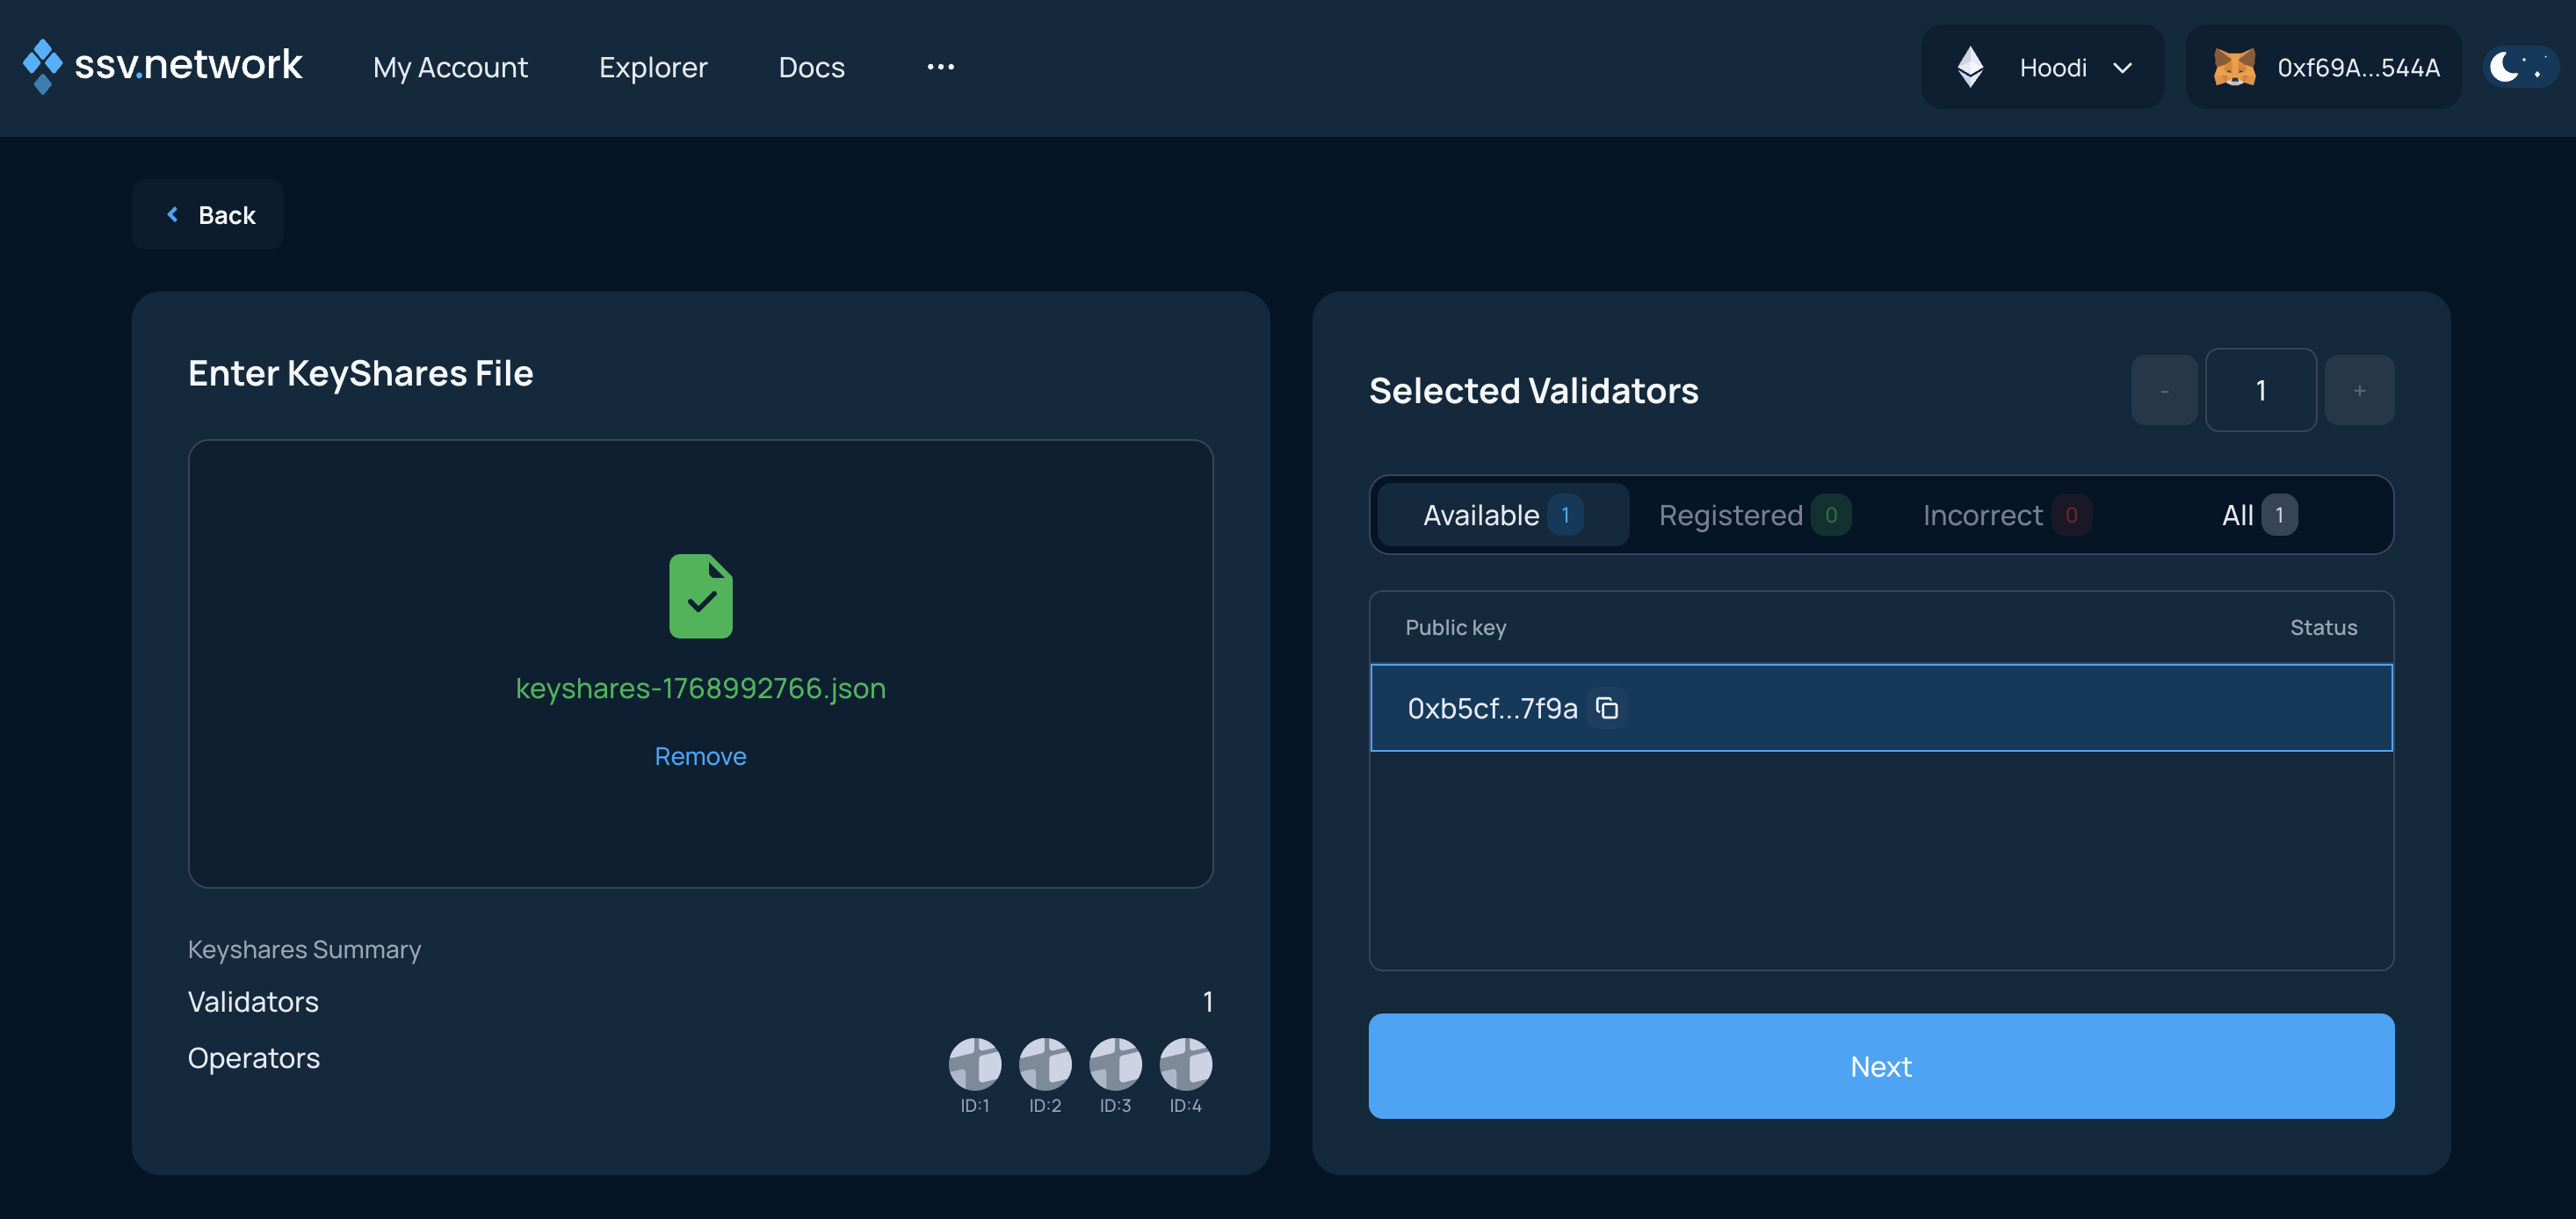
If you choose the offline flow, generate the key shares locally and upload the resulting keyshares-[DATE]-[TIME].json file on the next screen.
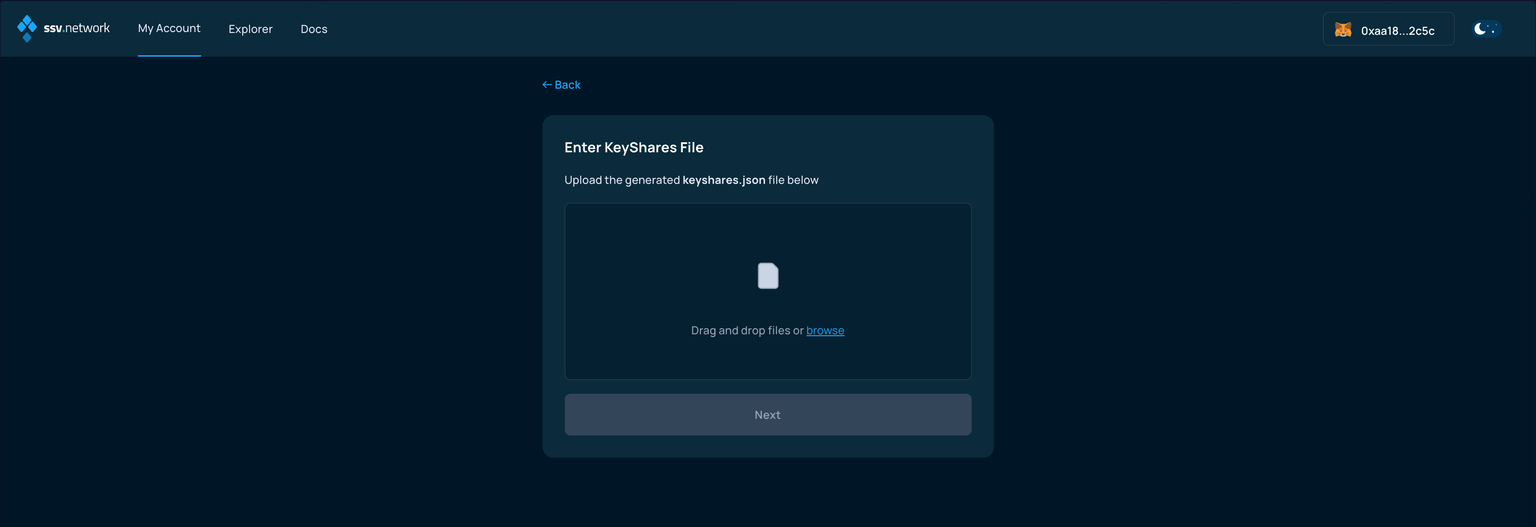
After the file passes validation, click Next.
Online key splitting is more convenient, but it is only available on testnet and only for testing.
Never use online key splitting with a private key you plan to use on mainnet.
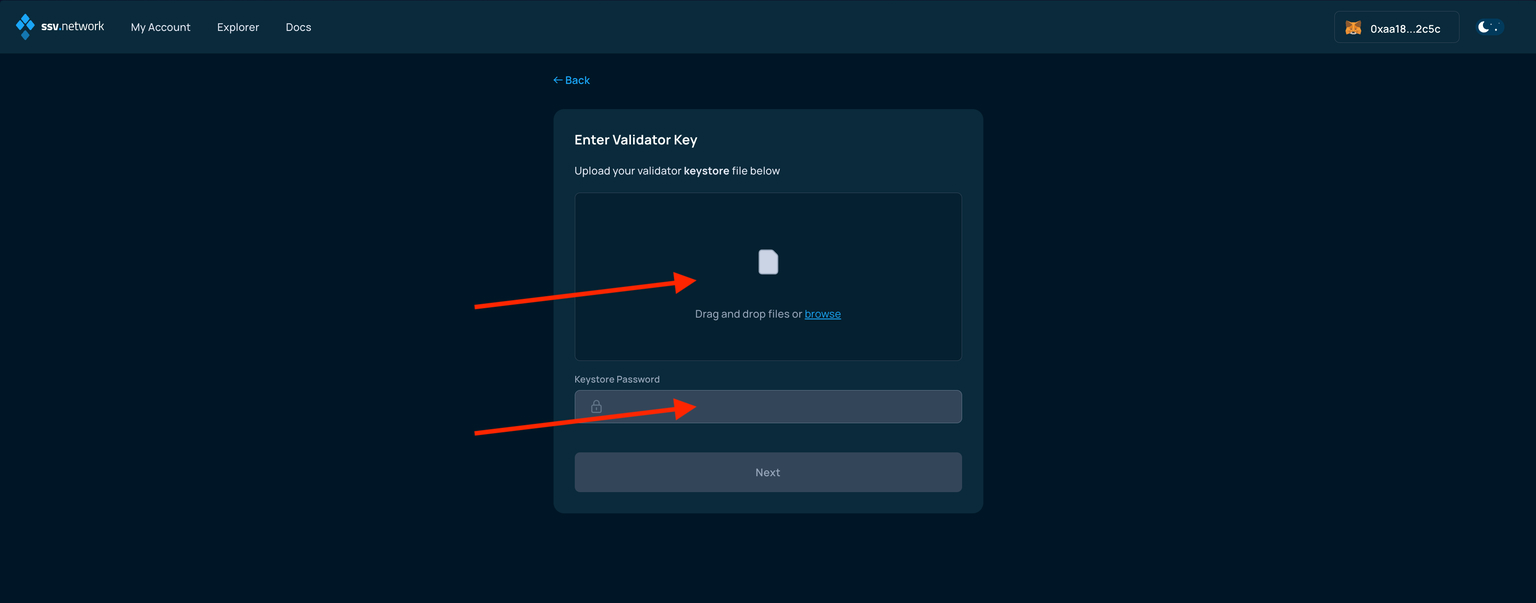
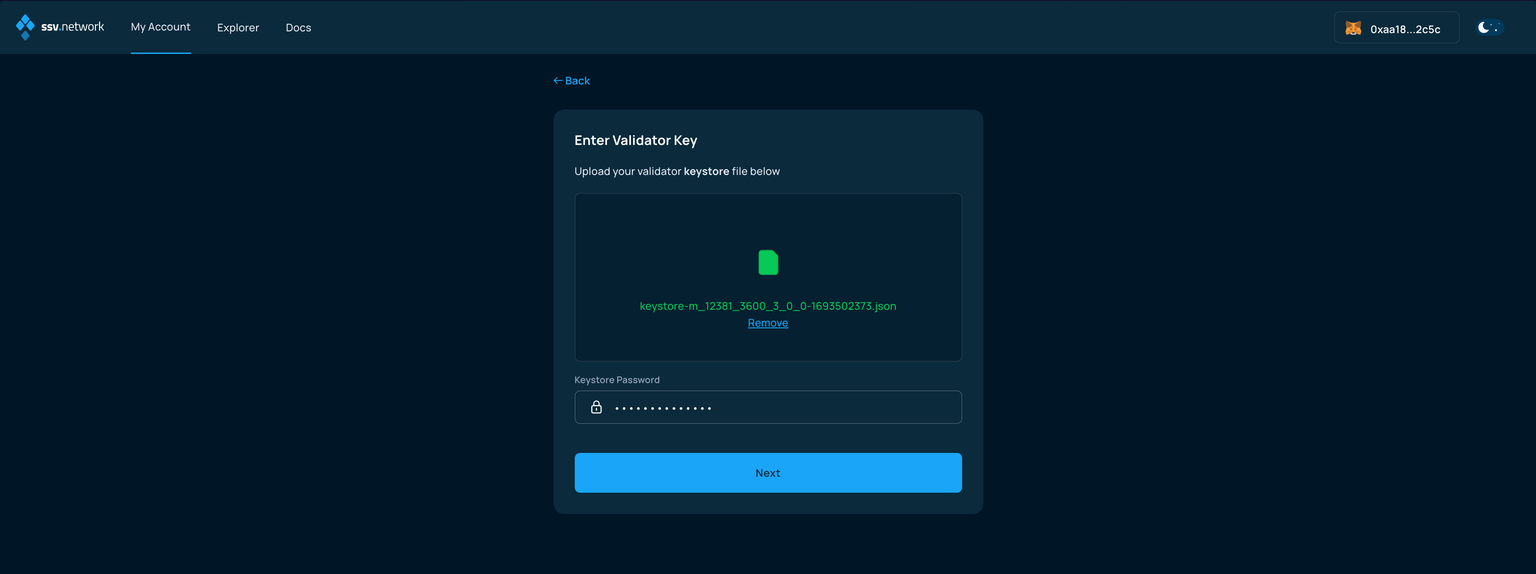
If you choose the online flow, upload the validator keystore file and enter its password.
Register the validator
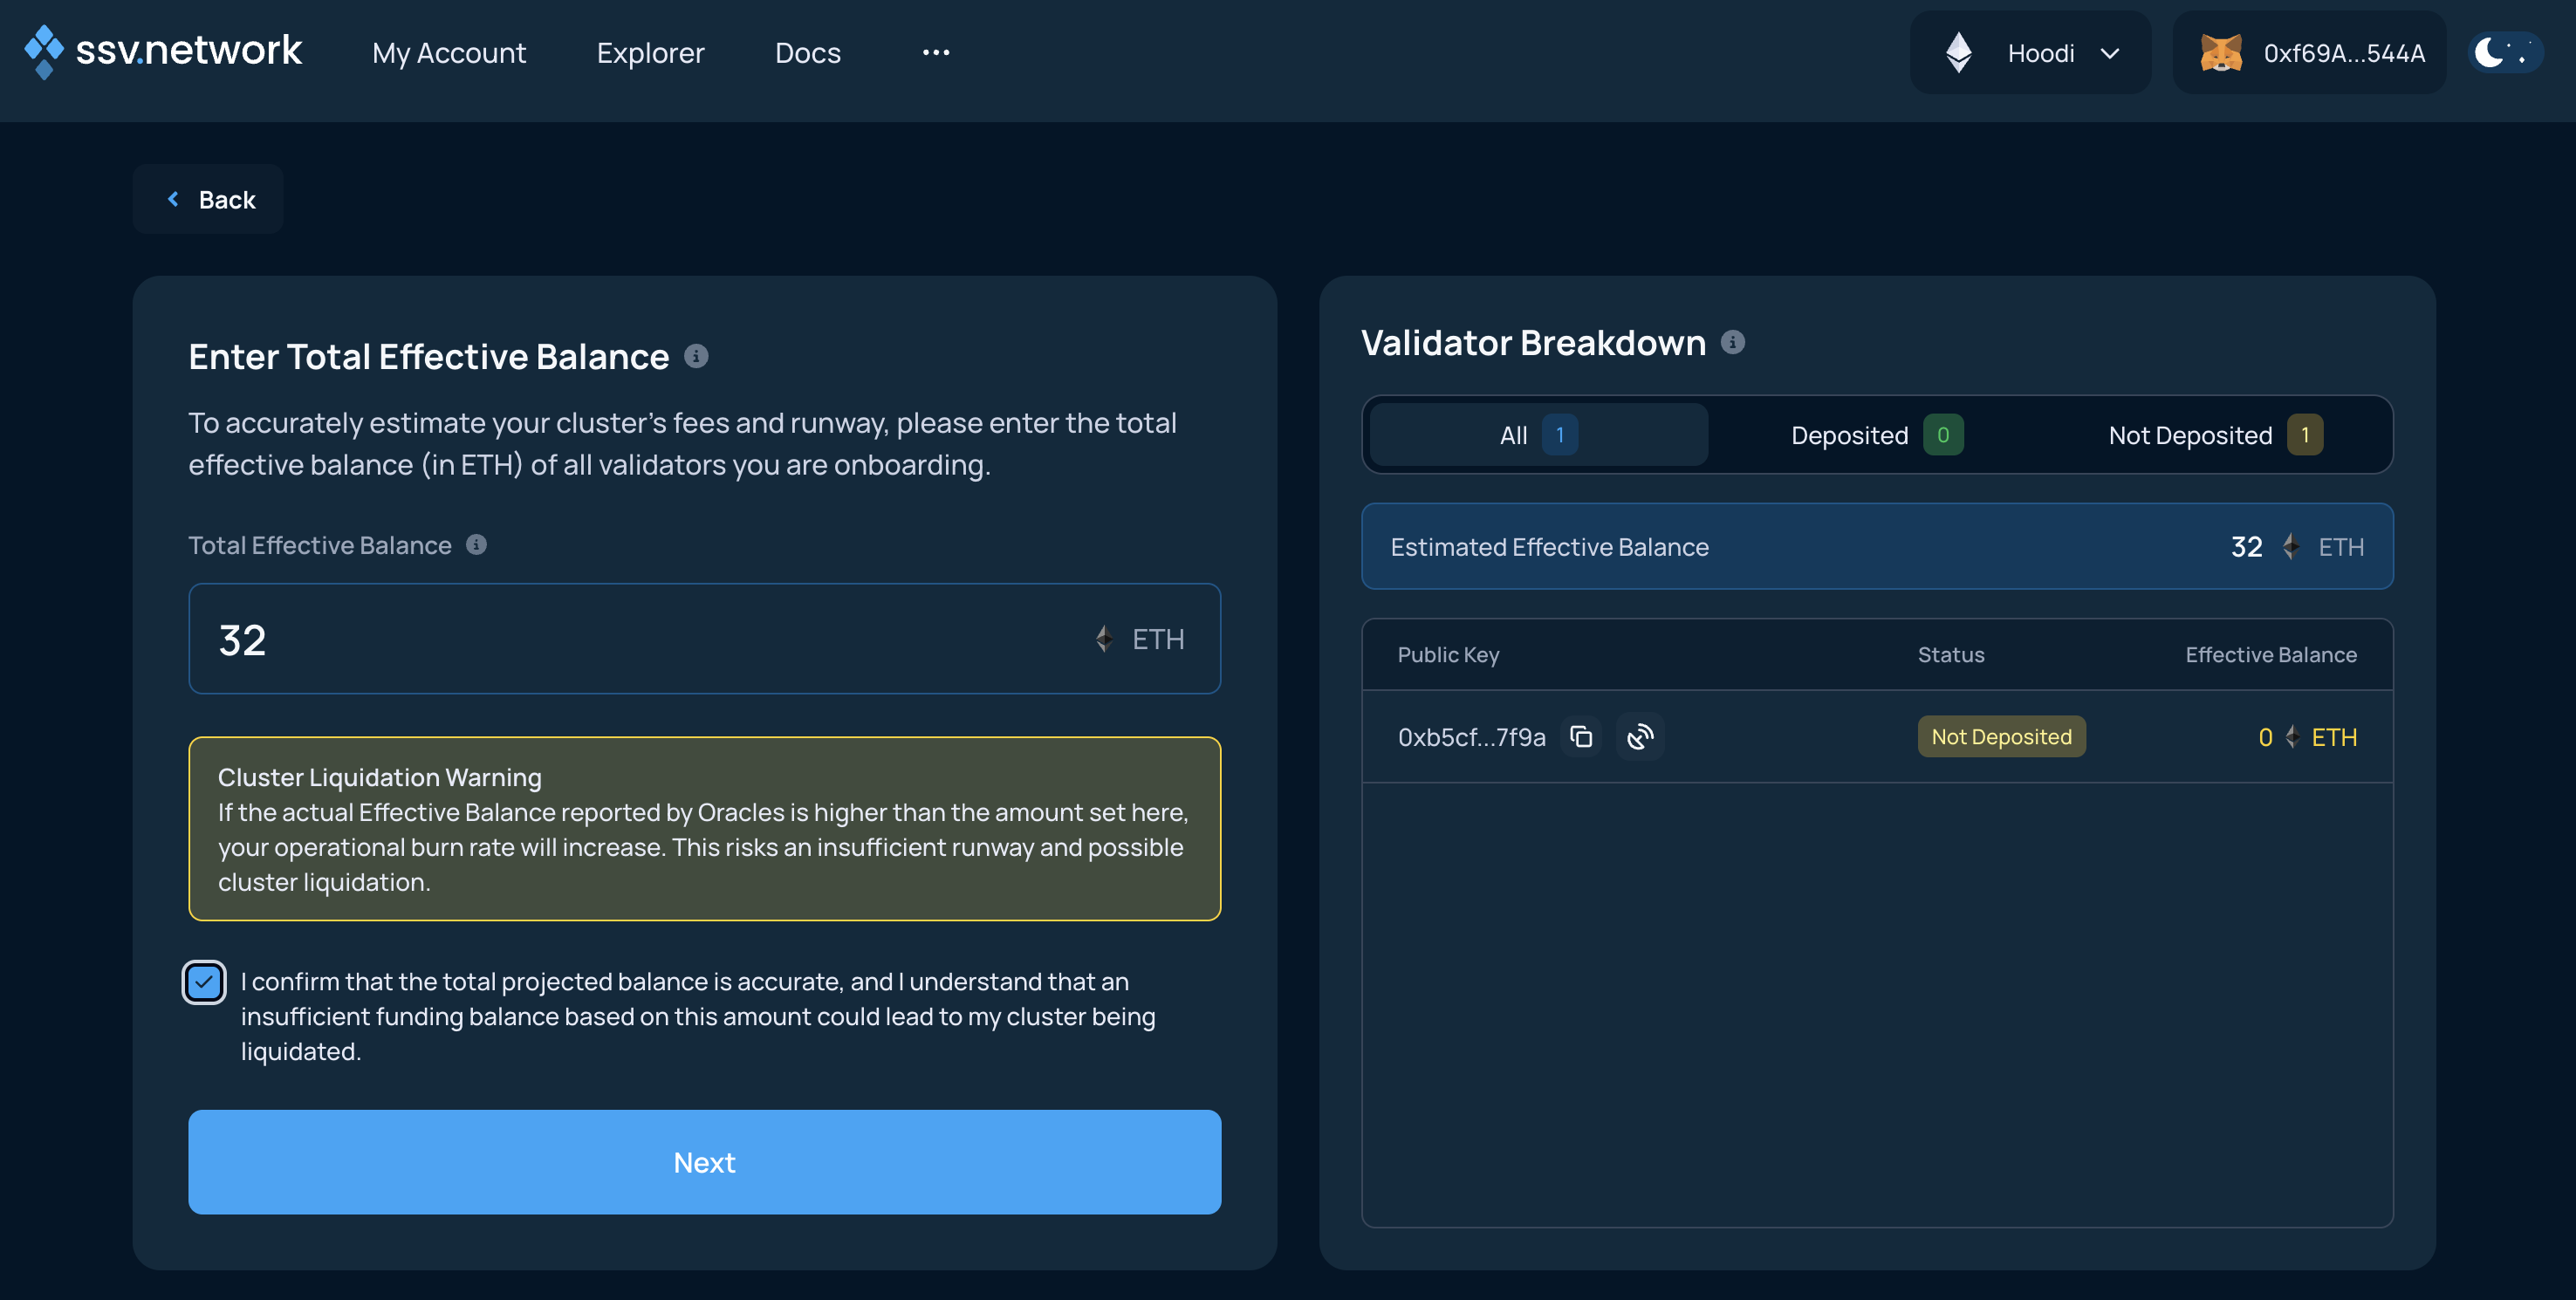
Enter the effective balance
For an accurate runway estimate, enter the validator's effective balance. If you do not enter a value, the Web App assumes 32 ETH per validator.
To learn how this affects fees, see Effective Balance accounting.
Read the warning, enter the effective balance, and continue.
Choose the operational runway
Choose how much runway to pre-fund based on the Yearly Fee for your selected operators. This determines how much ETH is deposited into the cluster now, but you can manage the balance later.
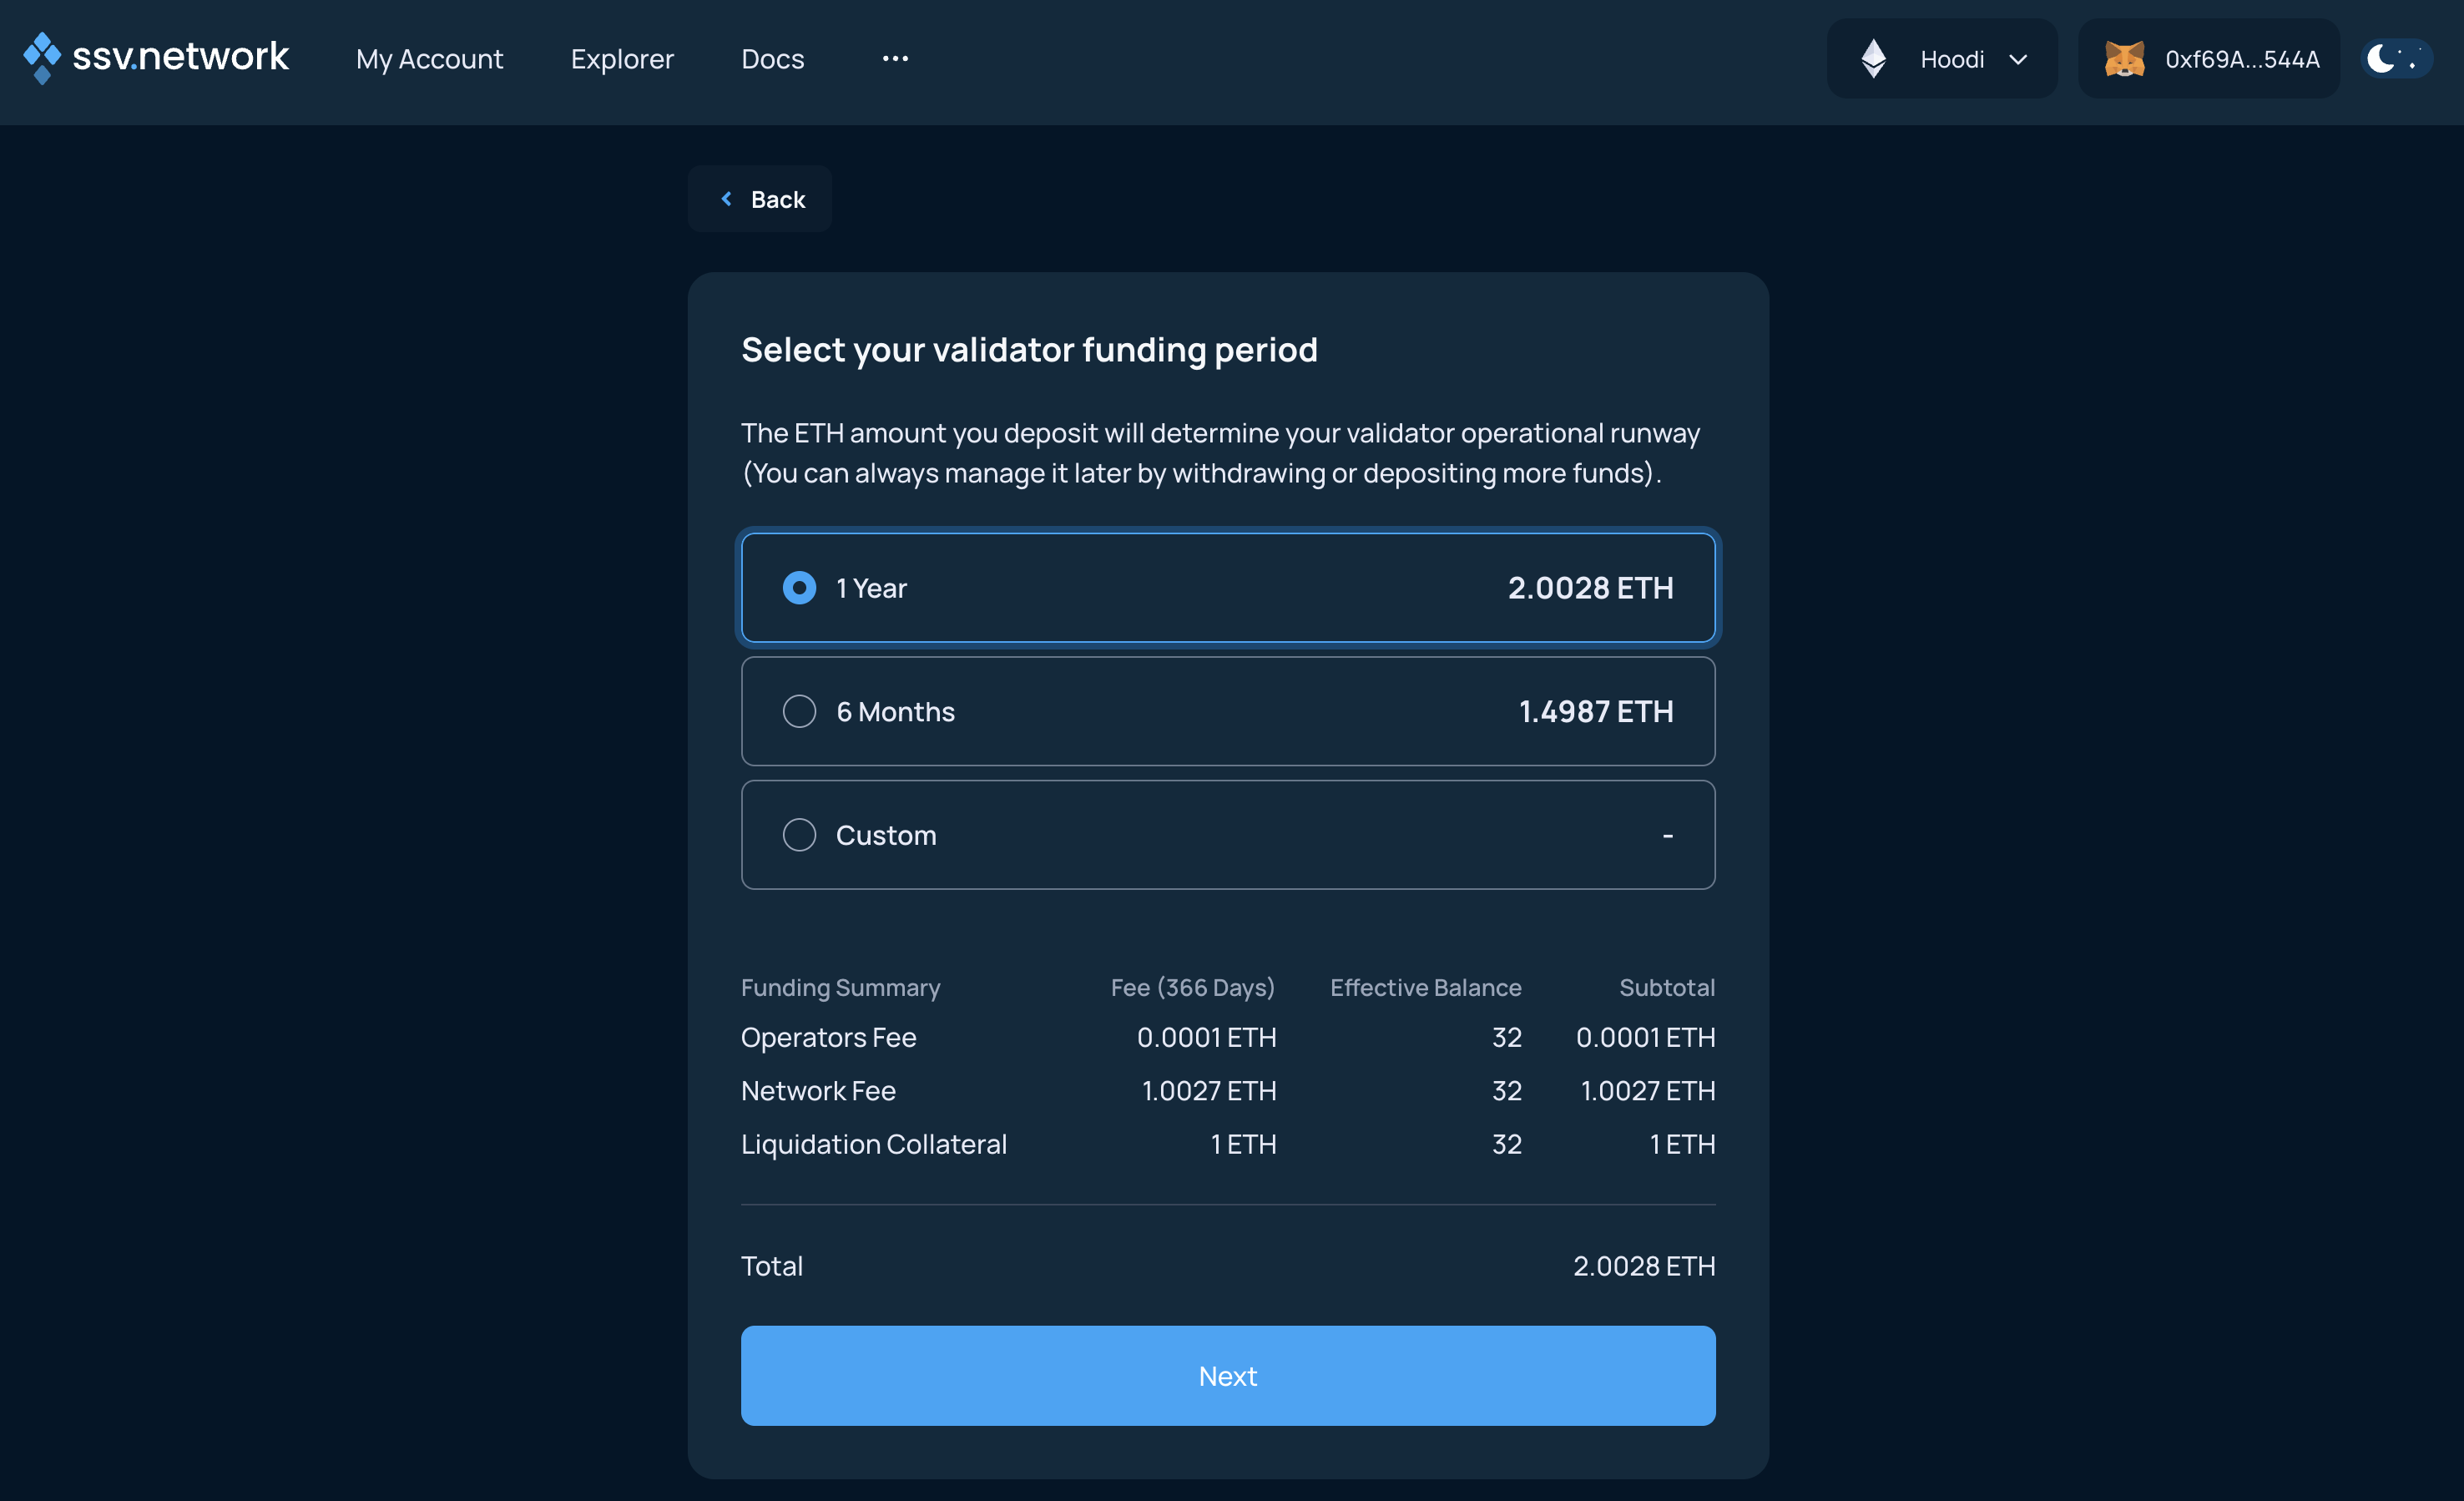
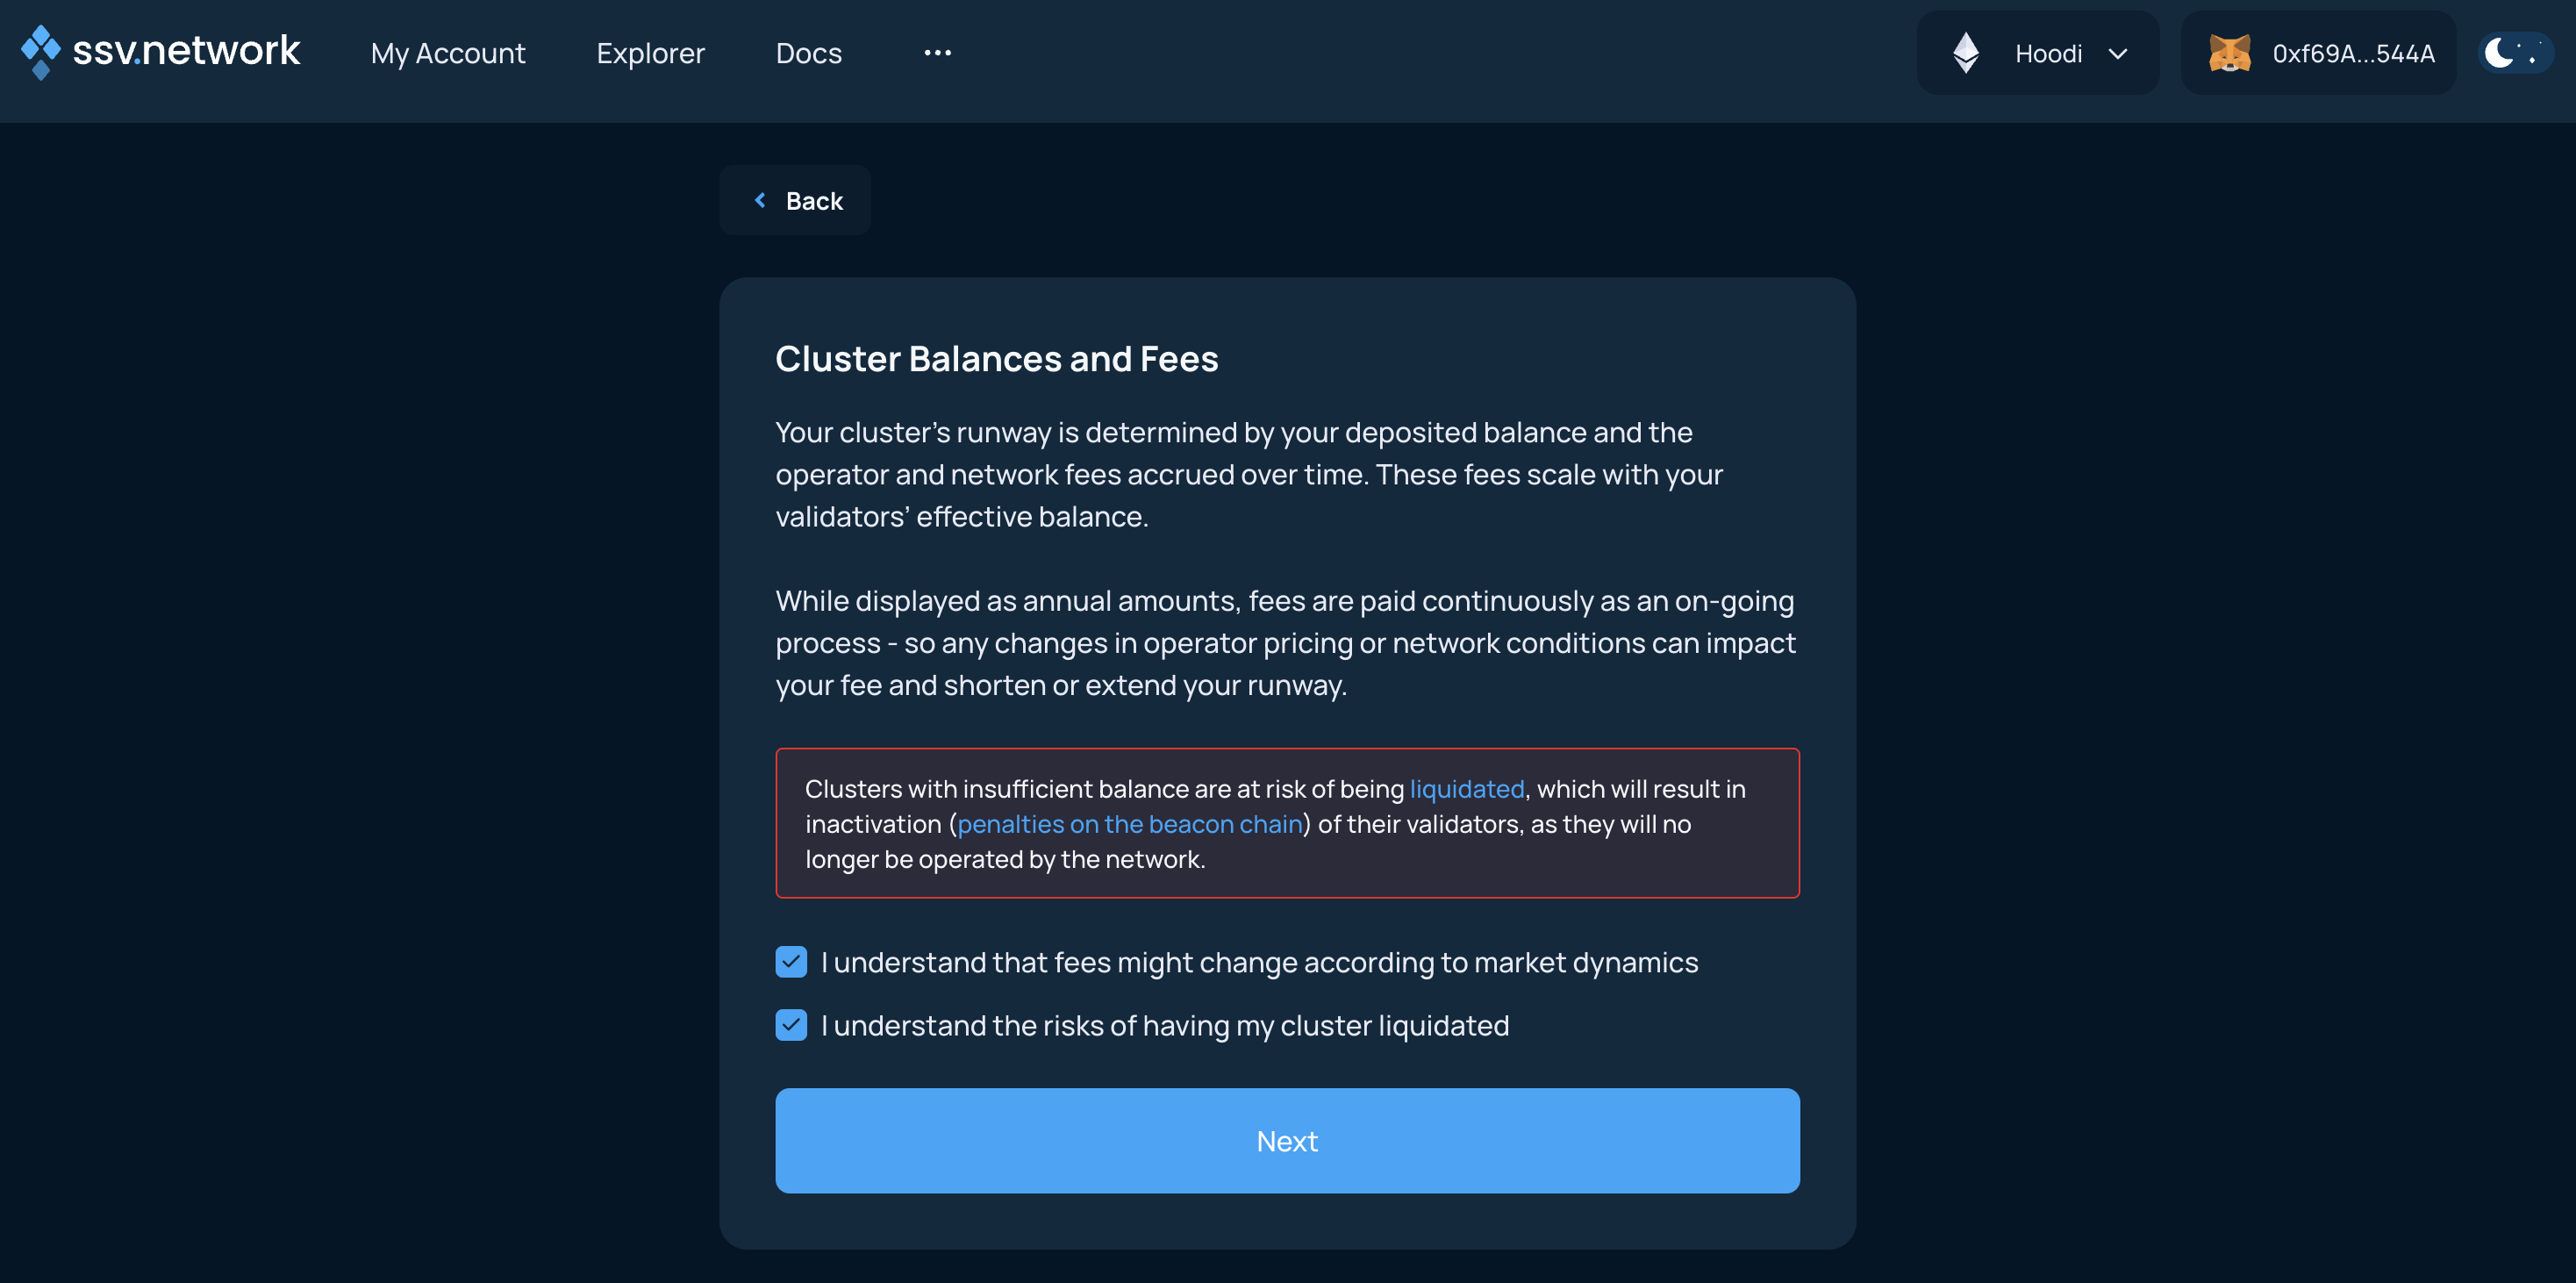
Read the warning carefully. Your cluster must keep enough ETH to cover ongoing fees and the required liquidation collateral. If the balance falls too low, the cluster can be liquidated.
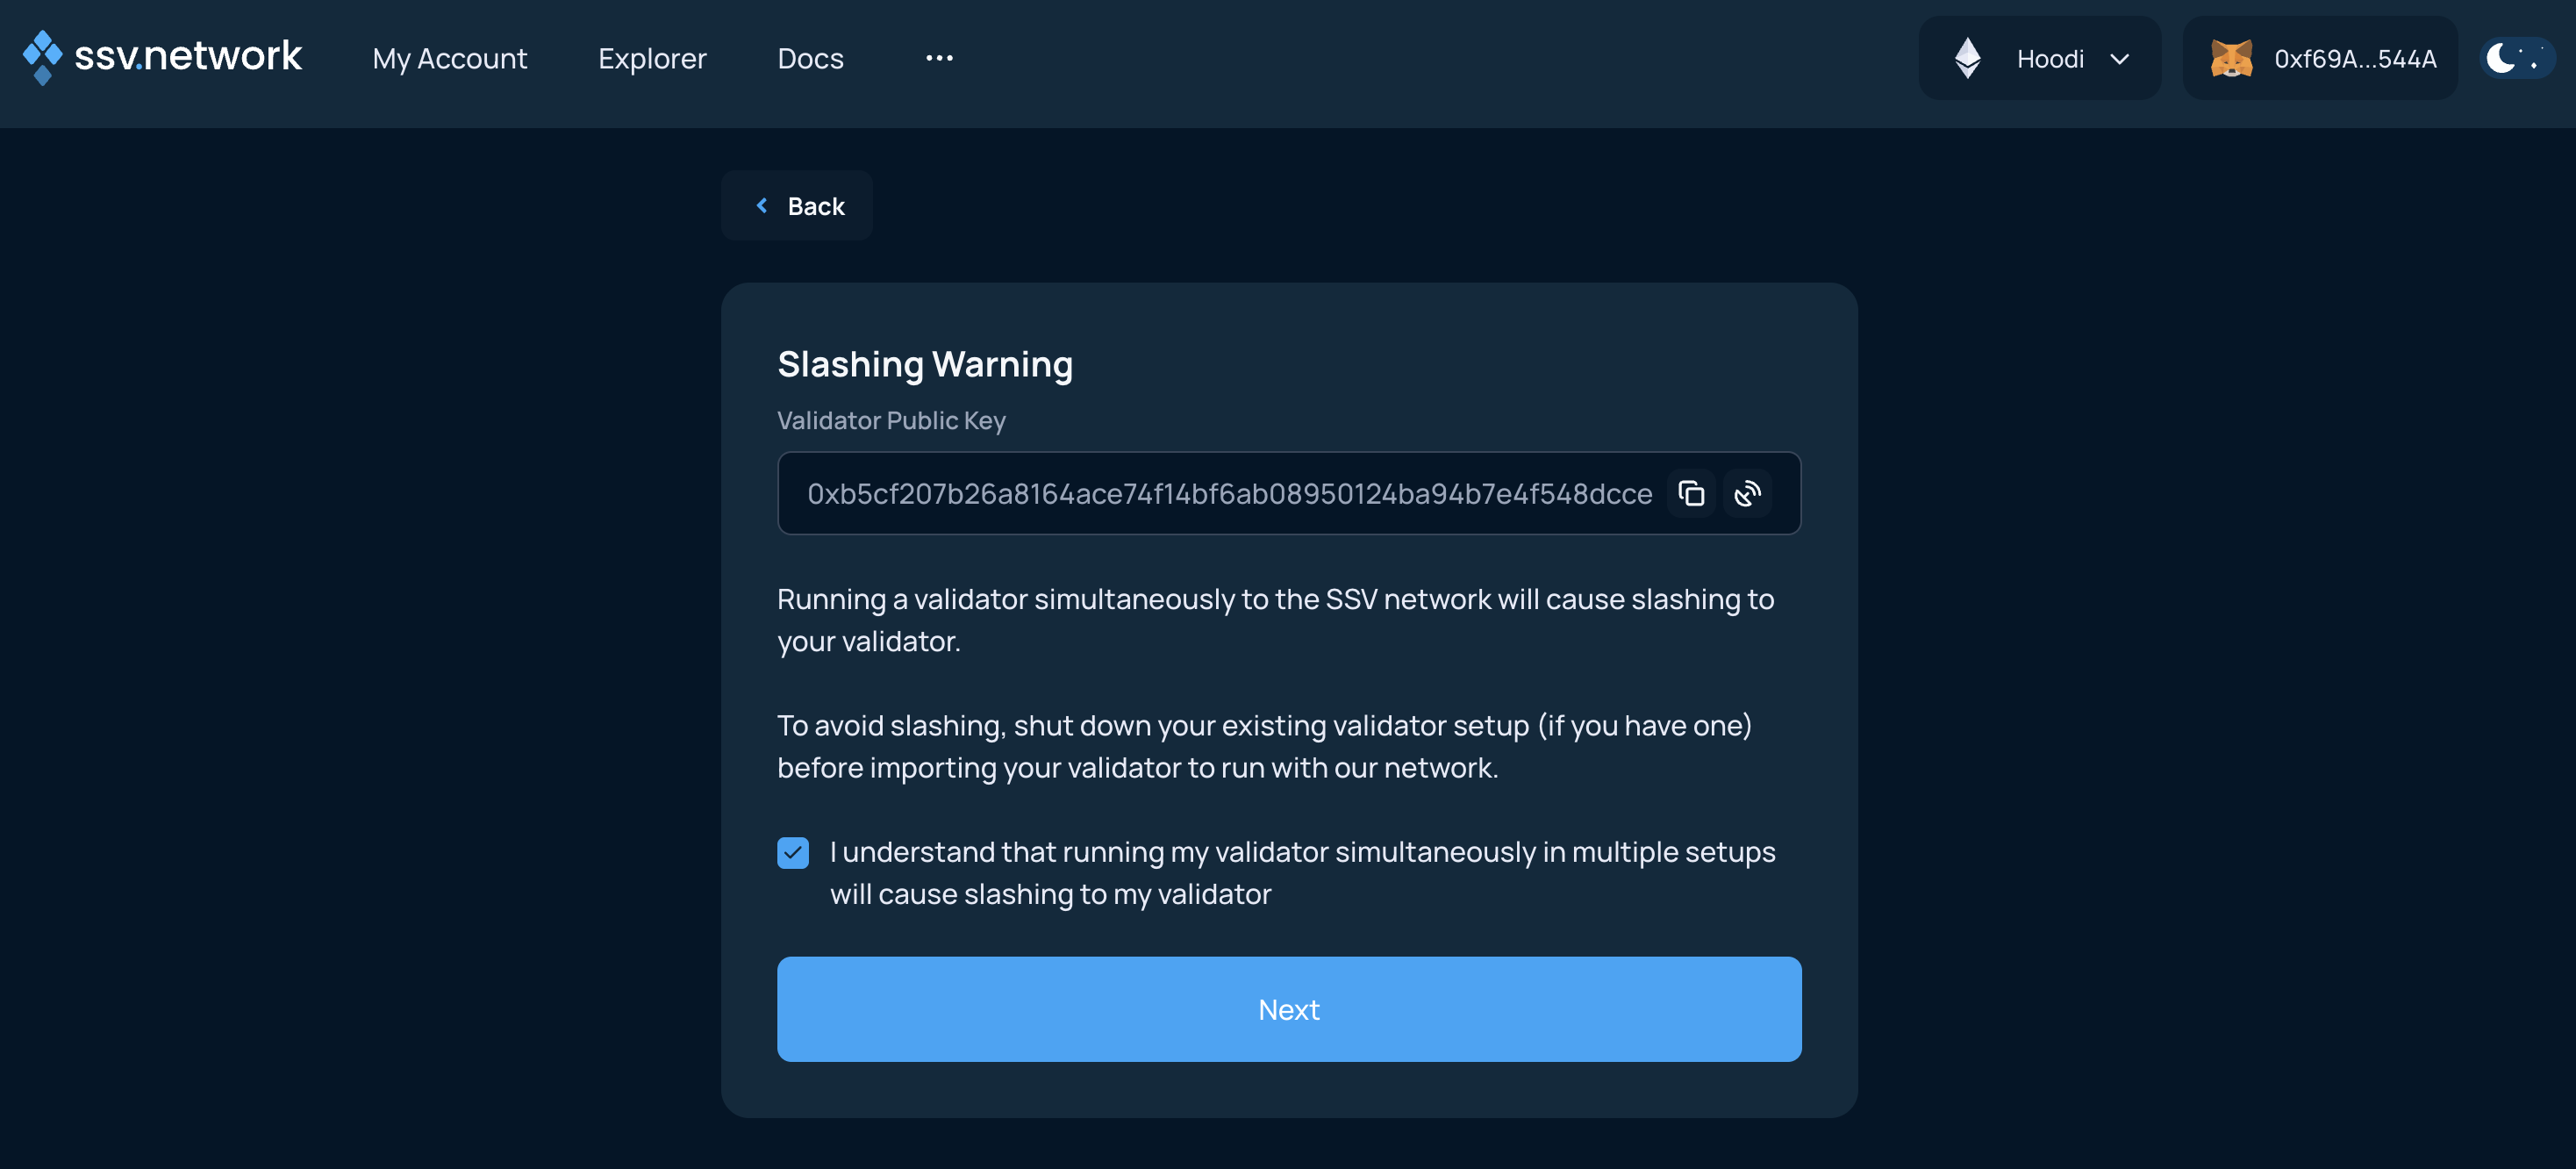
Review the slashing warning
This screen warns you about using the same validator keys in more than one validator setup.
Before you continue, stop any other validator client that is using the same validator keys.
Review the validator summary
Review the validator configuration summary.
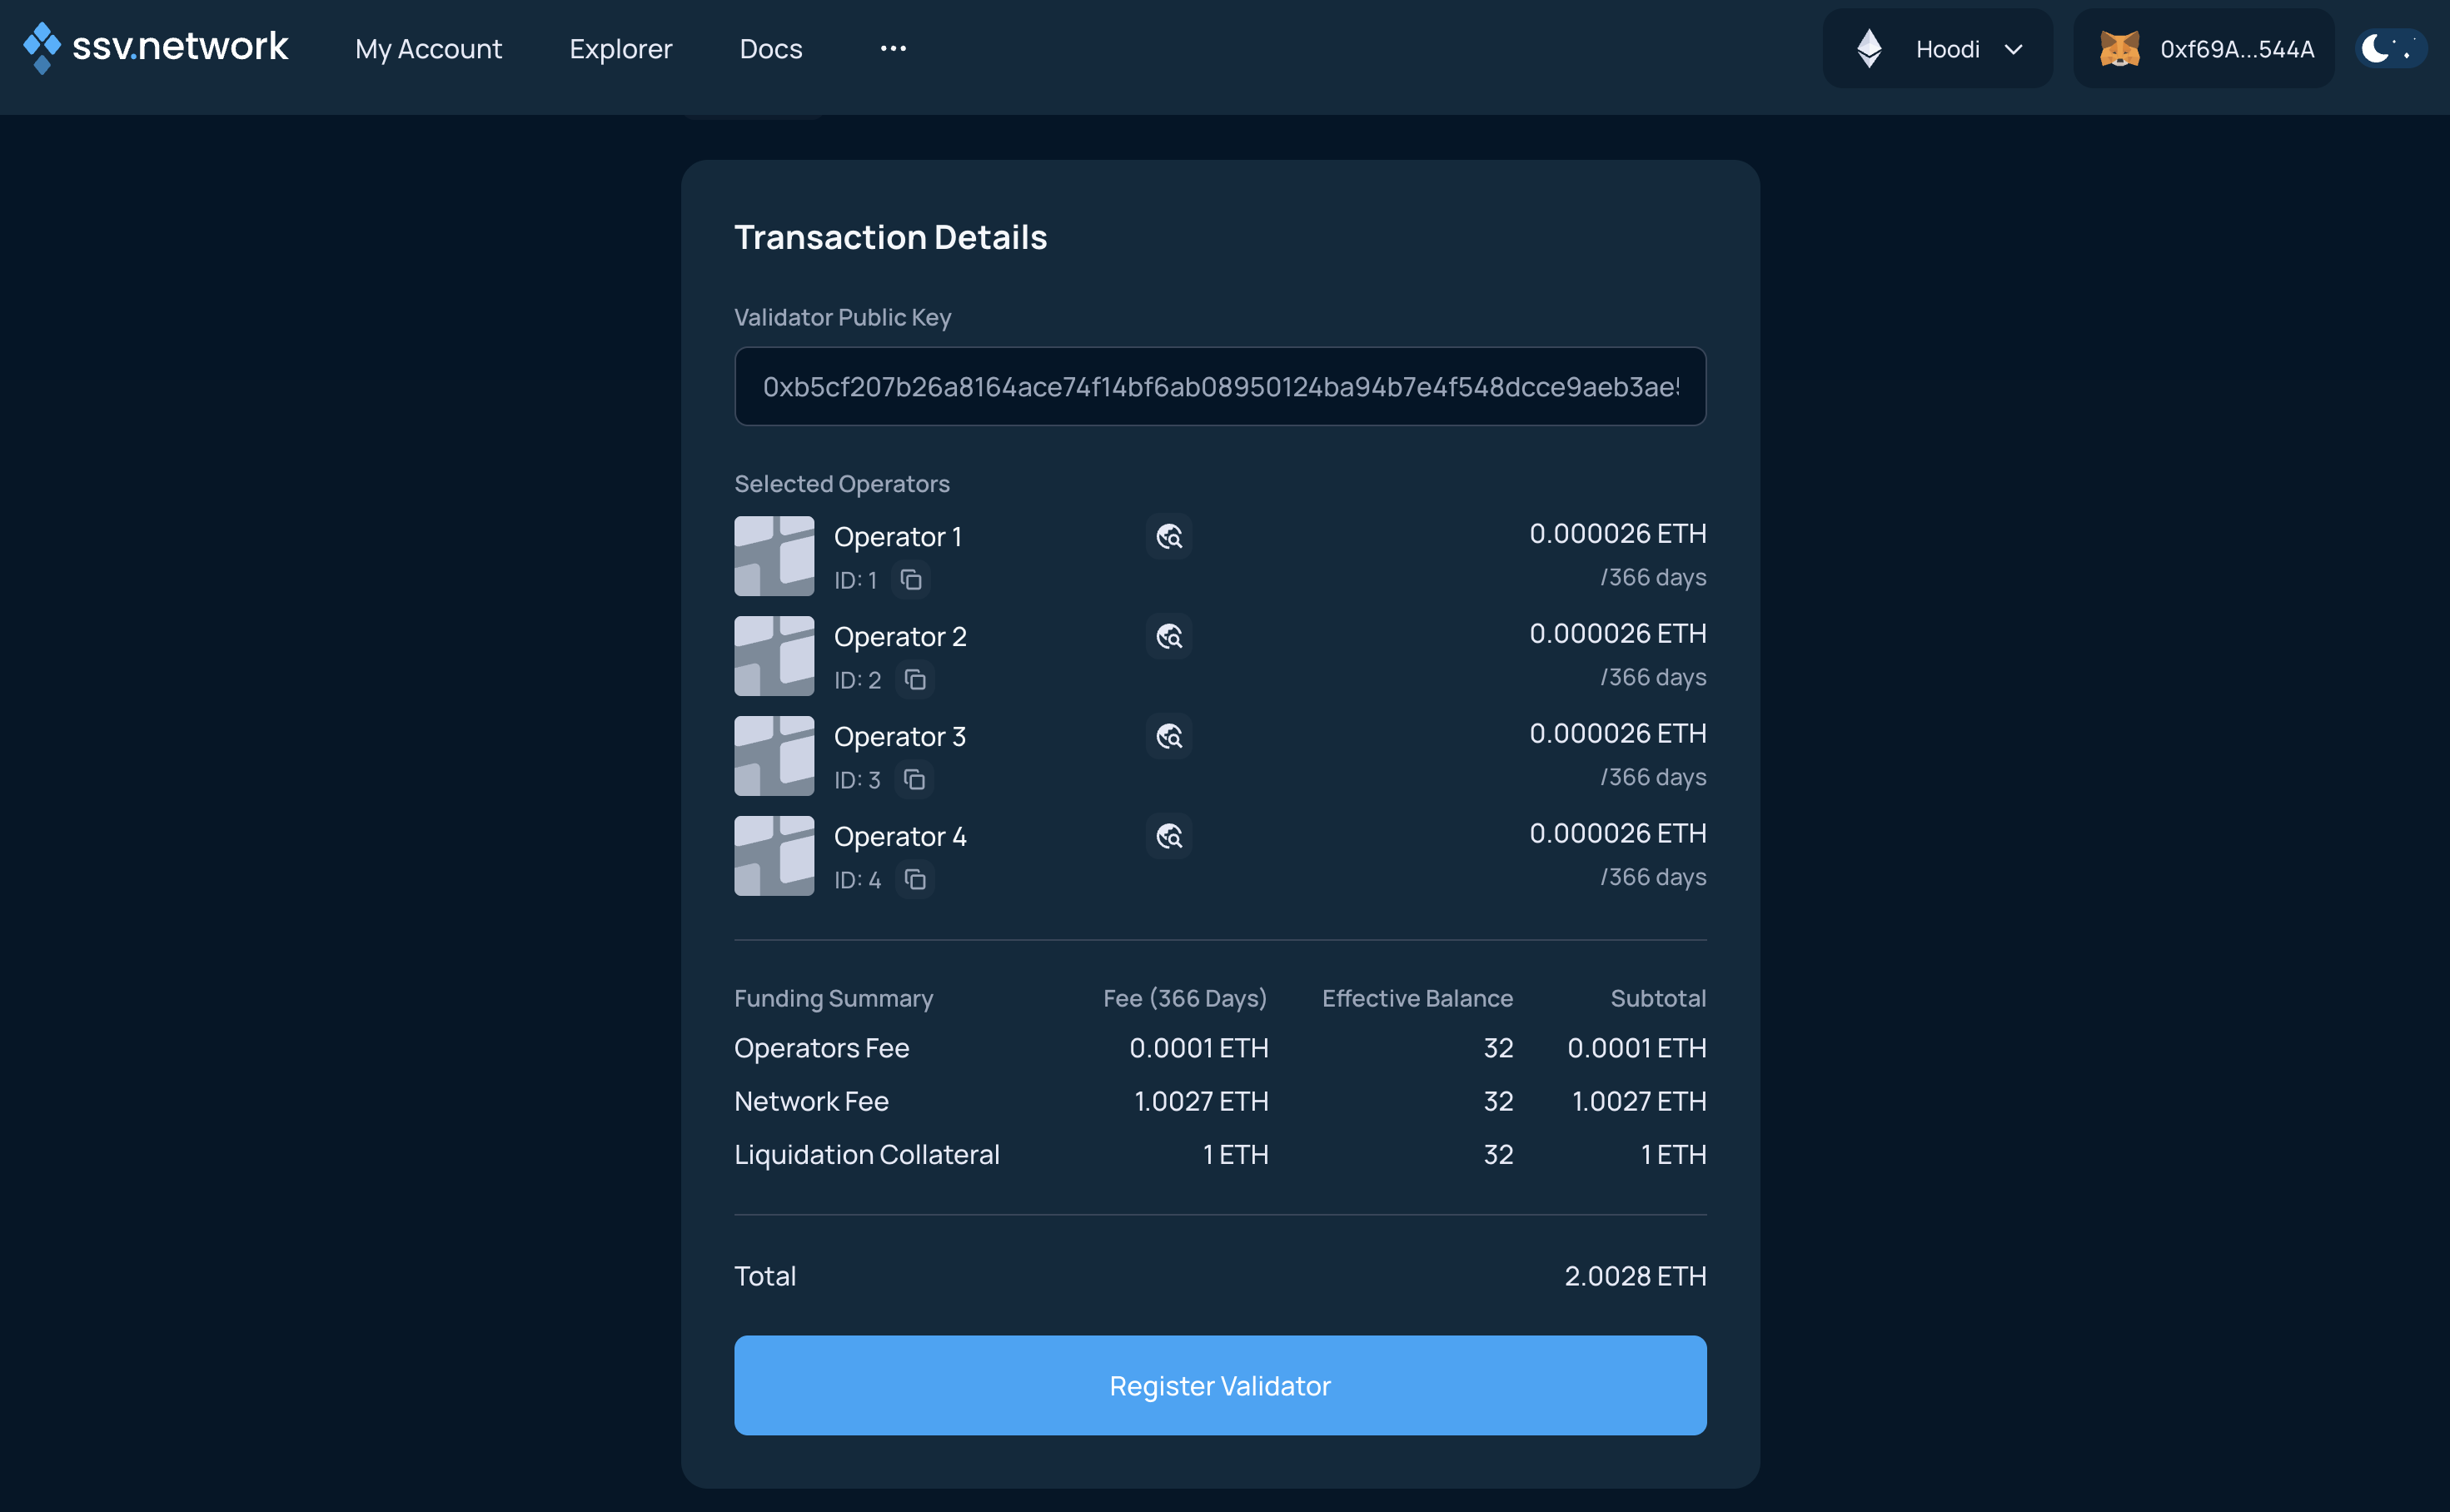
When you click Register validator(s), you will be asked to sign a transaction that registers the validator and funds the cluster with ETH.
Deposit ETH to the cluster balance
Sign the transaction to finish registration and add ETH to the cluster balance.
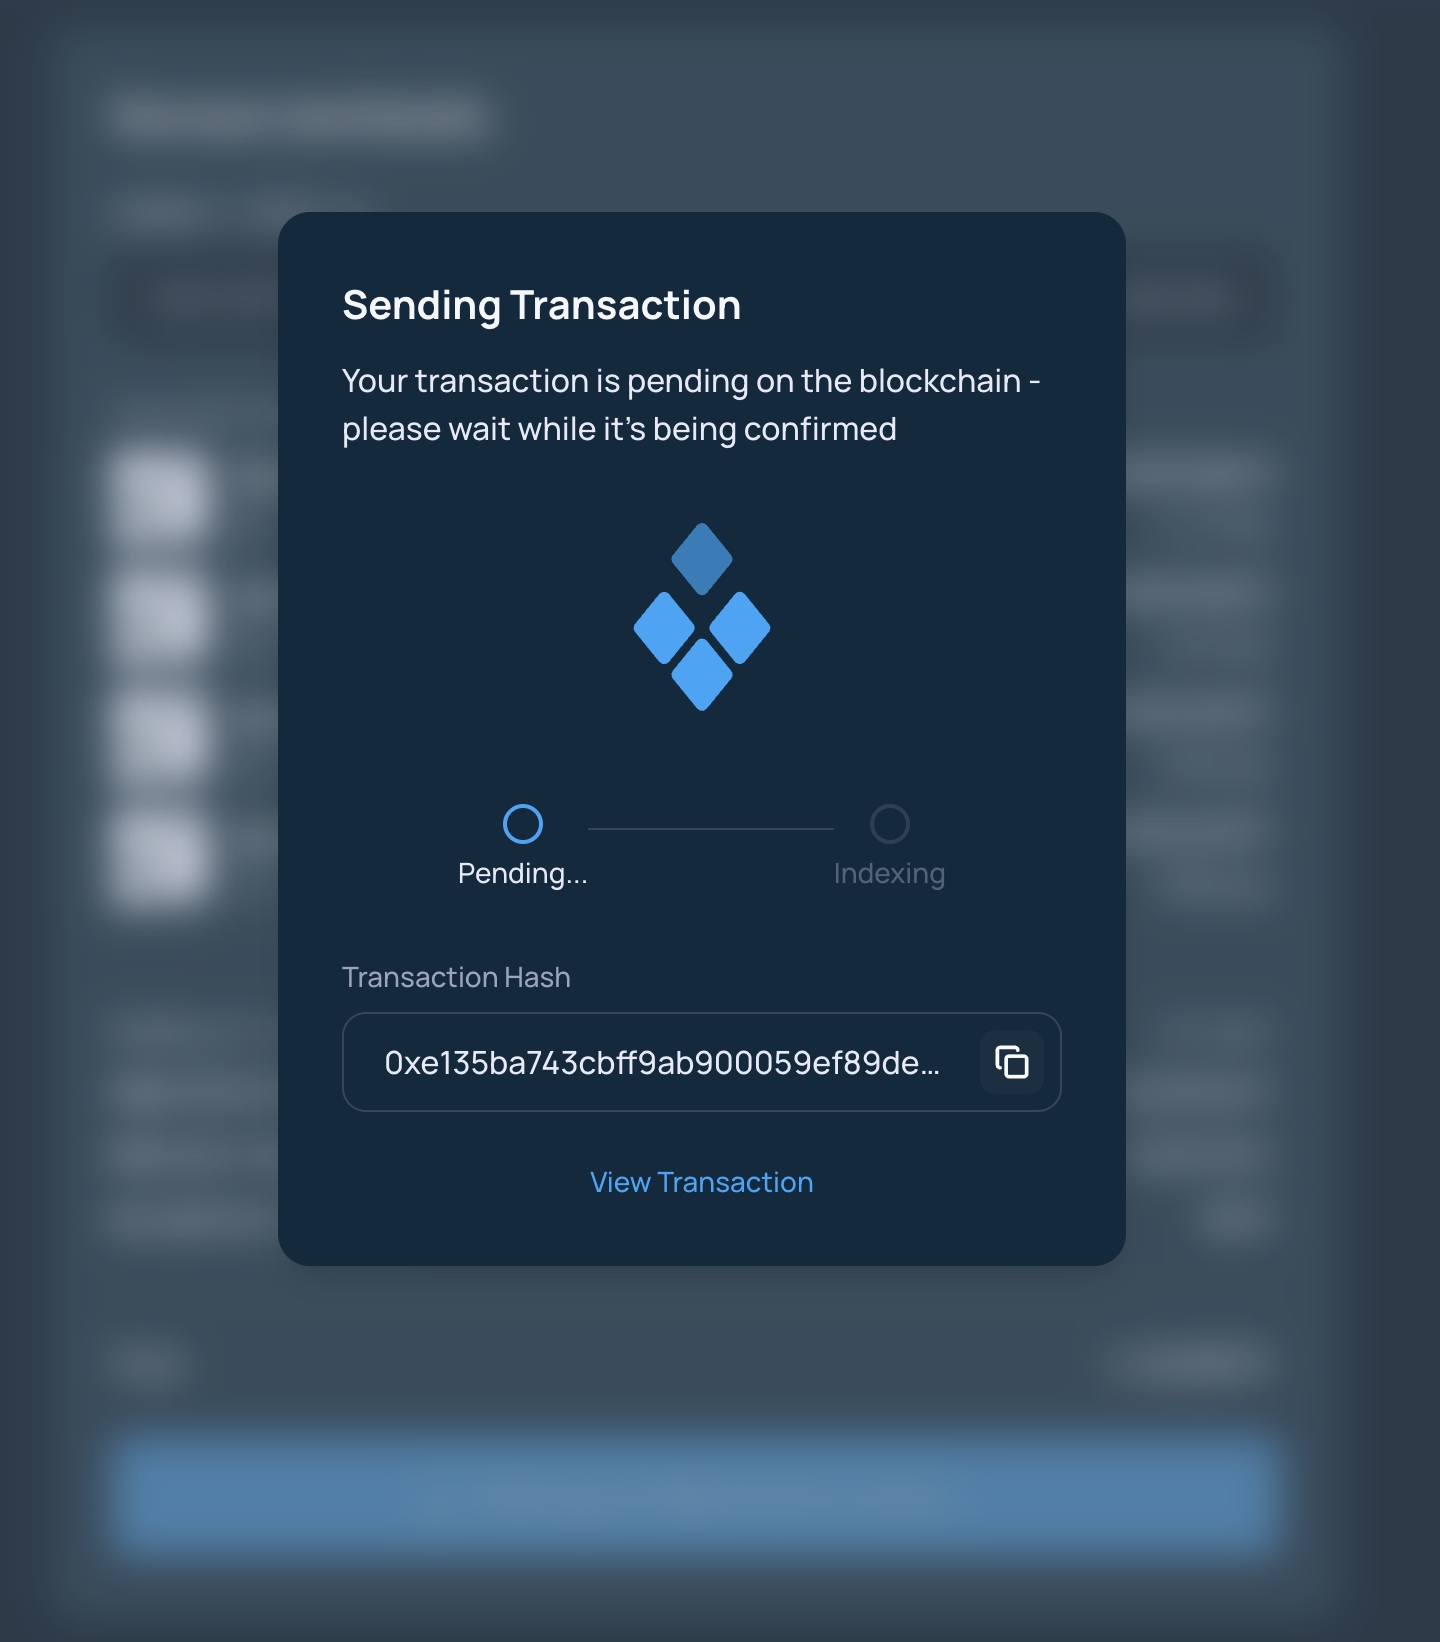
Confirm the transaction in your Web3 wallet.
After the transaction is confirmed, the Web App shows the summary screen.
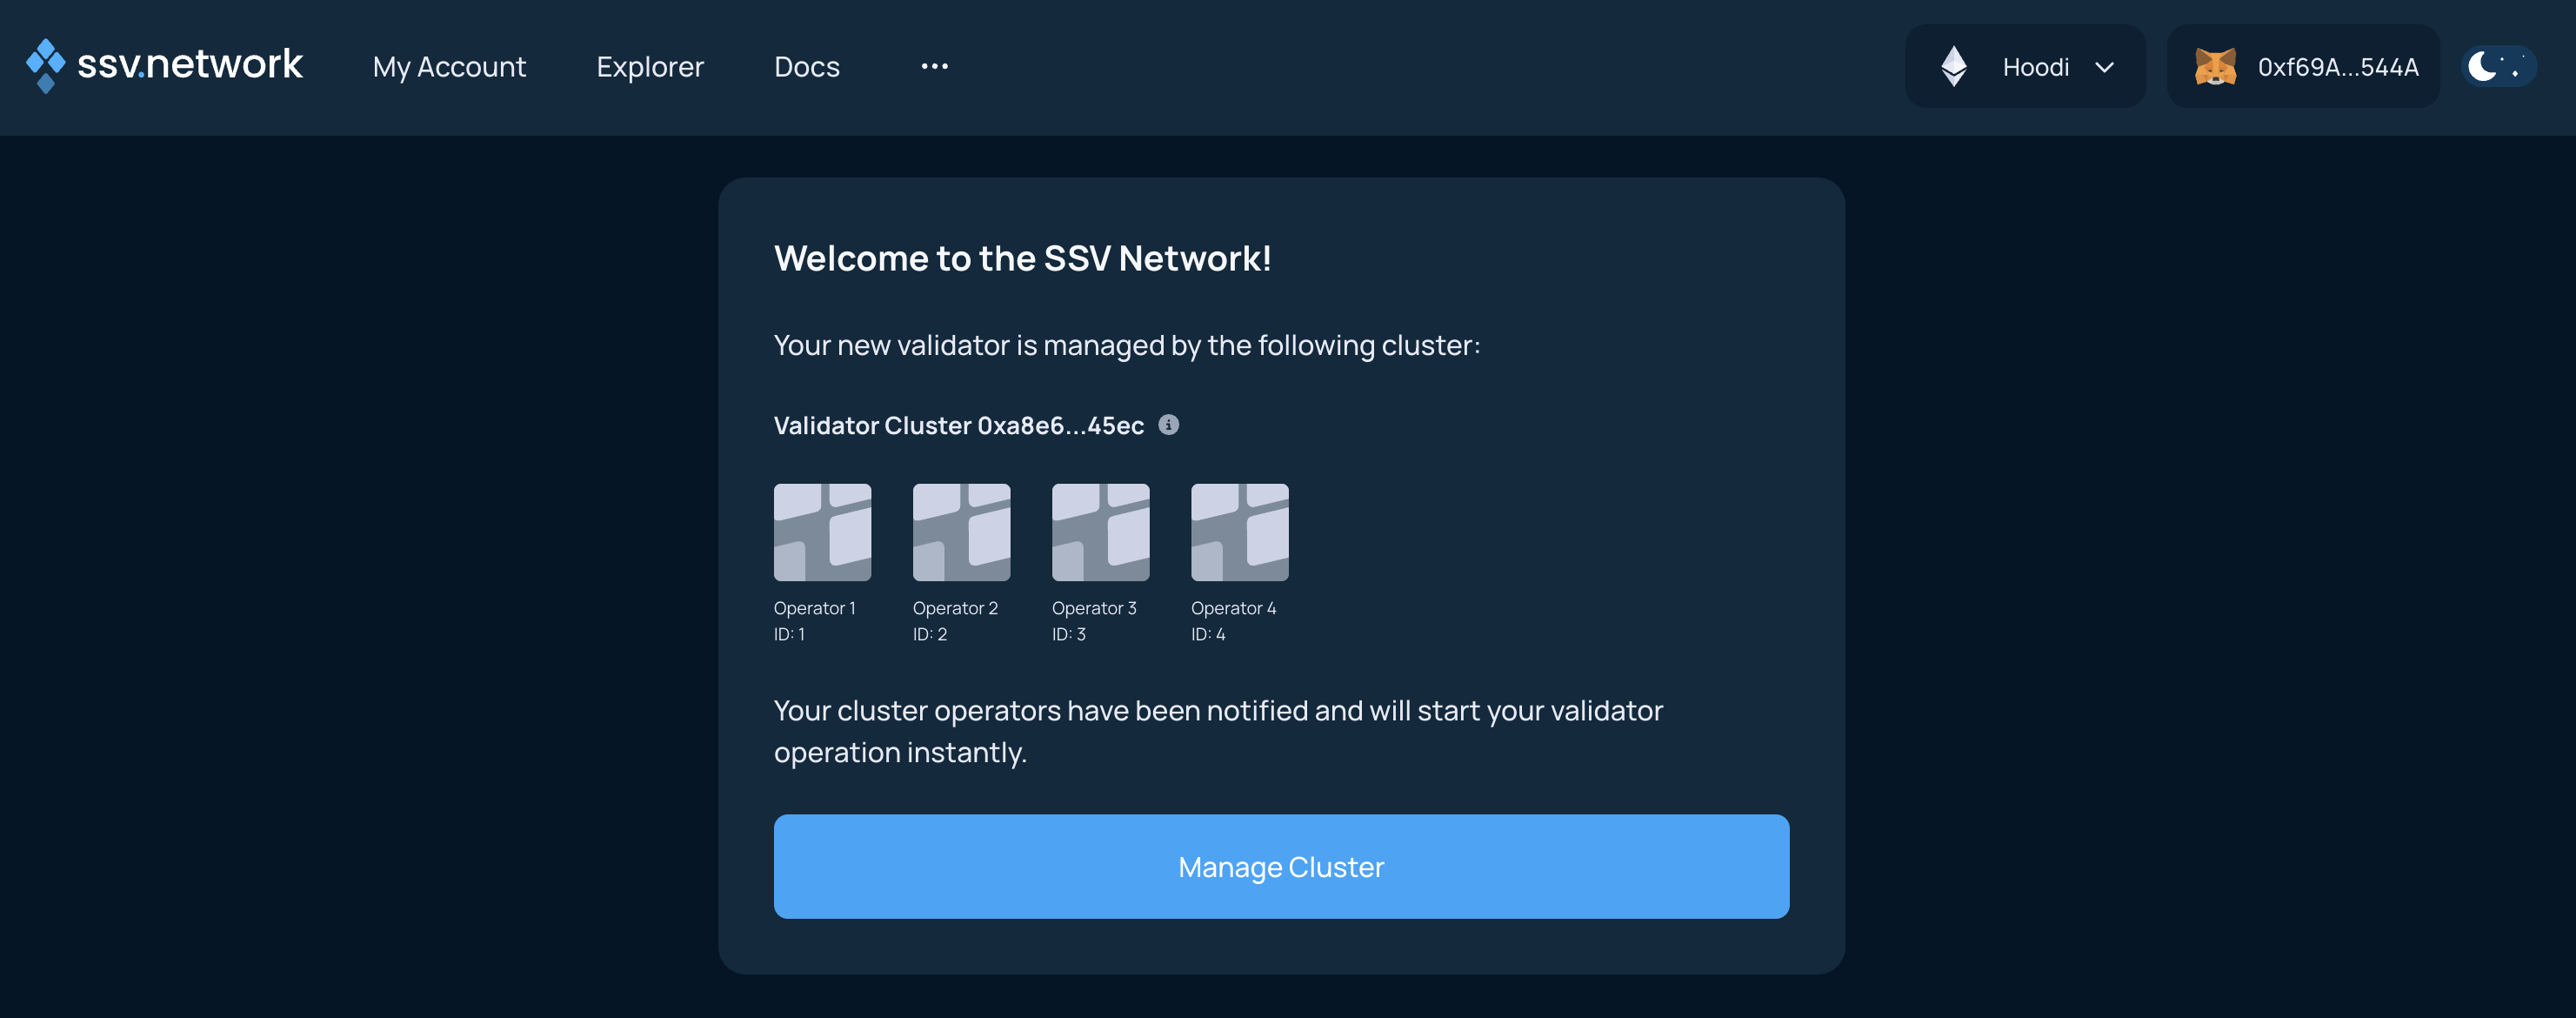
You are done.
Next steps
Wait a few epochs for the validator status to update to active in the Explorer.
To manage your validators, use the Cluster Management guides.
To offboard a validator later, use the Validator Offboarding guides.