Add More Validators
1. Connect your wallet
Connect the Web3 wallet that owns the cluster in the Web App.
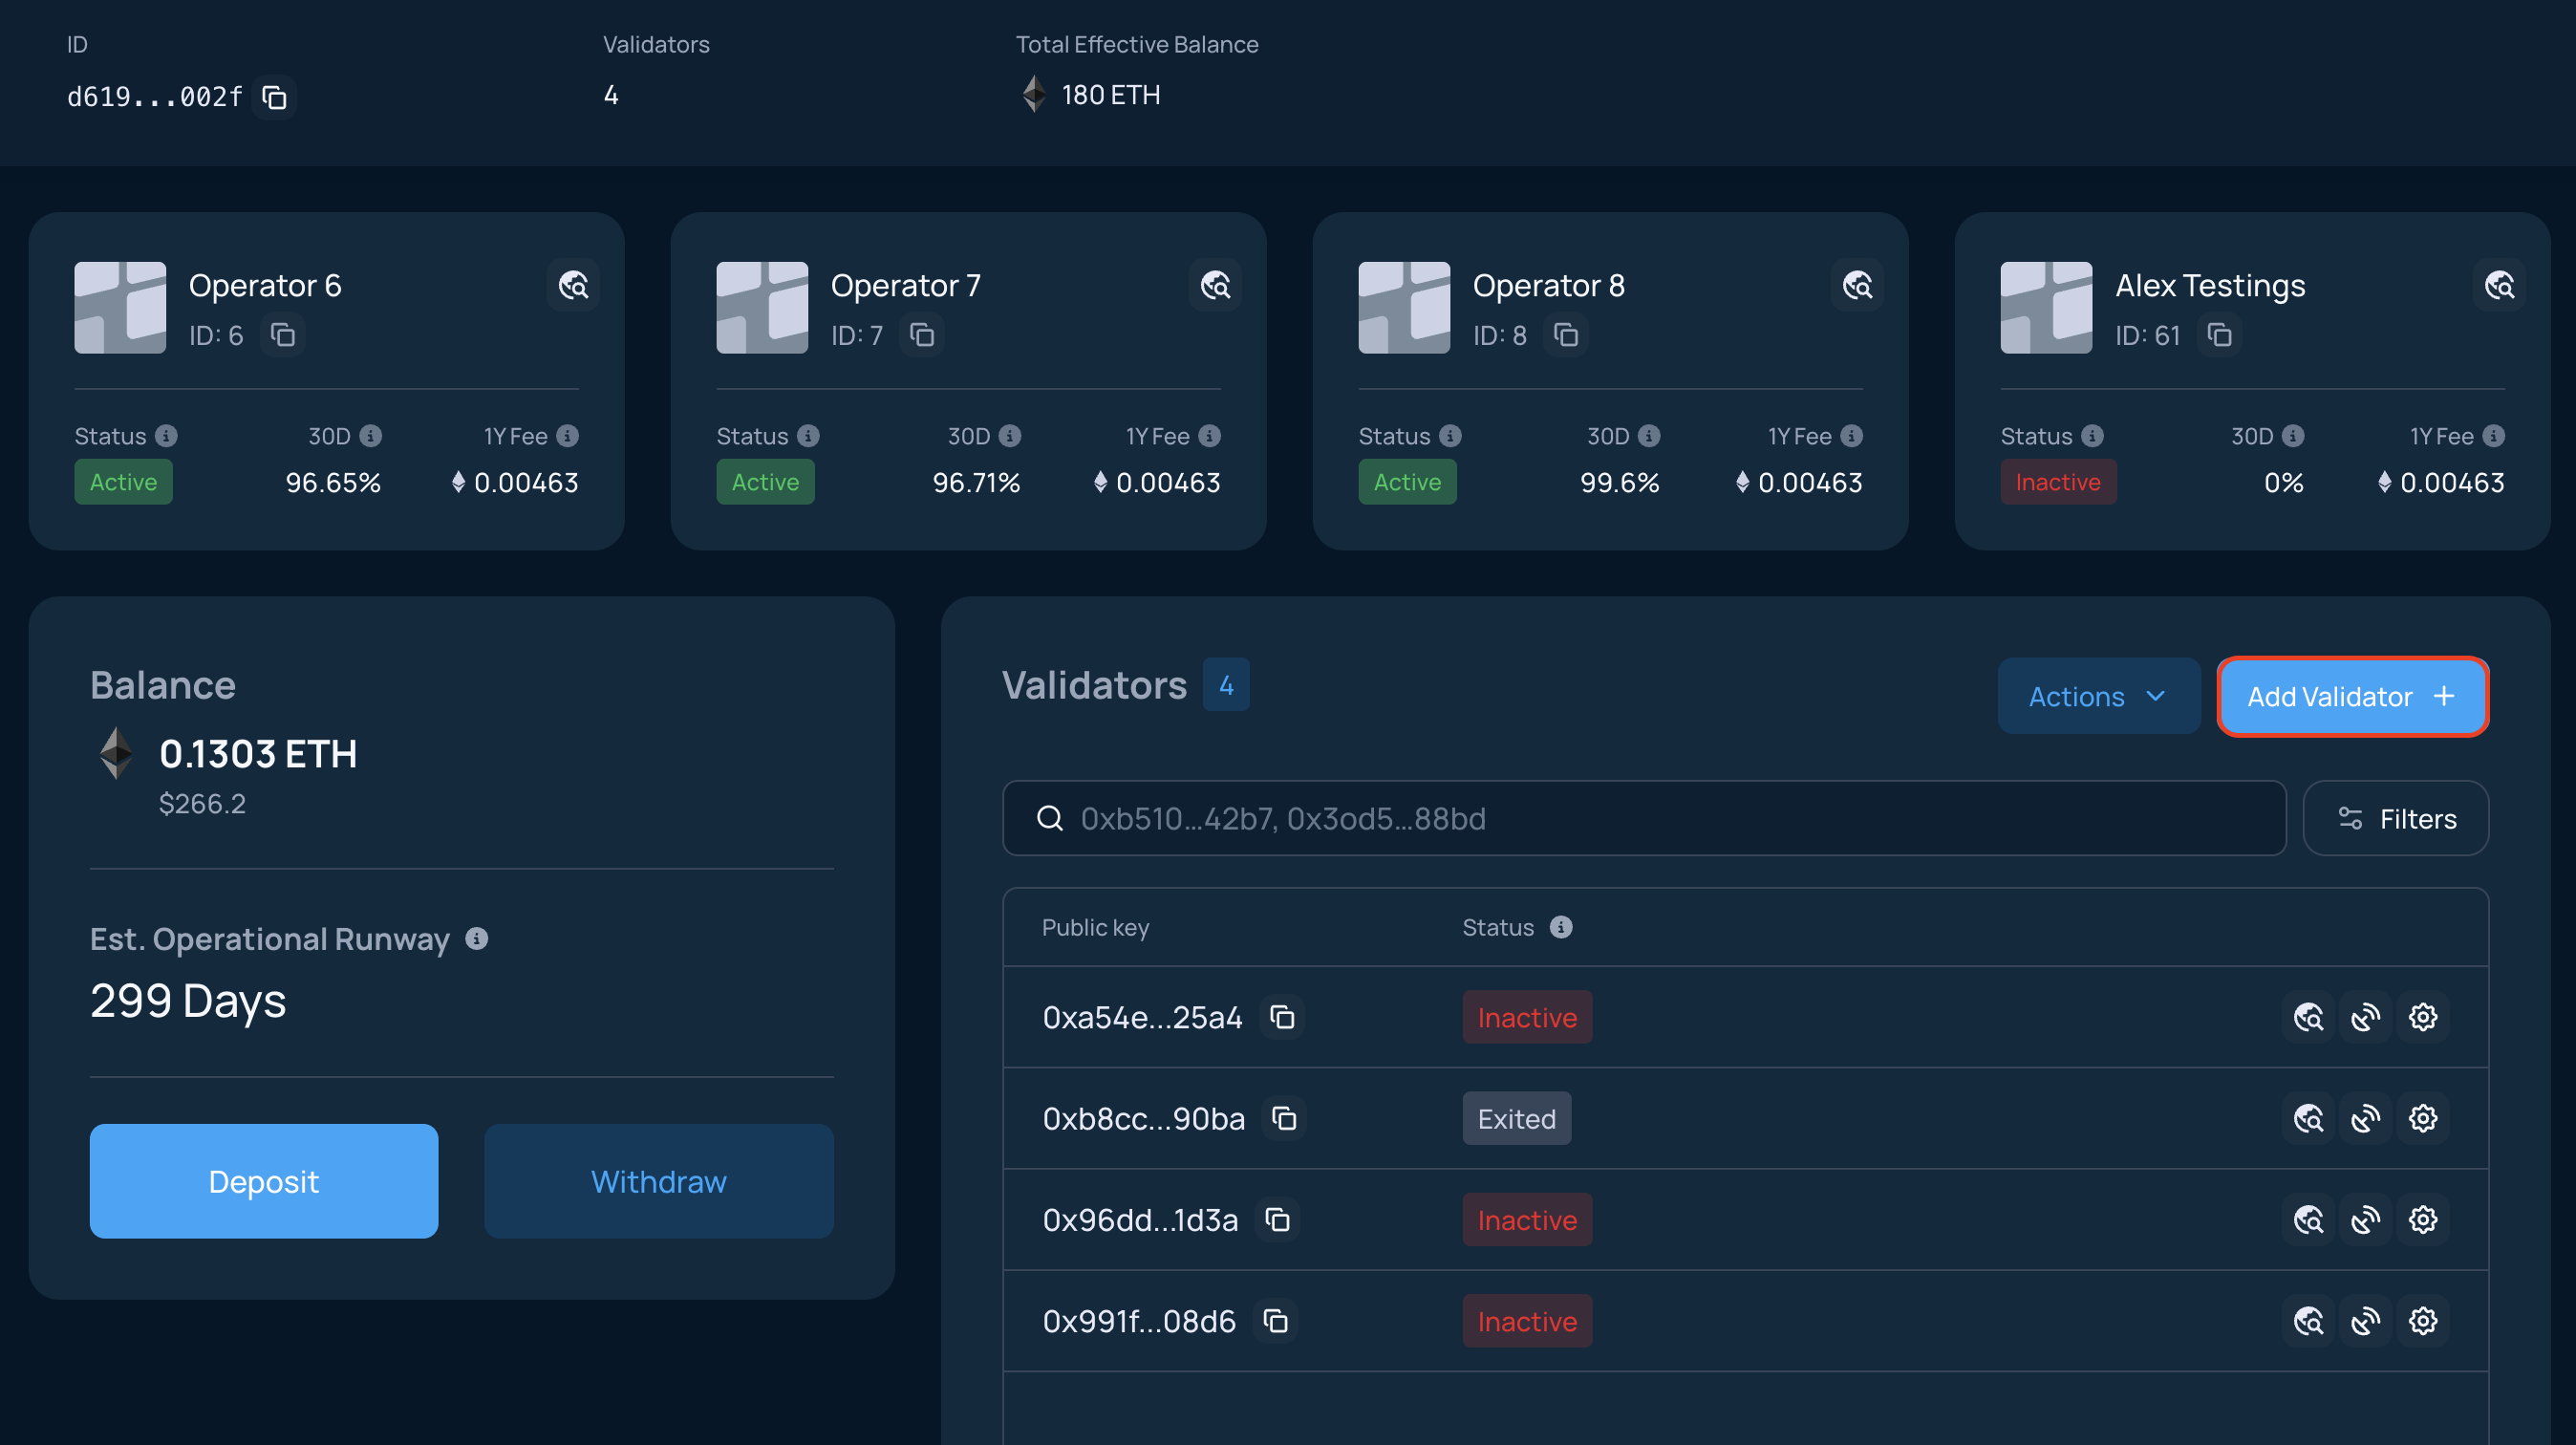
2. Open the cluster
On the Clusters page, select the active cluster and click Add Validator +.
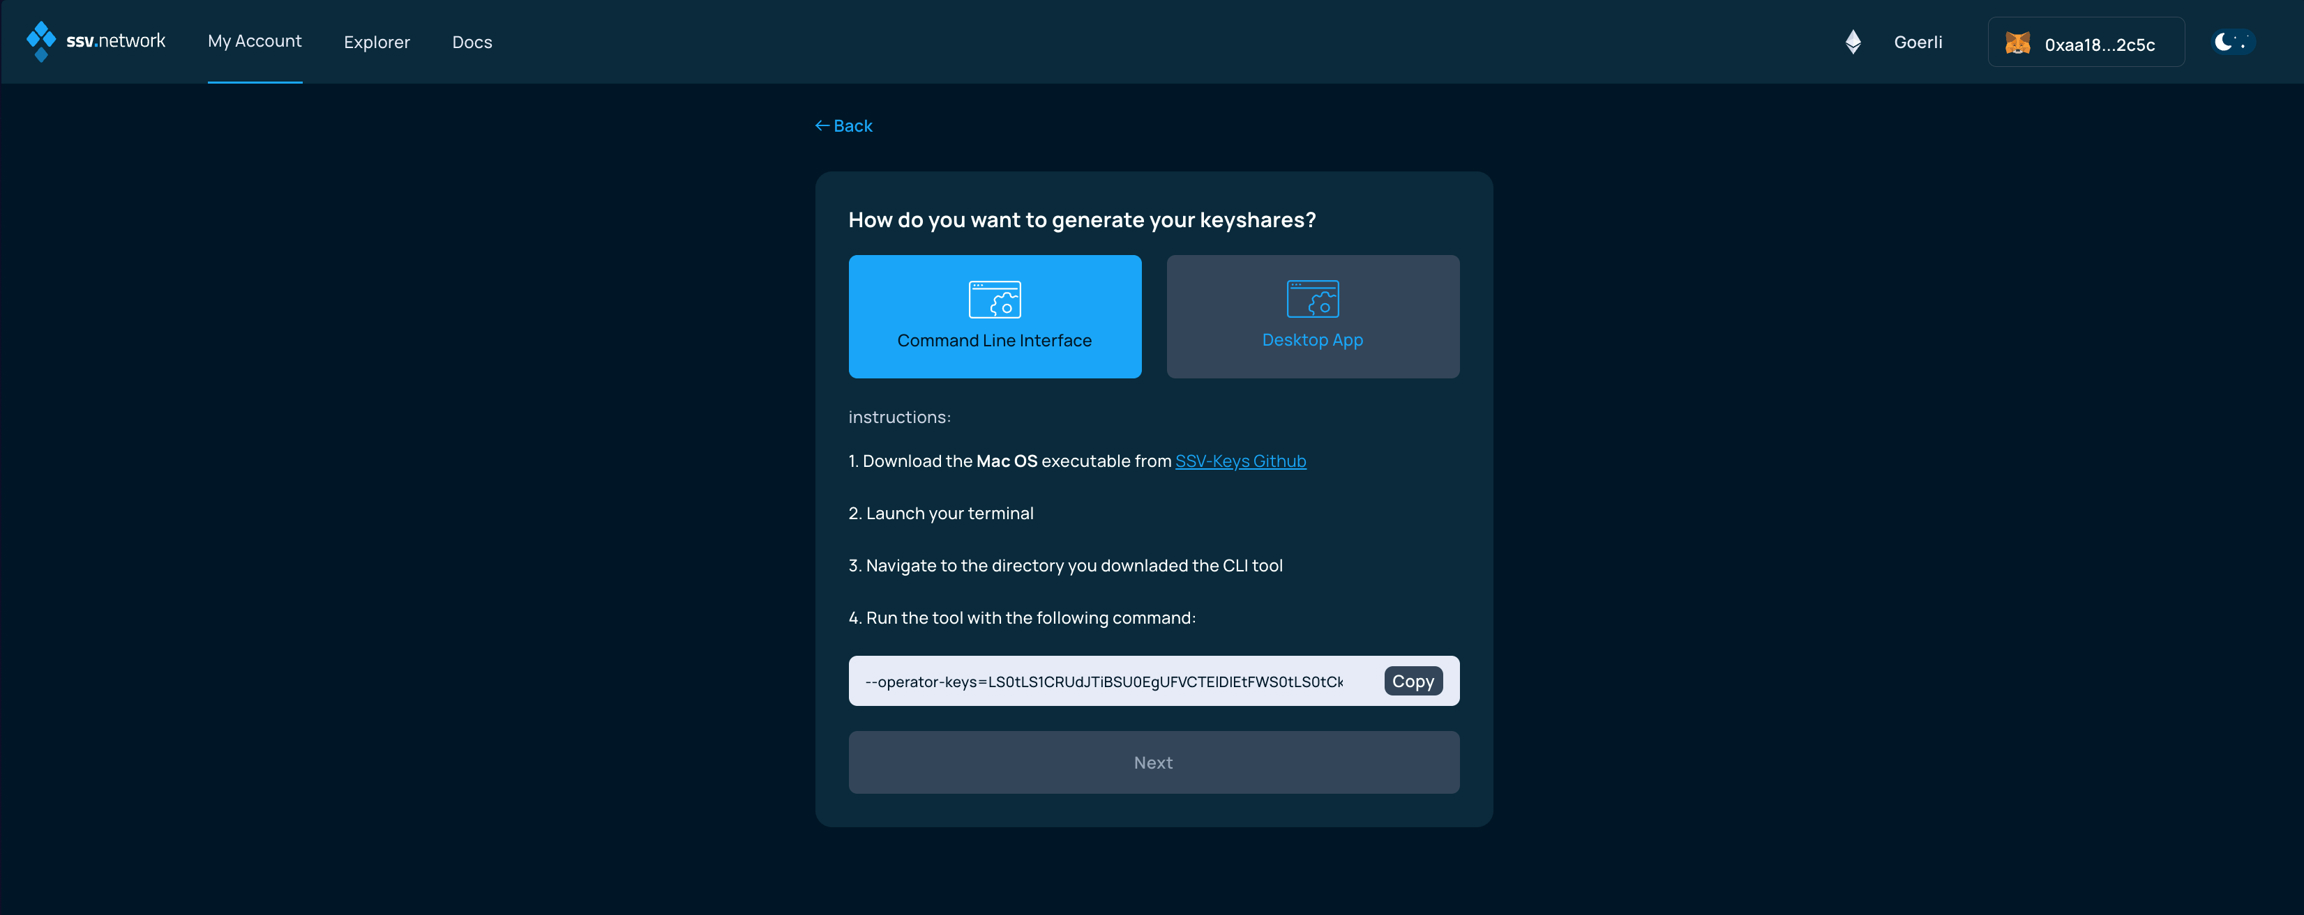
3. Generate key shares
Generate validator key shares with SSV-Keys CLI or another supported method. If needed, follow Split Keys.
Key splitting on testnet
On testnet, you can split keys online in the Web App or offline on your own machine.
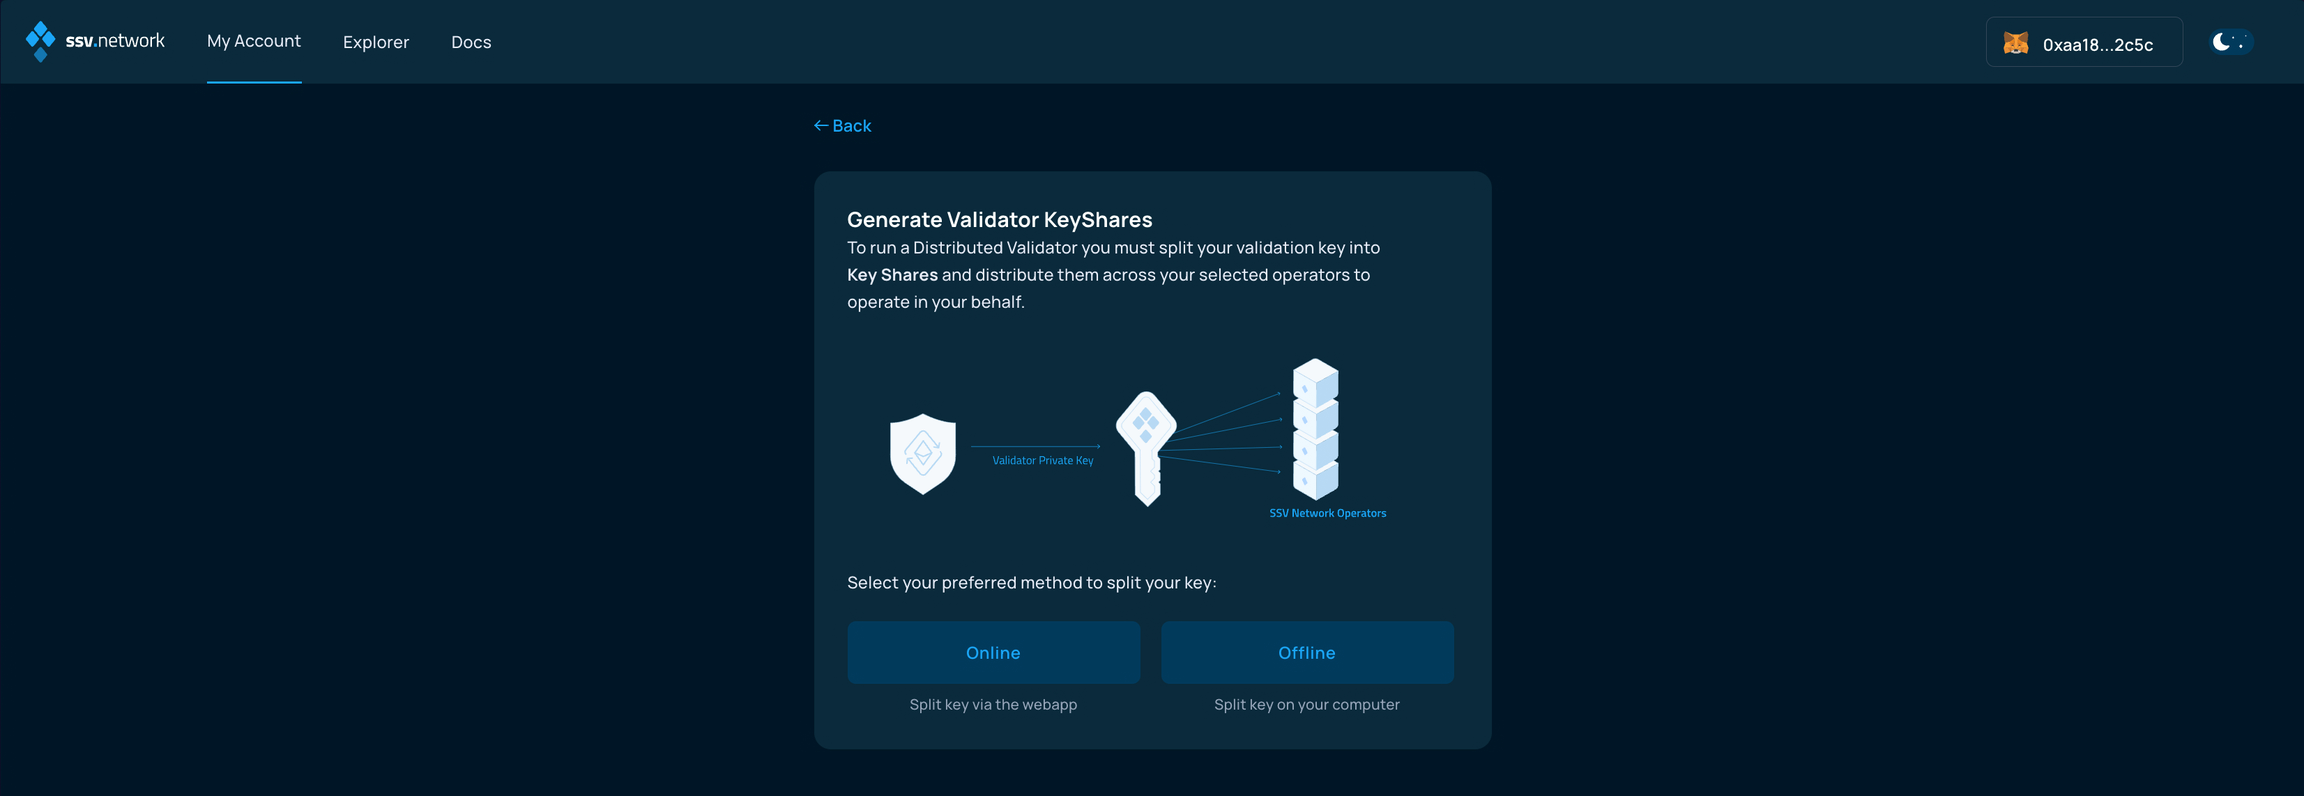
Online splitting is not safe for production use and is available only on testnet.
Never use online splitting with a private key you plan to use on mainnet.
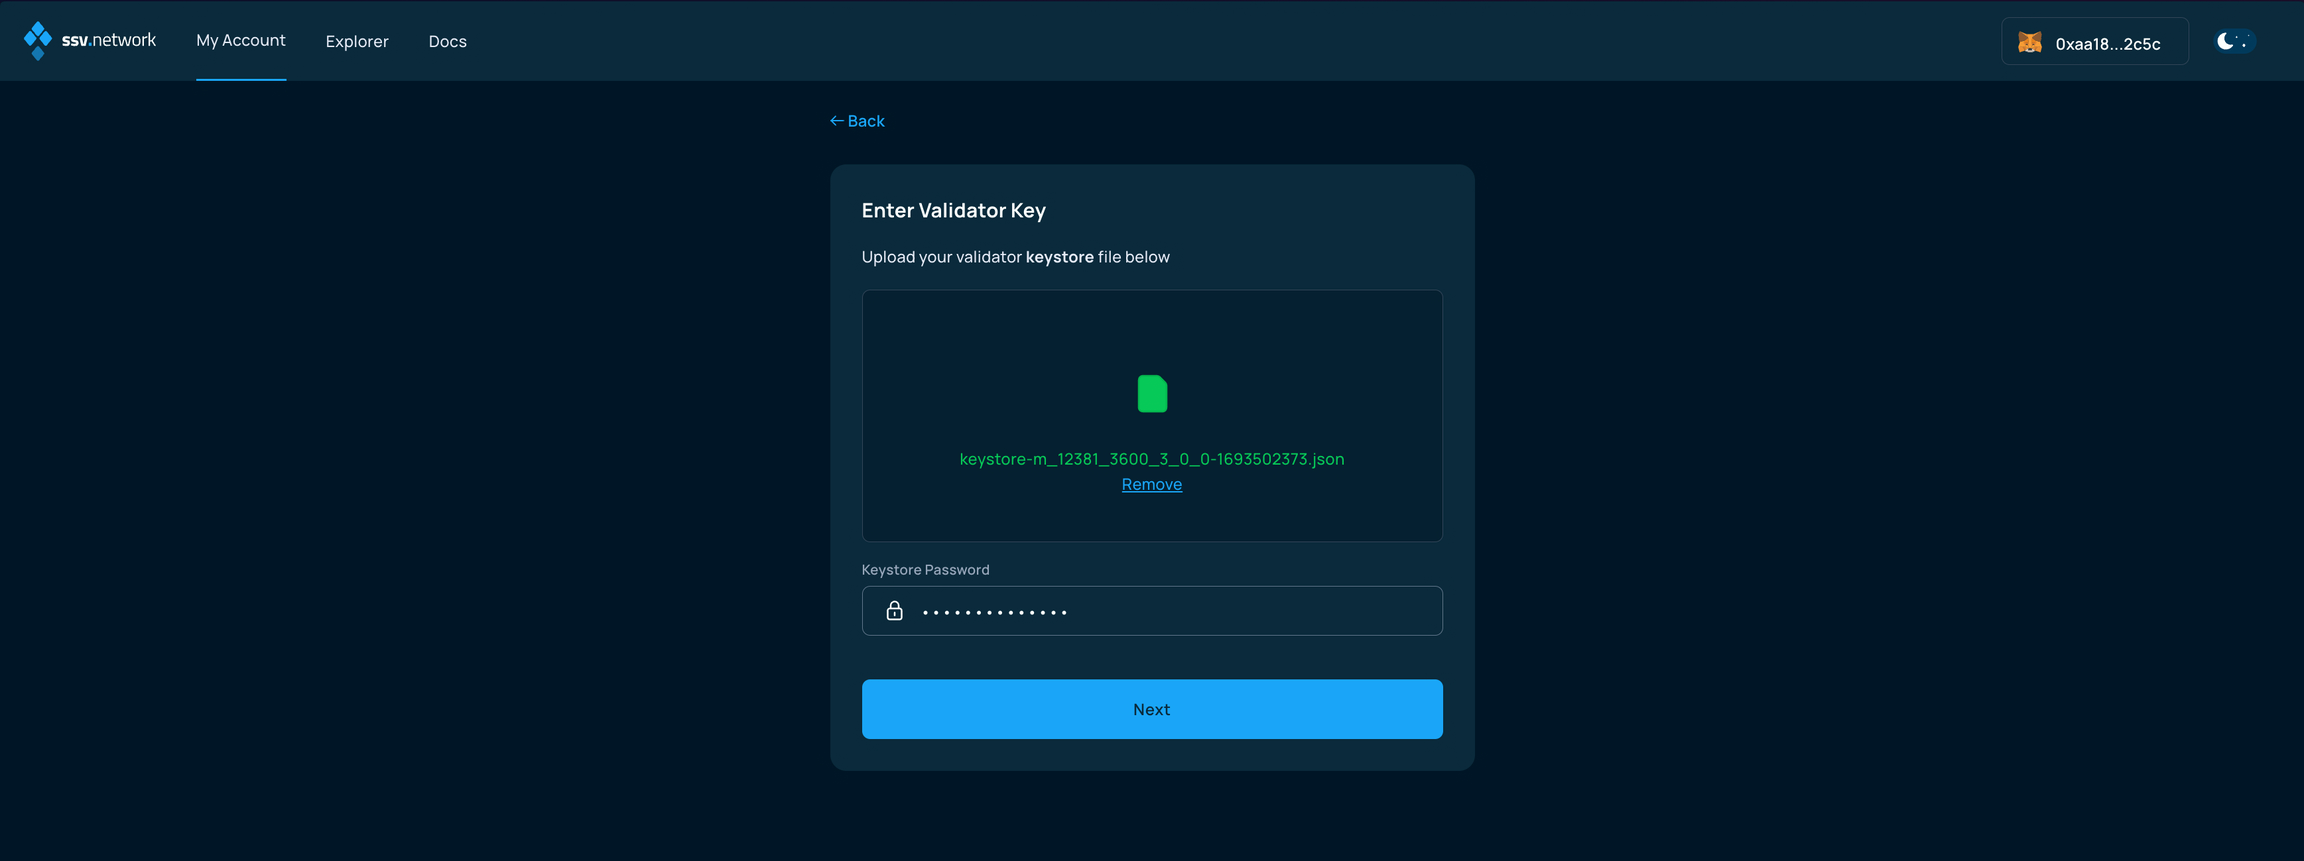
If you choose the online flow, upload the validator keystore and enter its password on the next screen.
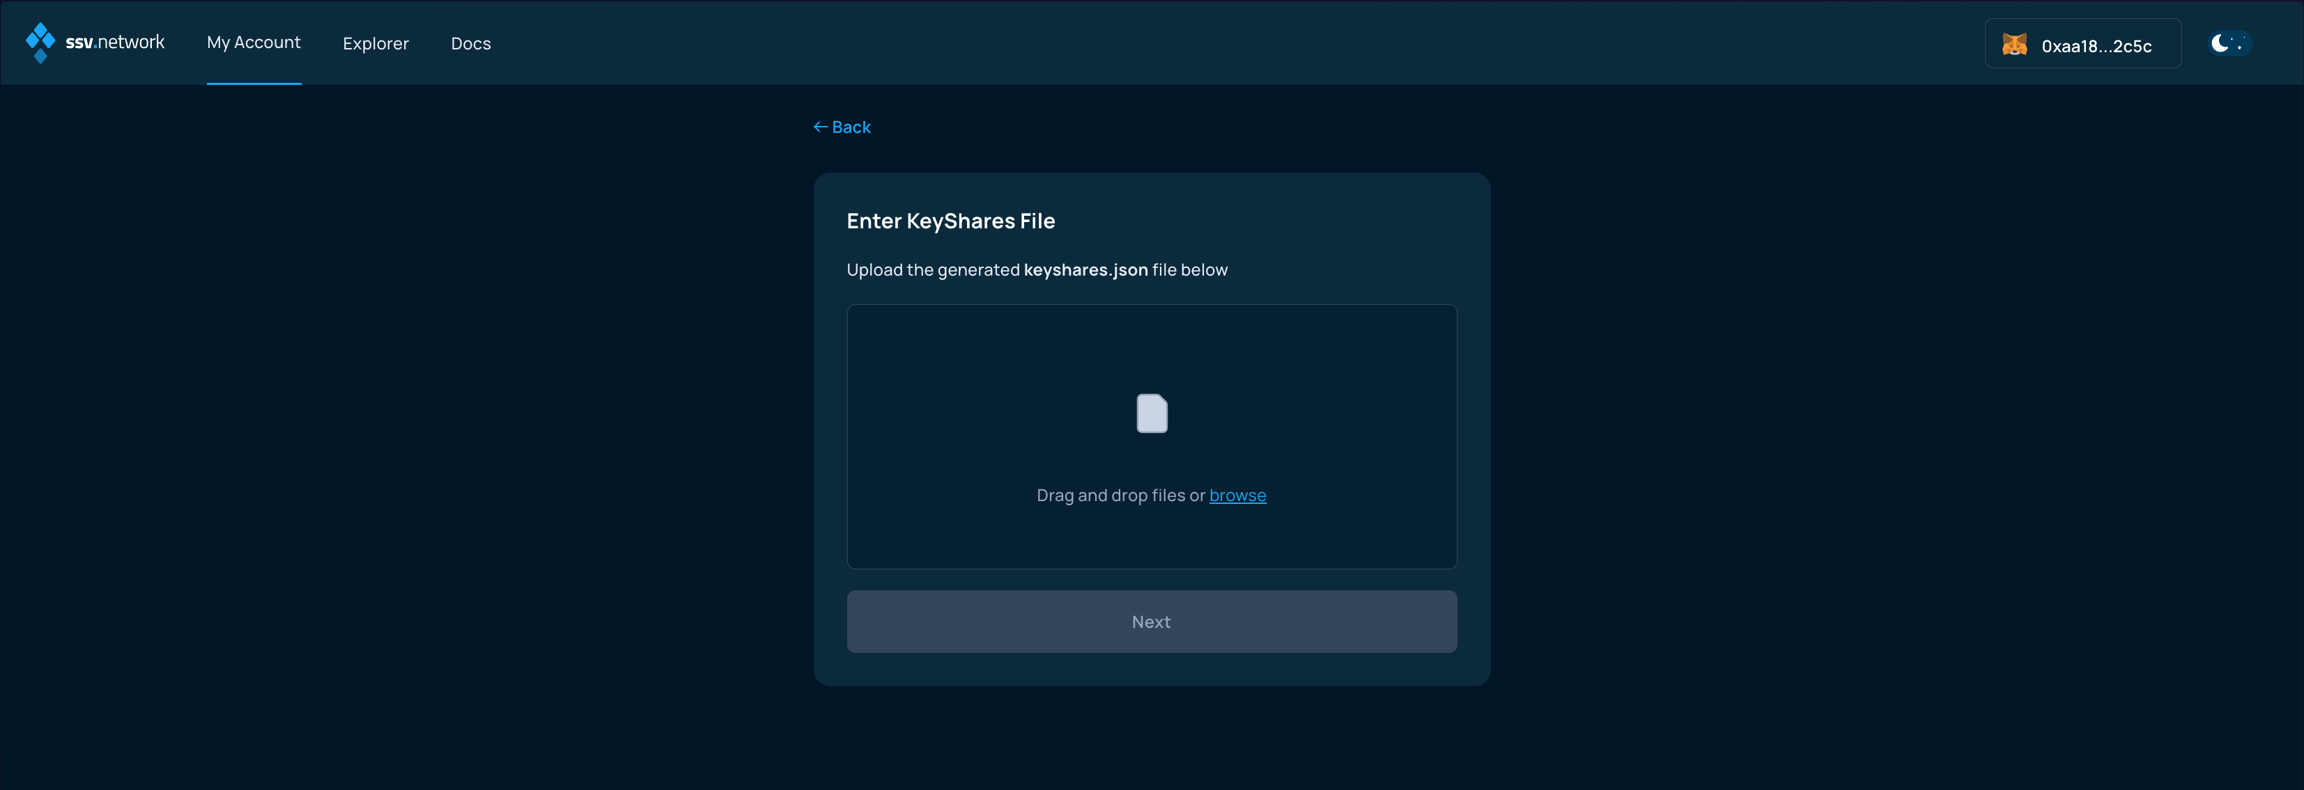
4. Upload the key shares file
Upload the generated keyshares-[DATE]-[TIME].json file.
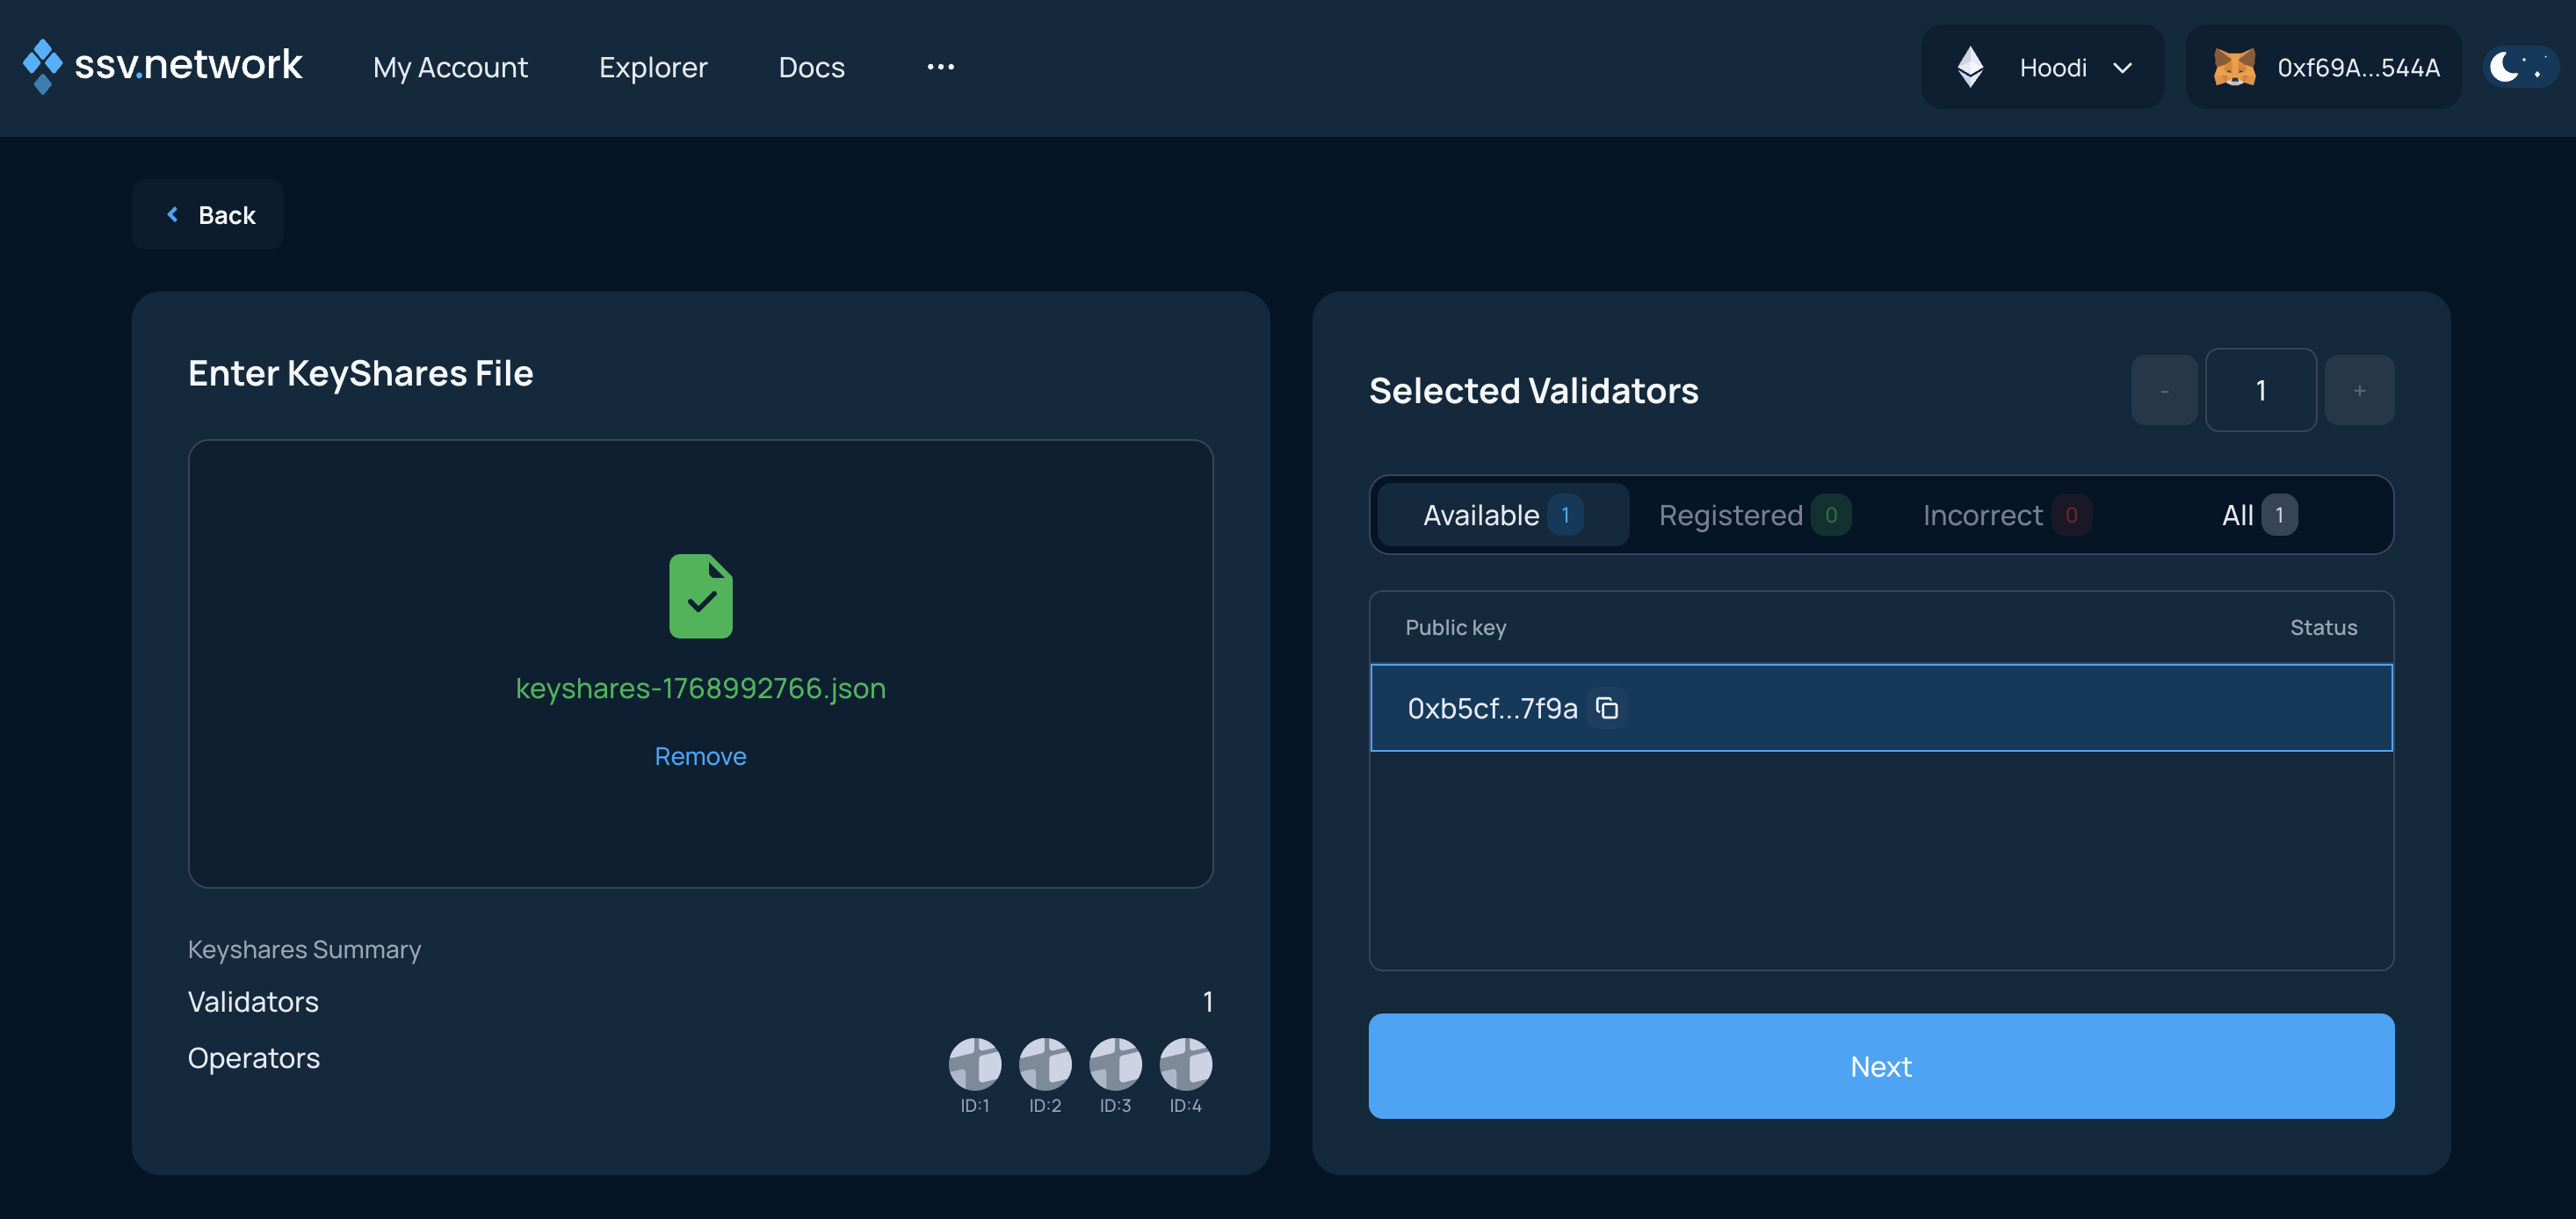
5. Validate the upload
If the upload succeeds, click Next.
If you get an error such as Keyshares are invalid, the most common cause is an incorrect nonce. Generate the key shares again and follow Split Keys.
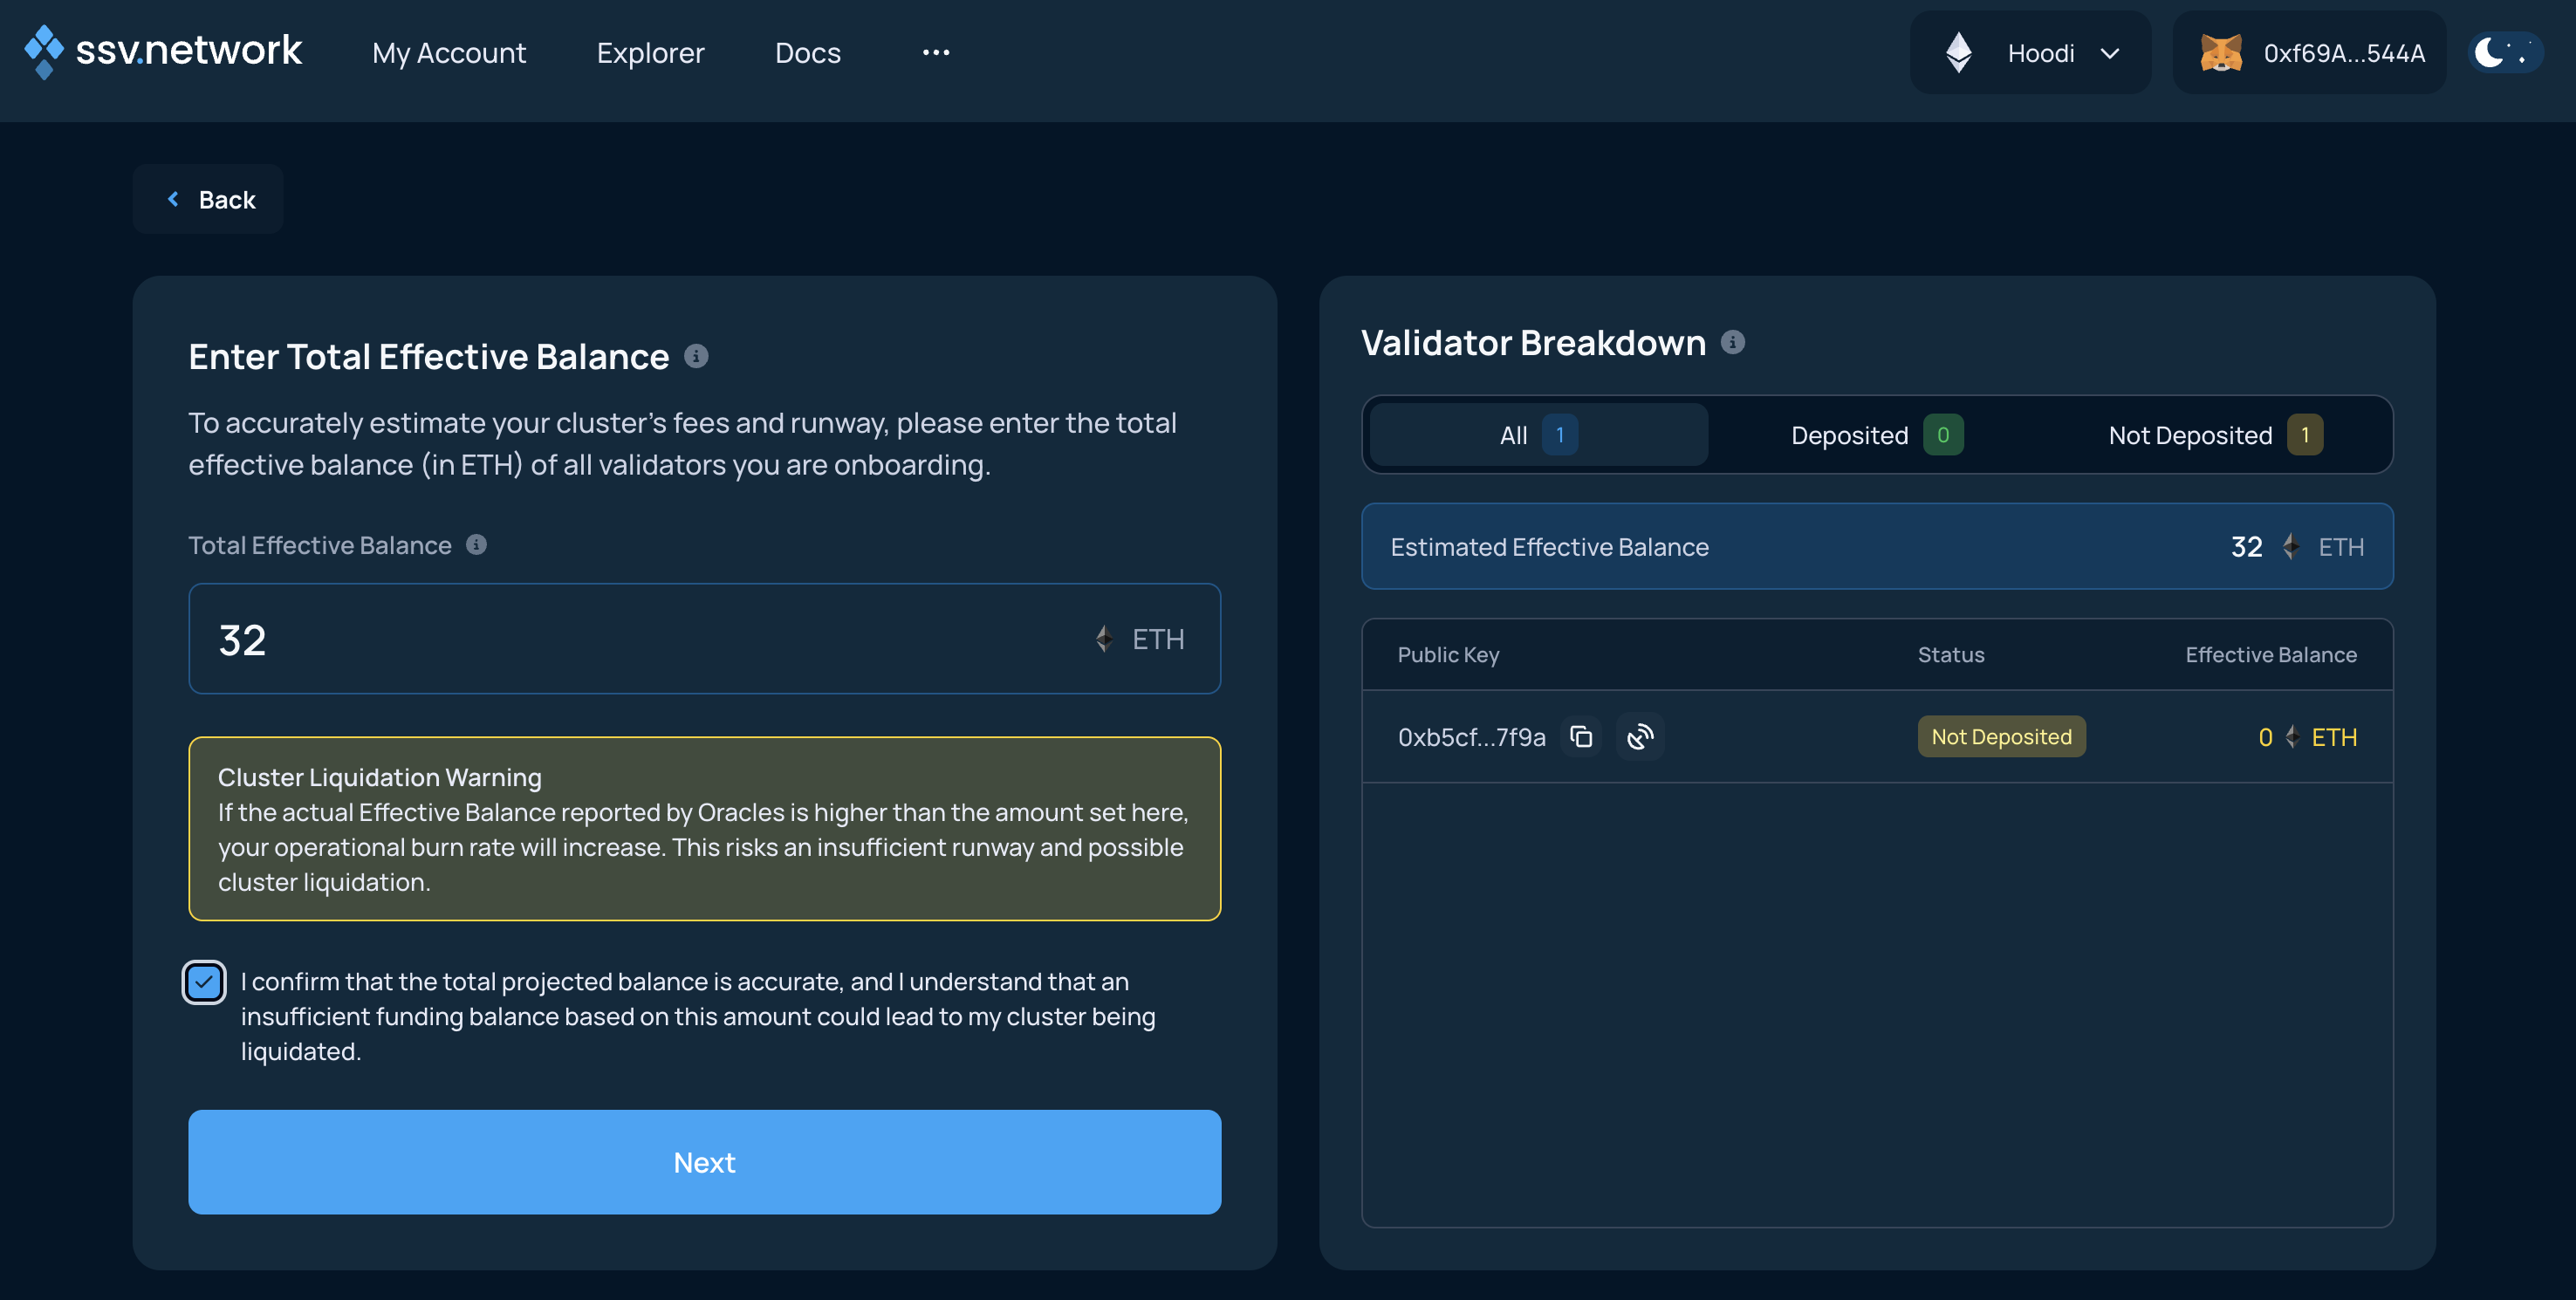
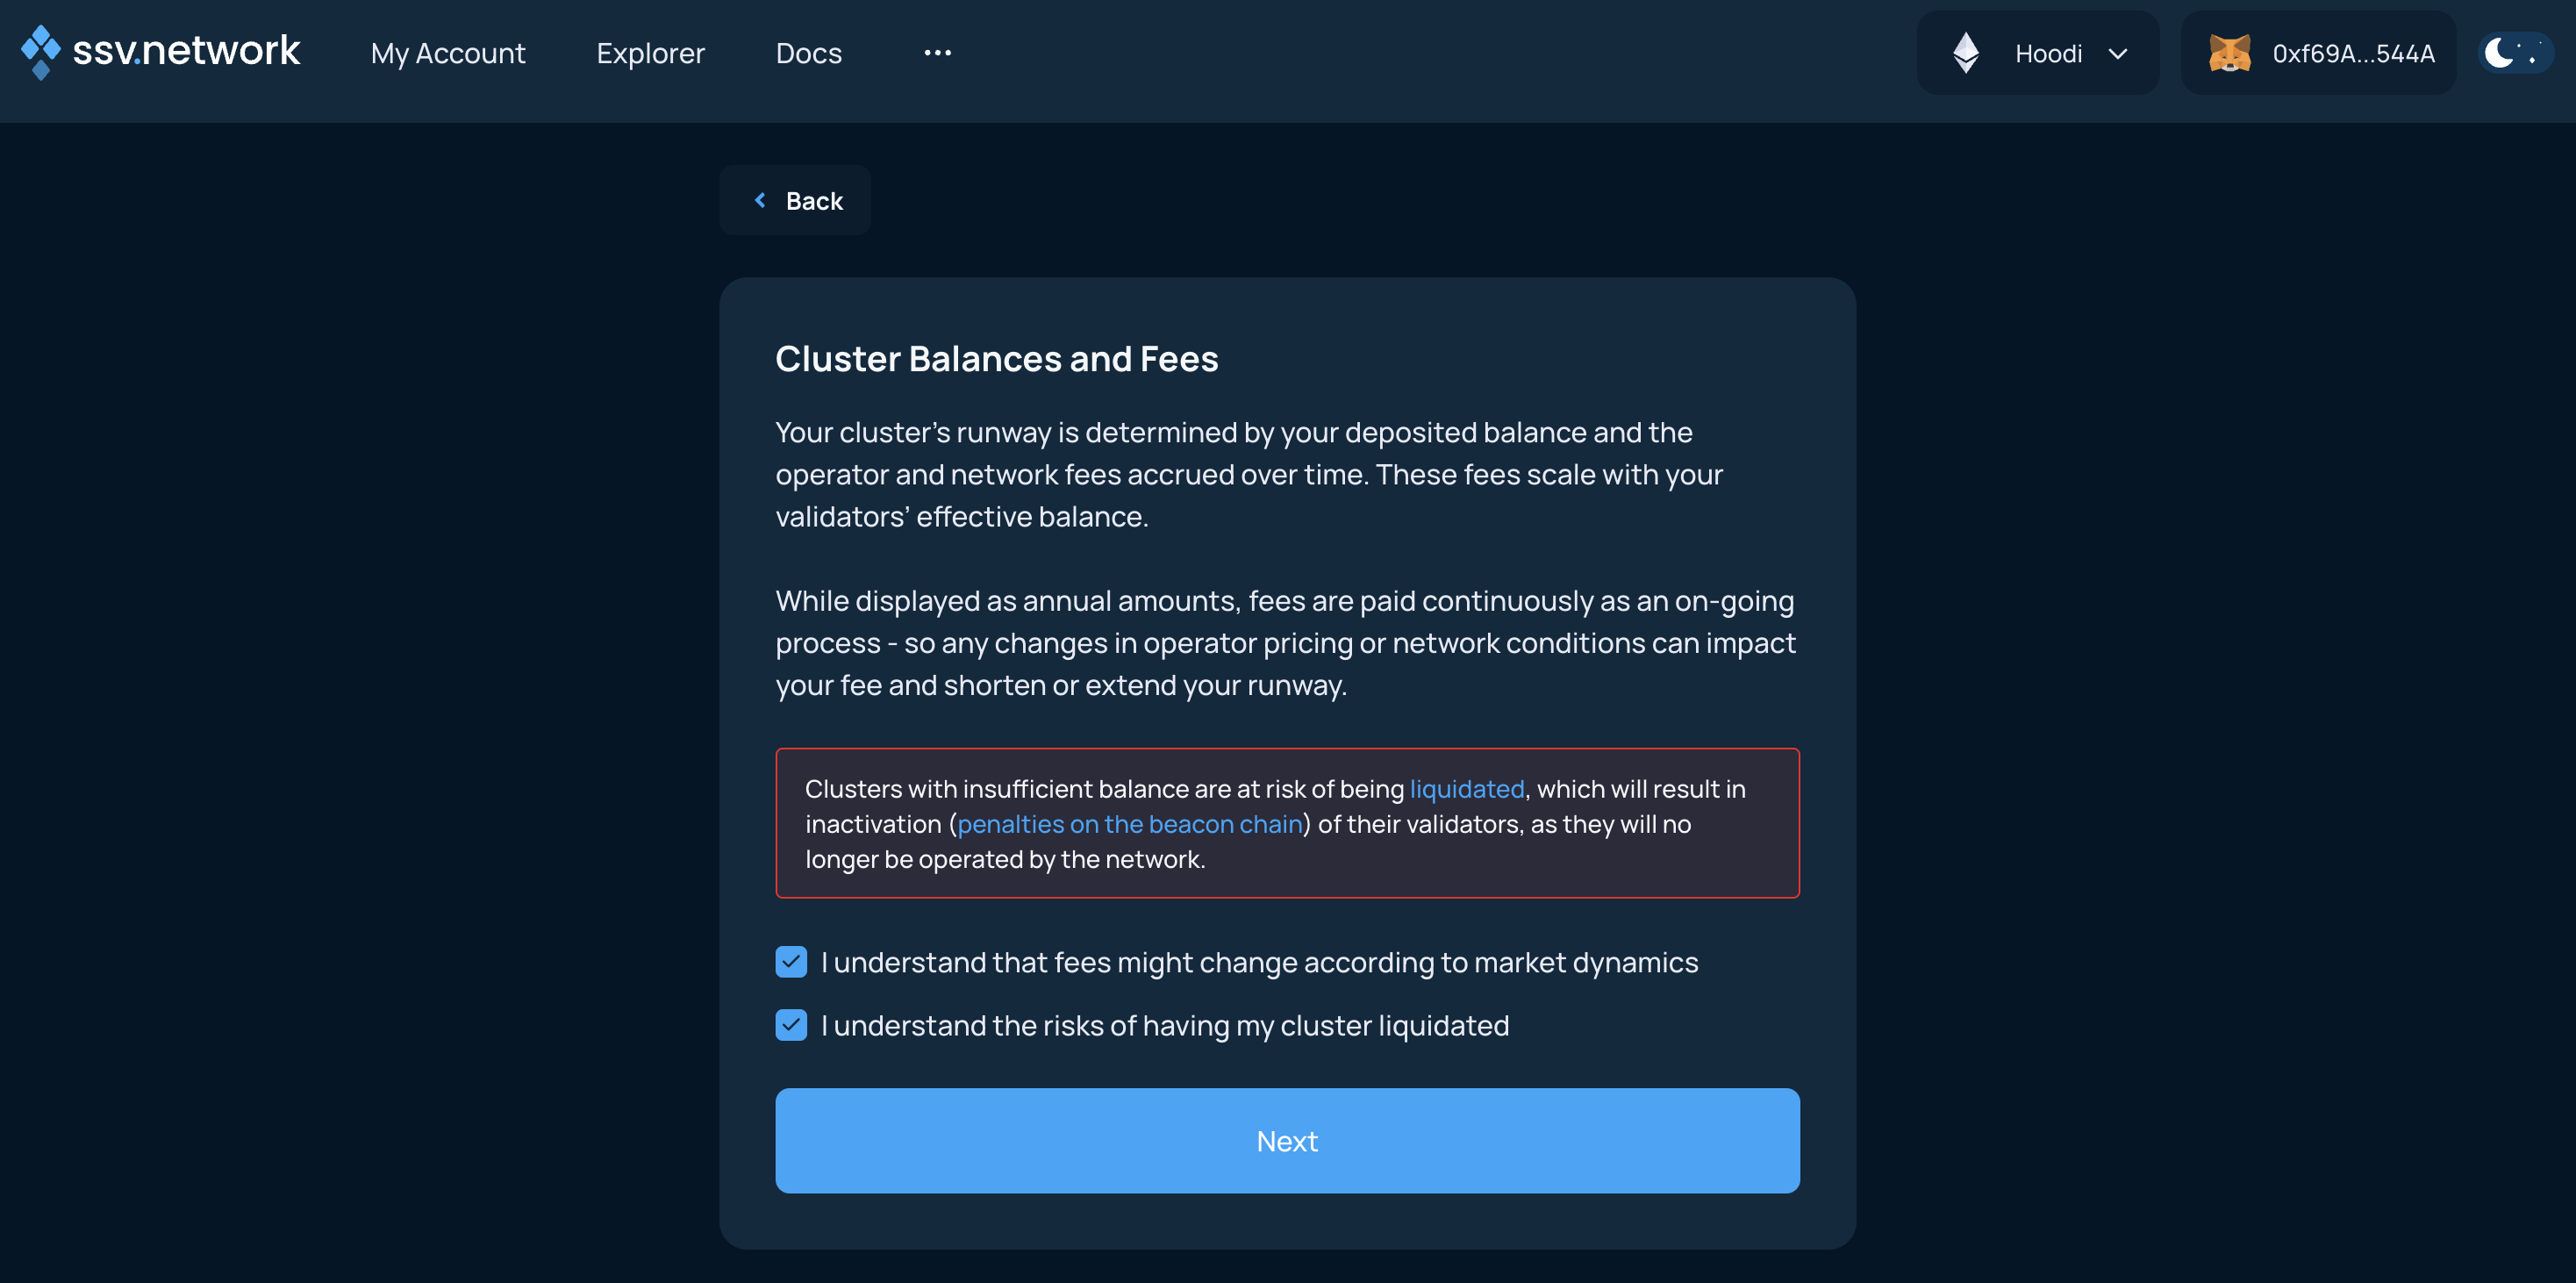
6. Enter the effective balance
Read the warning, enter the effective balance, and continue.
7. Choose the operational runway
Choose the runway based on the selected operators' yearly fee. This determines how much ETH to add to the cluster now.
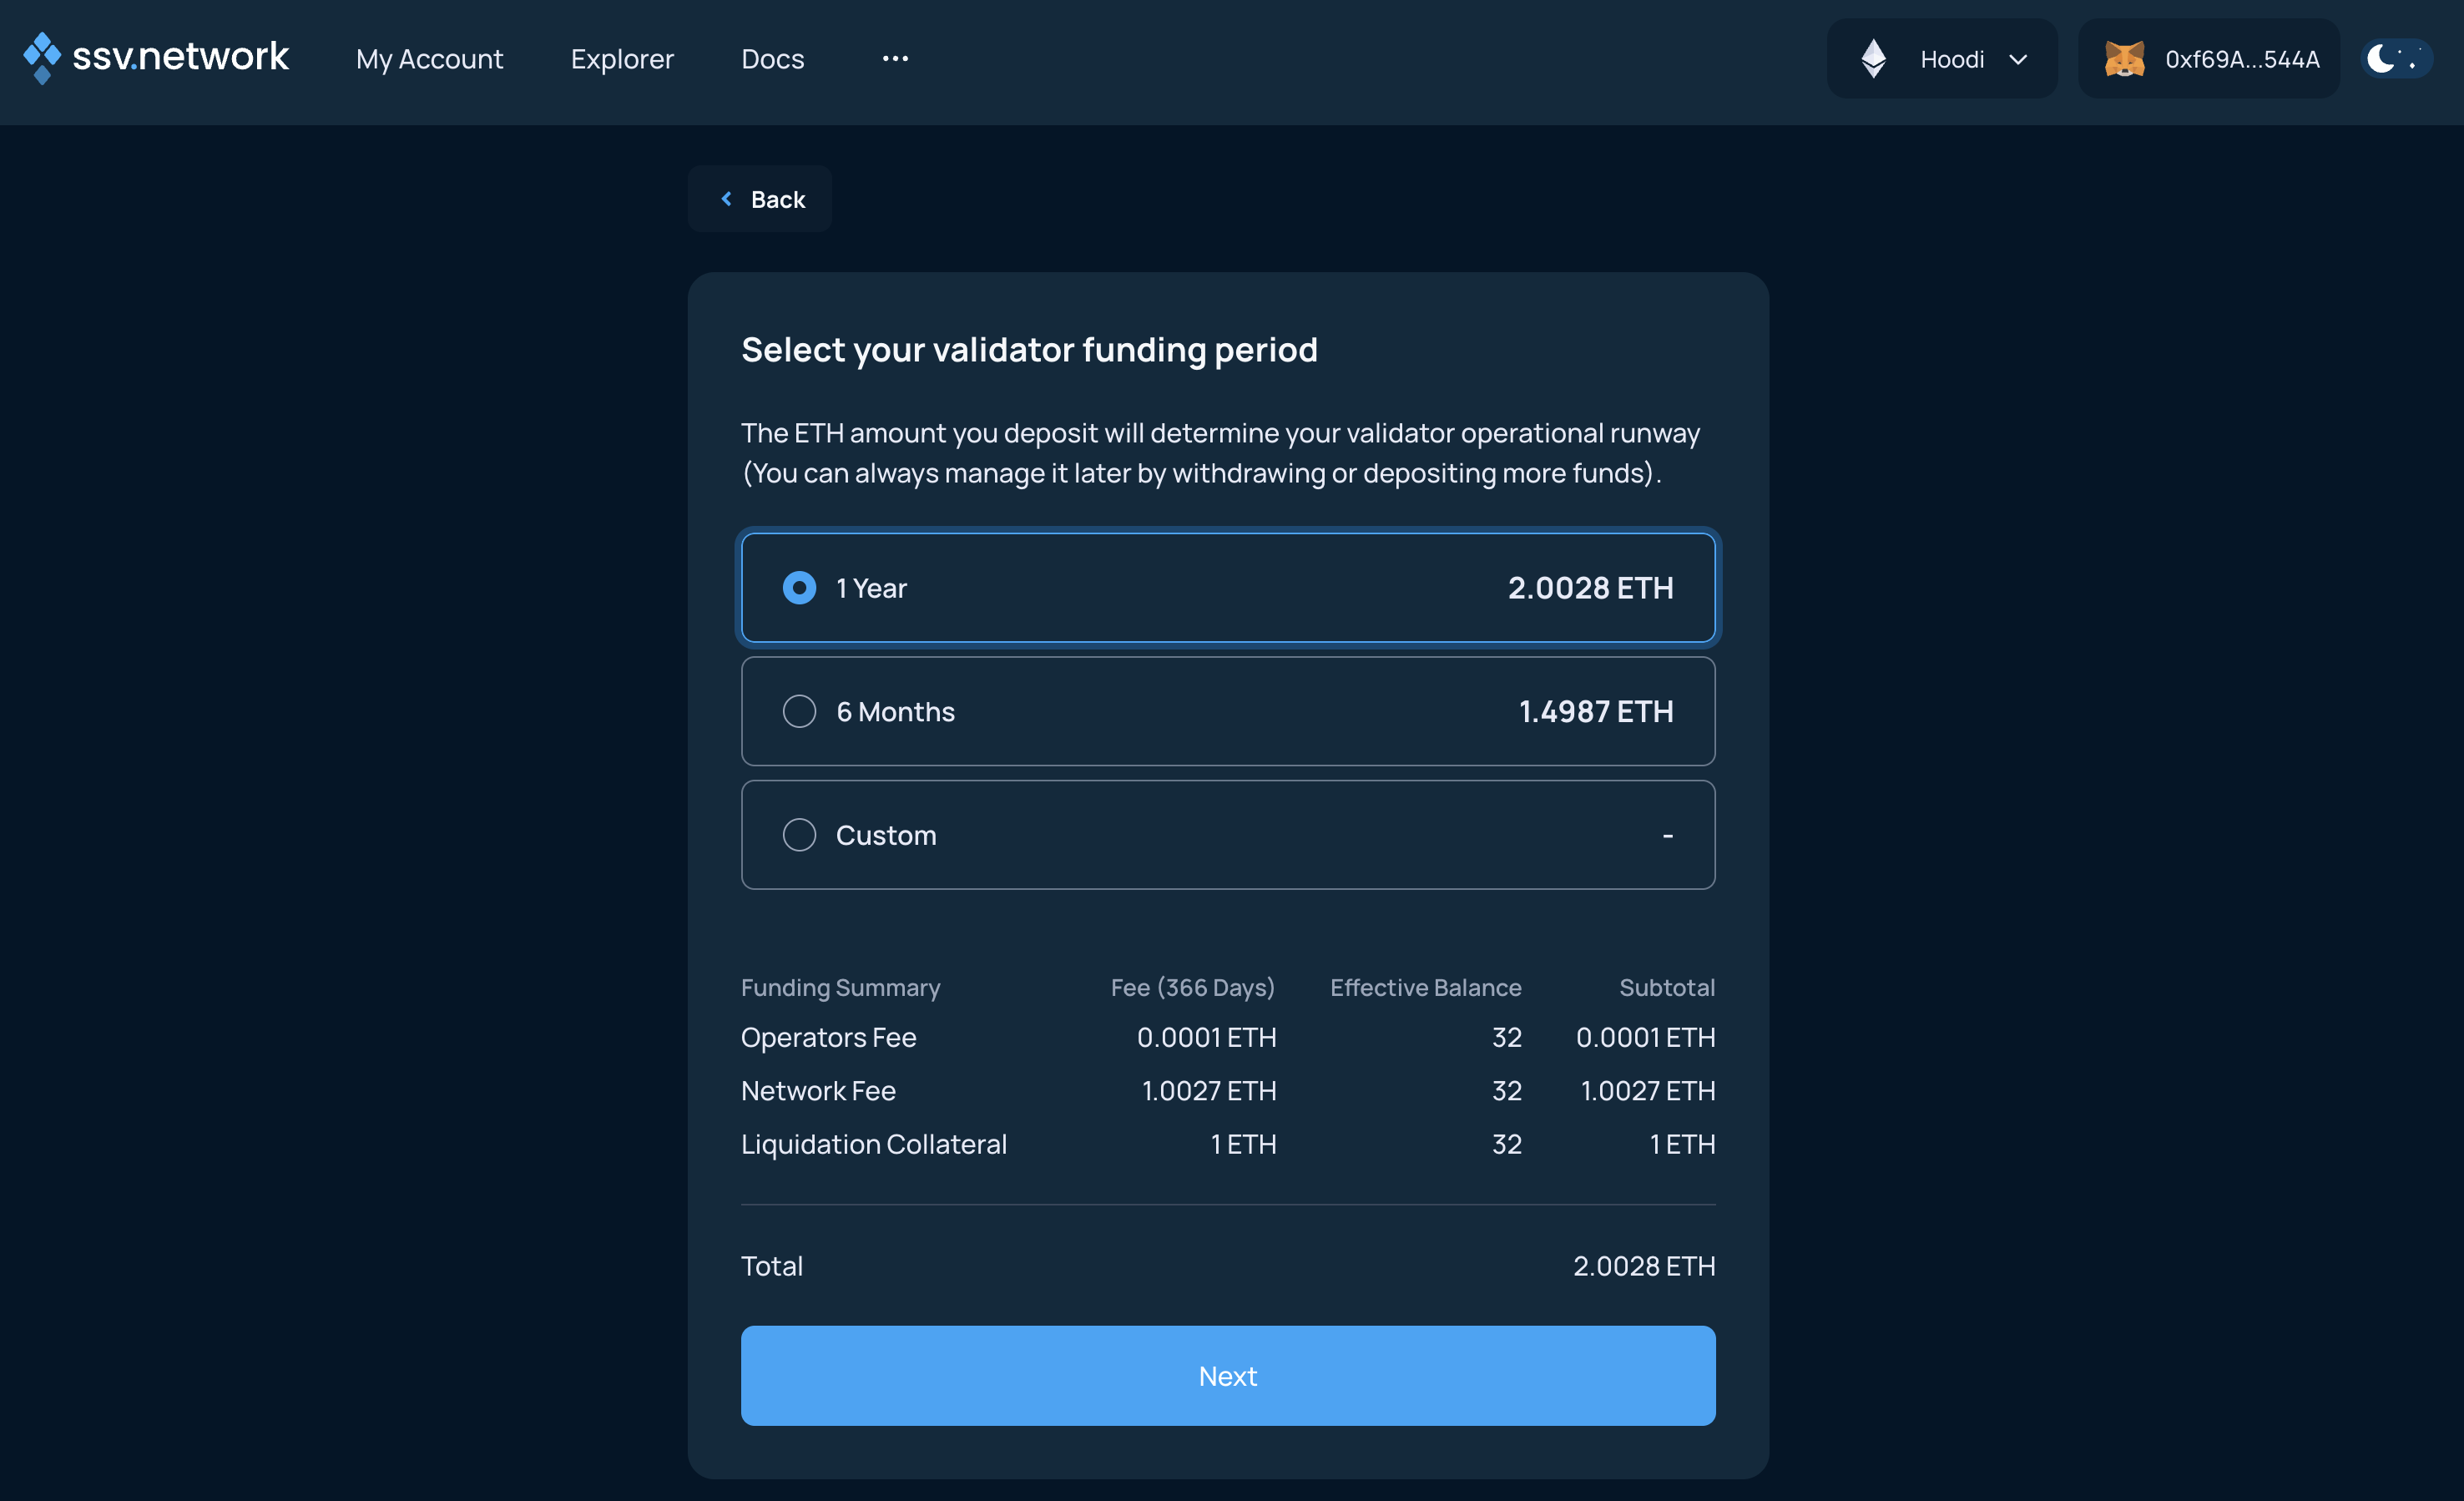
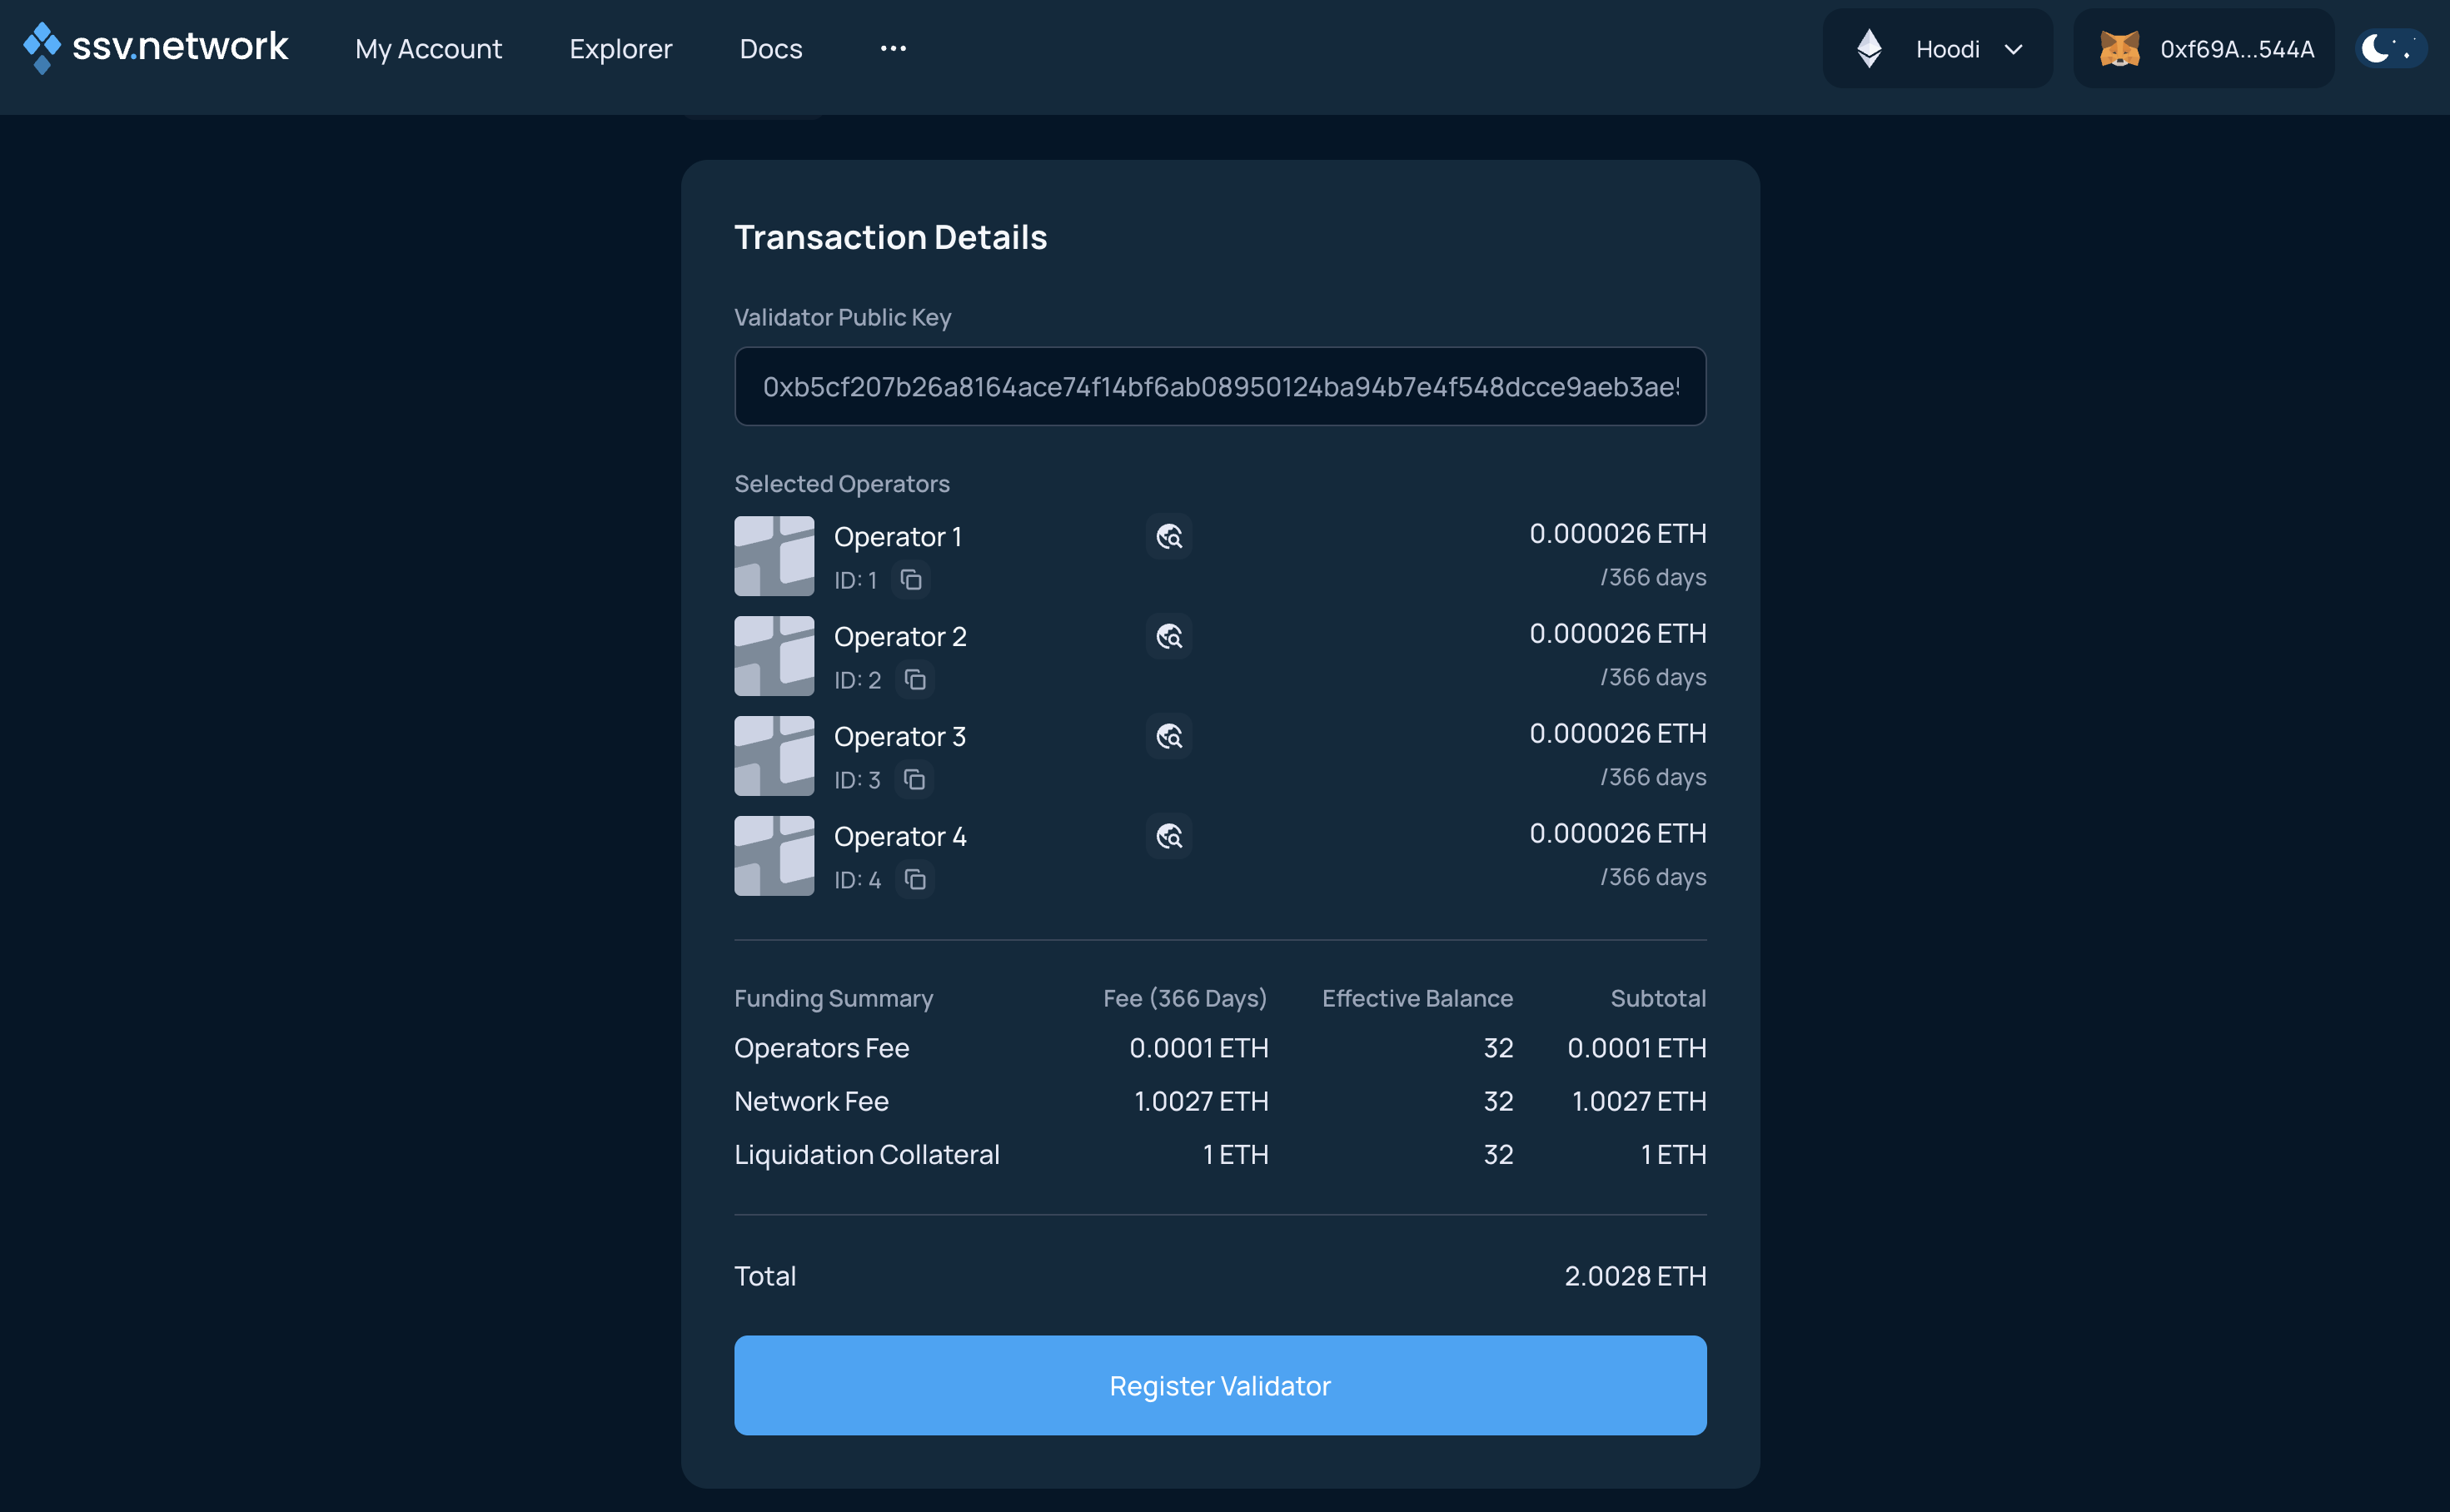
8. Review the summary
Review the validator setup and click Register Validator.
9. Sign and fund the cluster
Sign the transaction to register the validator and add ETH to the cluster balance.
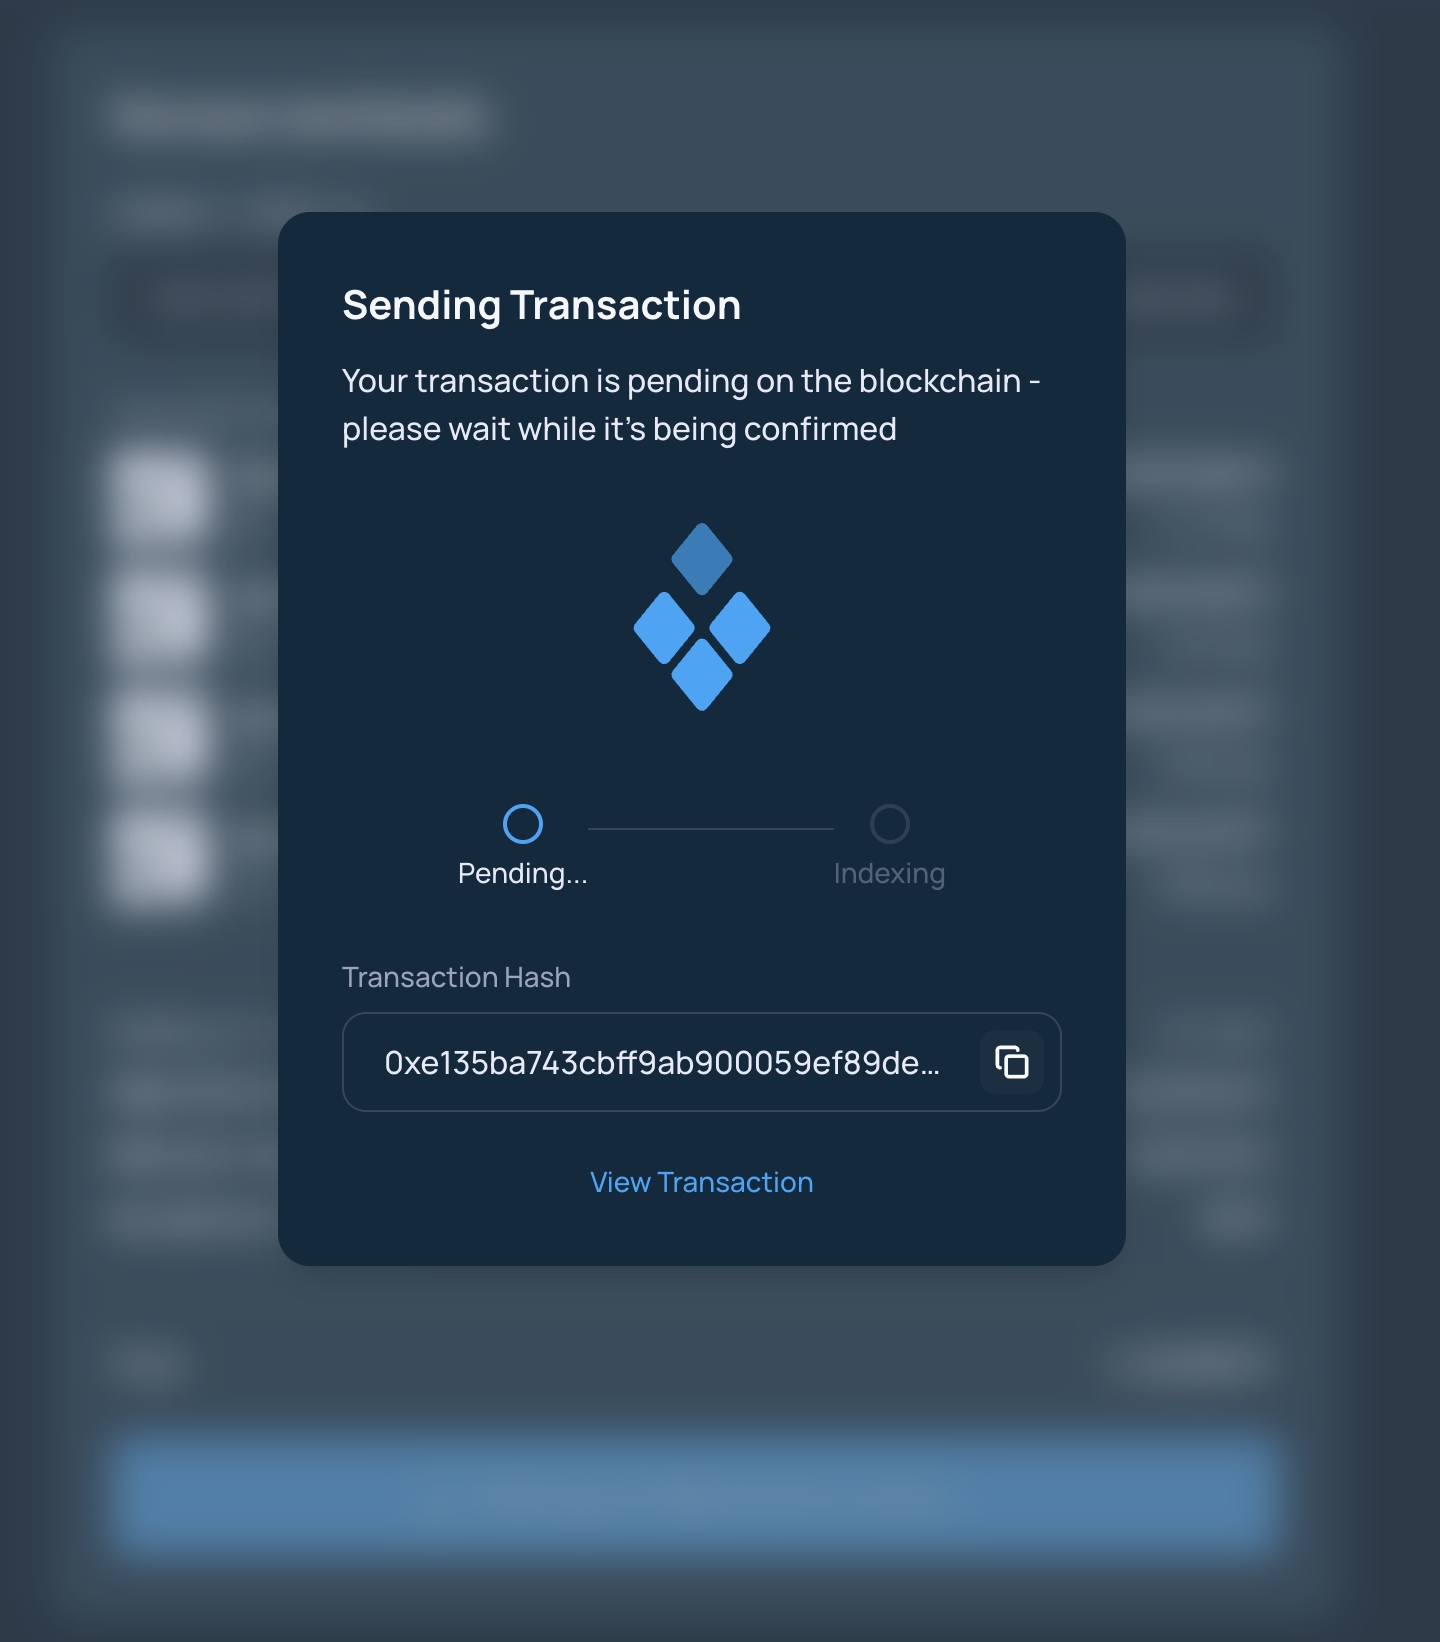
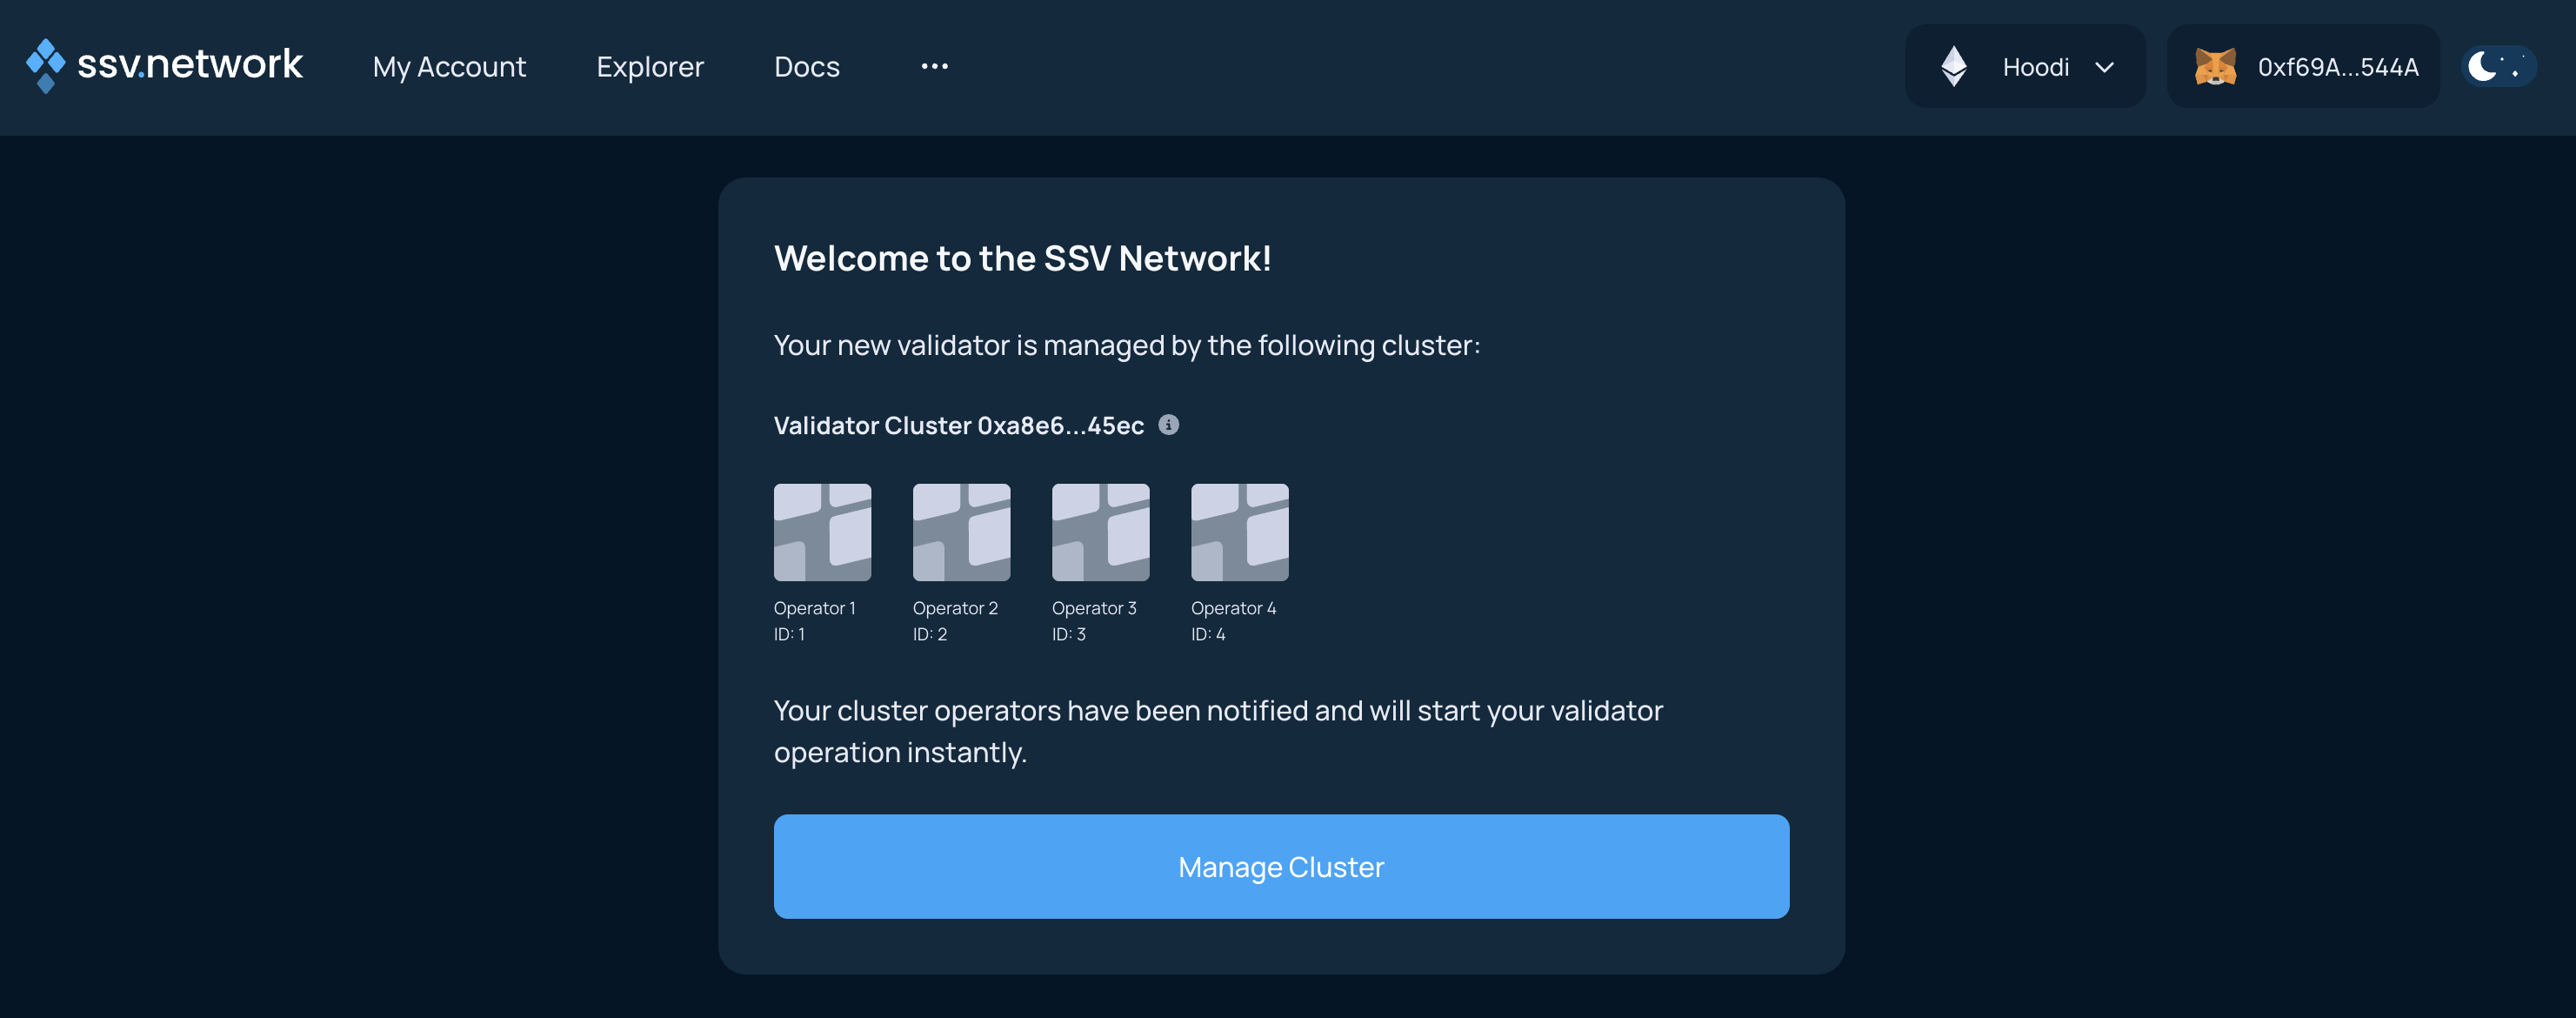
10. Confirm completion
After the transaction is confirmed, the Web App shows the updated summary screen.