Configuring a Permissioned Operator
Introduction
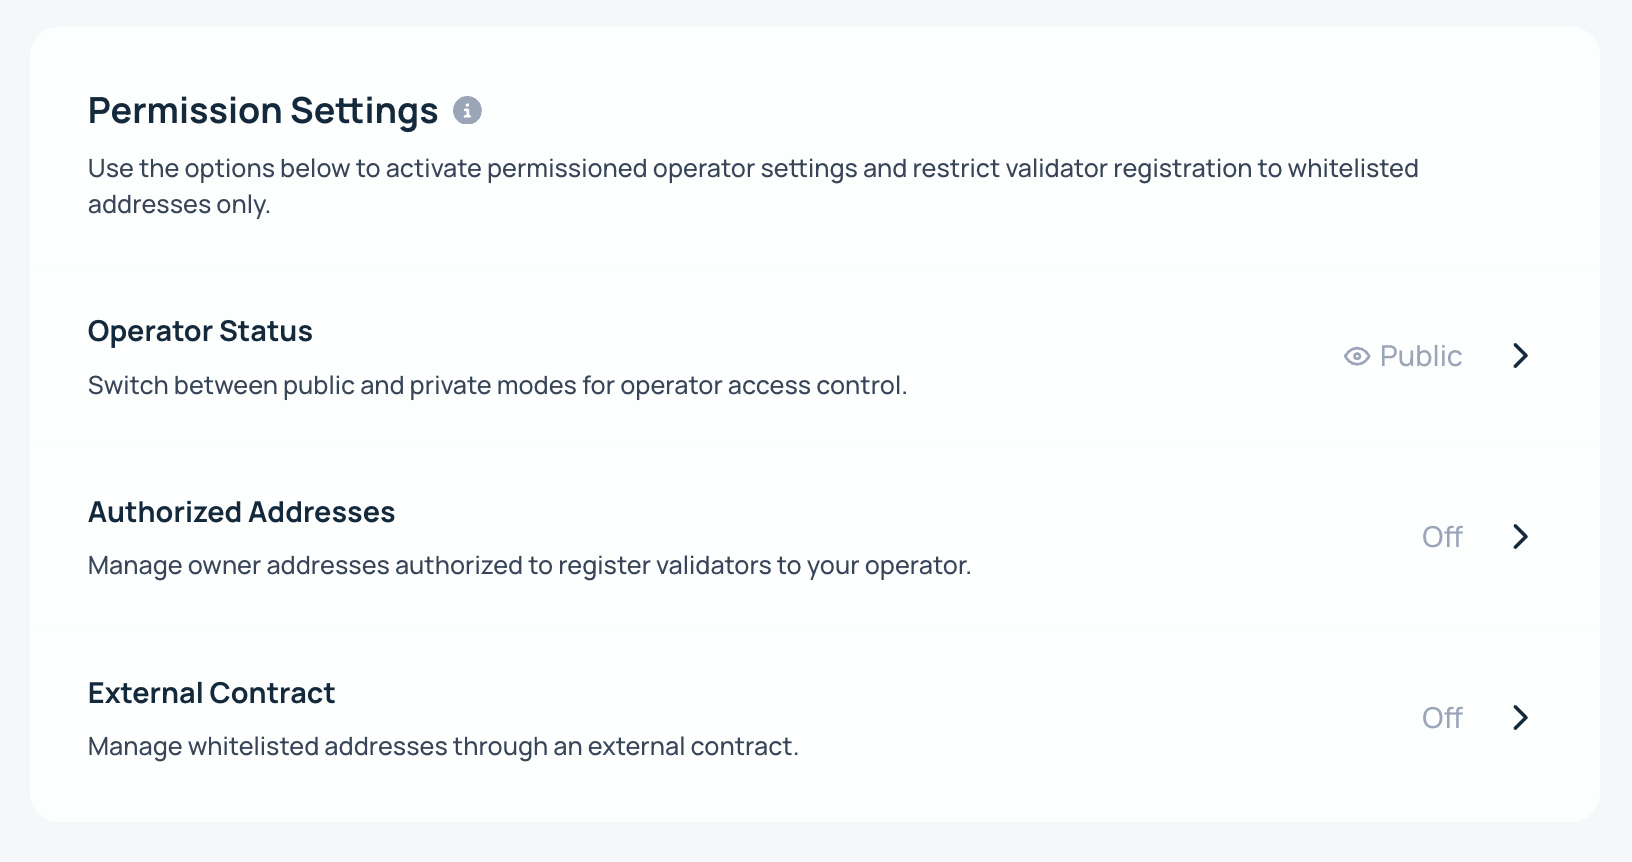
There are 3 independent permissioned settings:
- Set operator status, Public or Private
- Assign whitelisted addresses
- External smart contract to control whitelisted addresses
For example, you can set whitelisted addresses before changing the Operator status to Private. For more background, see use cases.
Connect the Web3 wallet you used to register the Operator in the Web App.
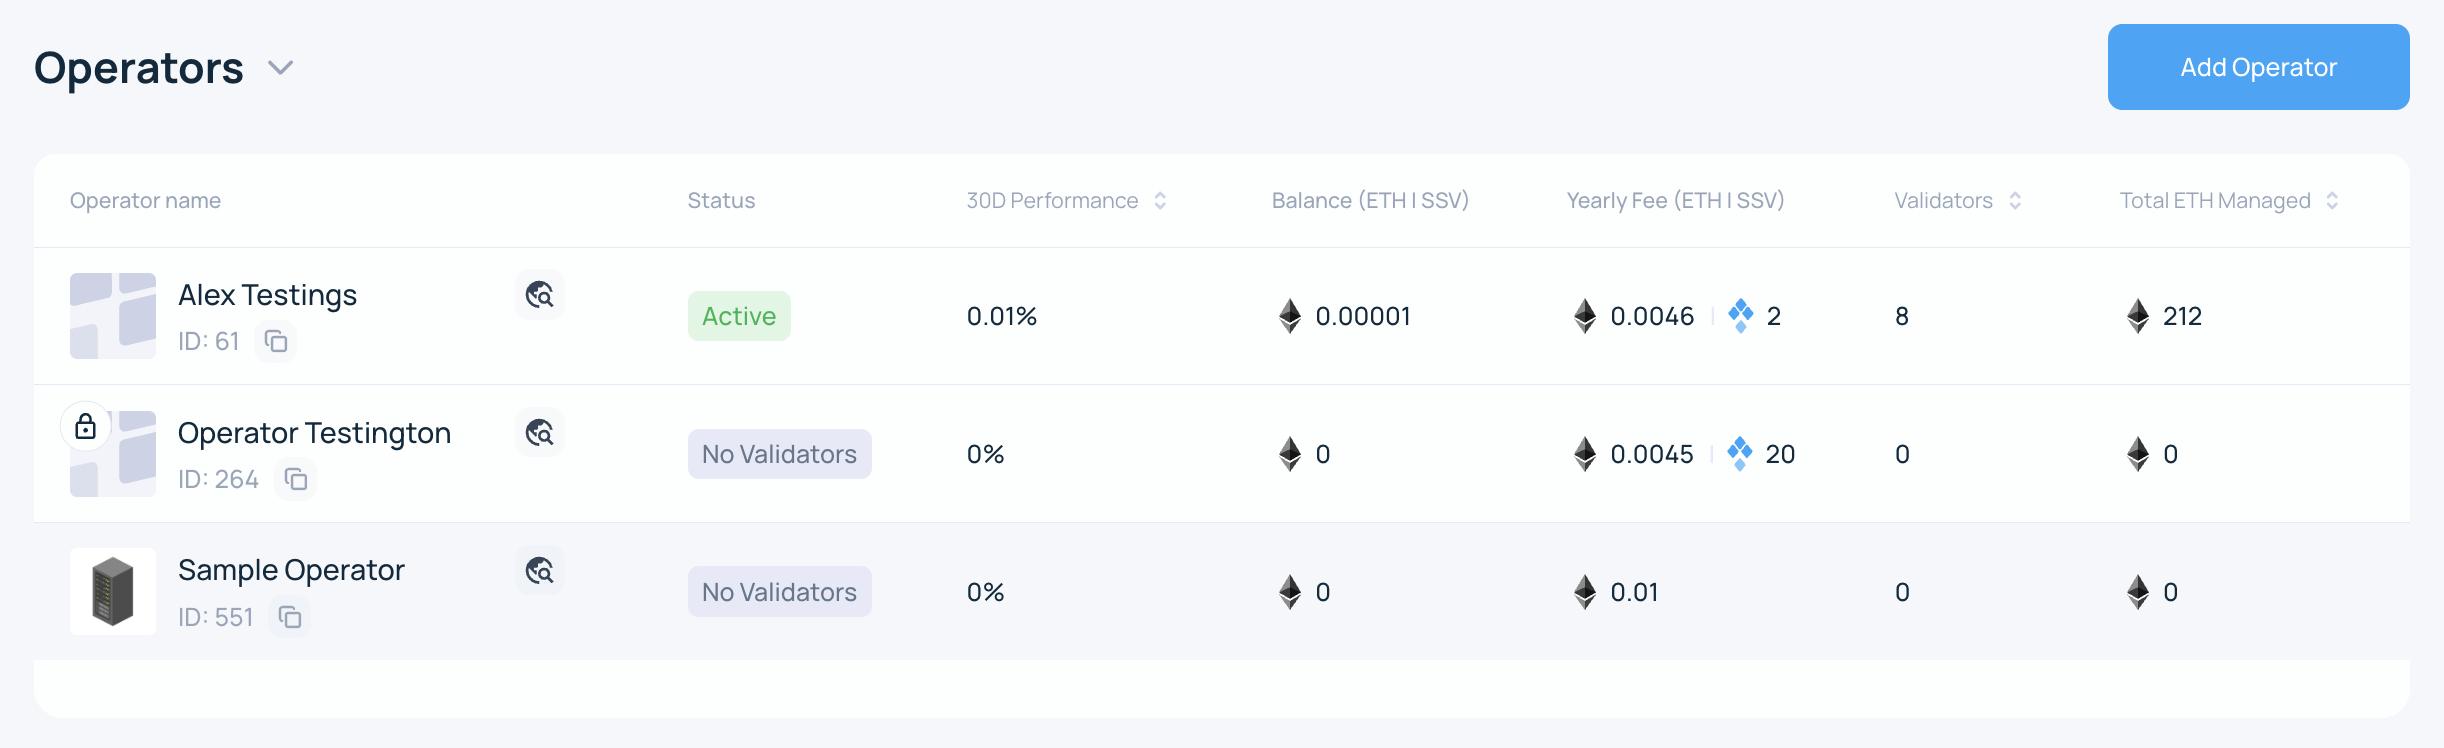
- Browse to the My Account page and select the Operator you want to update.
- Click the three vertical dots in the top-right corner, then choose Permission Settings.

Updating your Operator Status
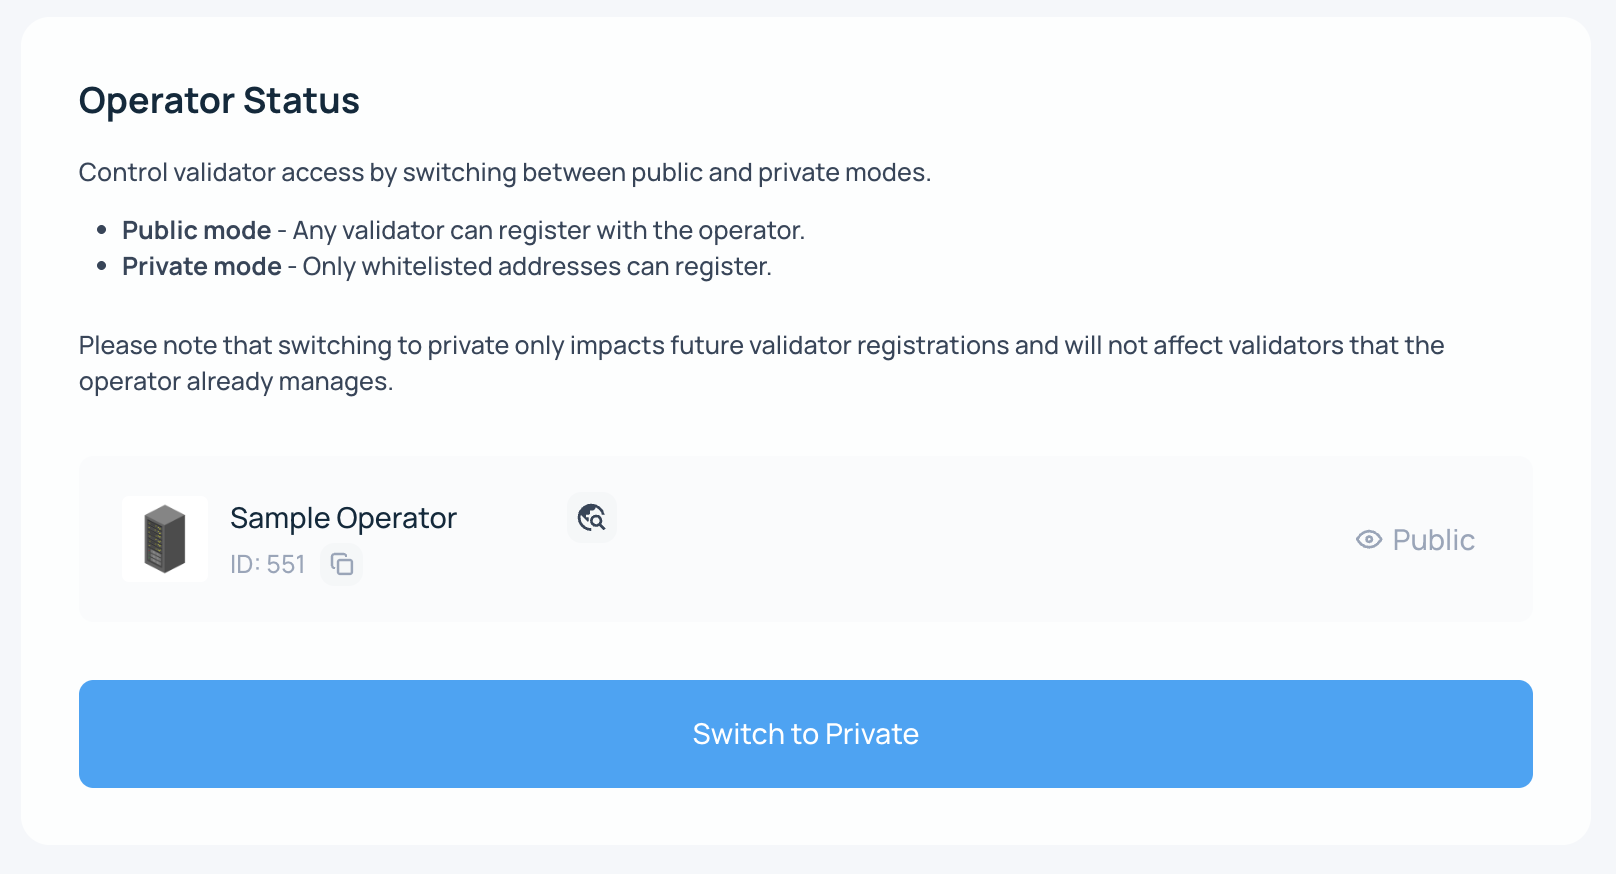
- Choose Operator Status from the list.
- Switch your Operator Status
In this example, the Operator is being changed to Private.
- Sign the transaction

- Done!
After the transaction is confirmed, the new setting is live.
To change the Operator back to Public, follow the same steps and turn the toggle off.
Adding/Removing Authorized addresses
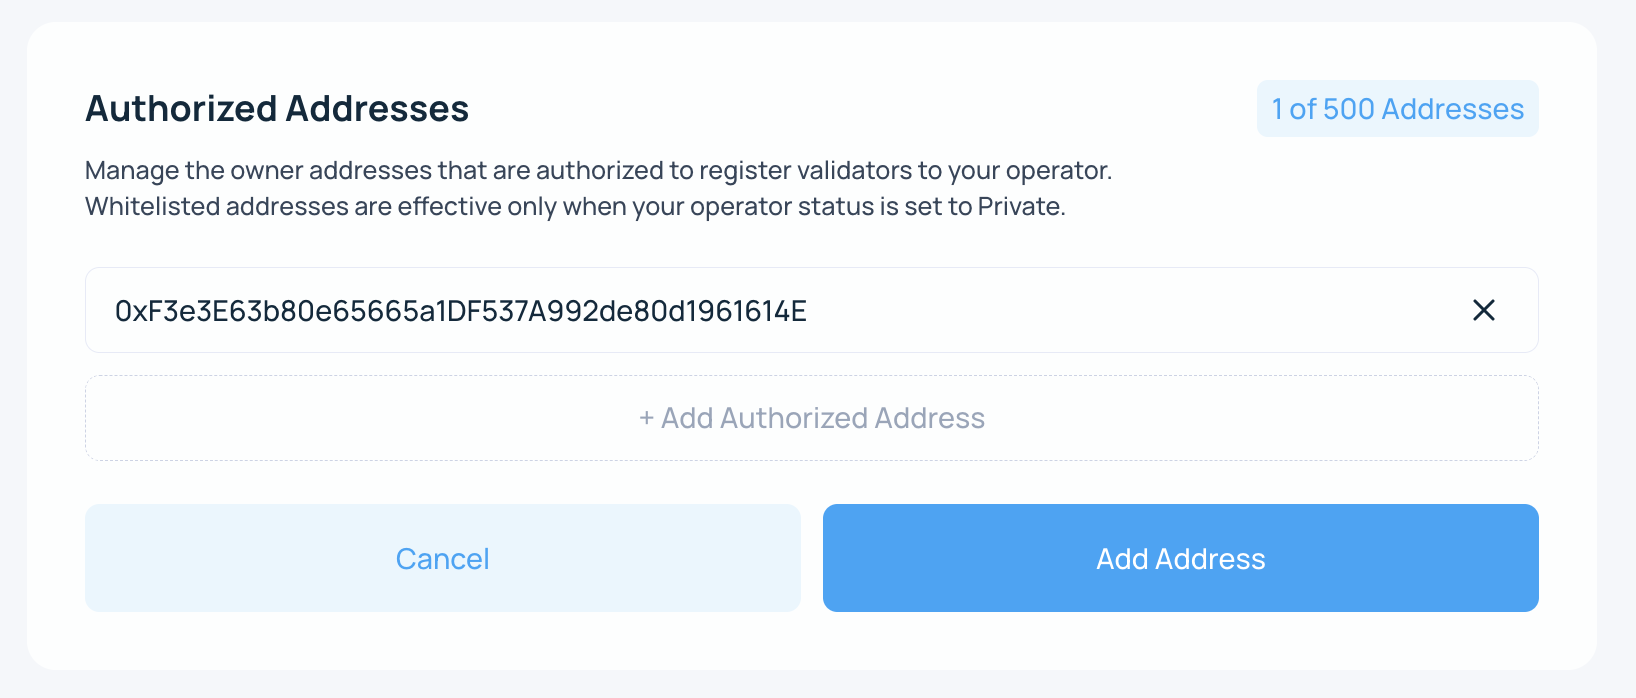
- Click on the Authorized Addresses option from the Permission Settings list
- Enter an address to whitelist
The example shows how to add one authorized address to the Operator. When ready, click "Add Address" and confirm the transaction in your wallet.
- Sign the transaction

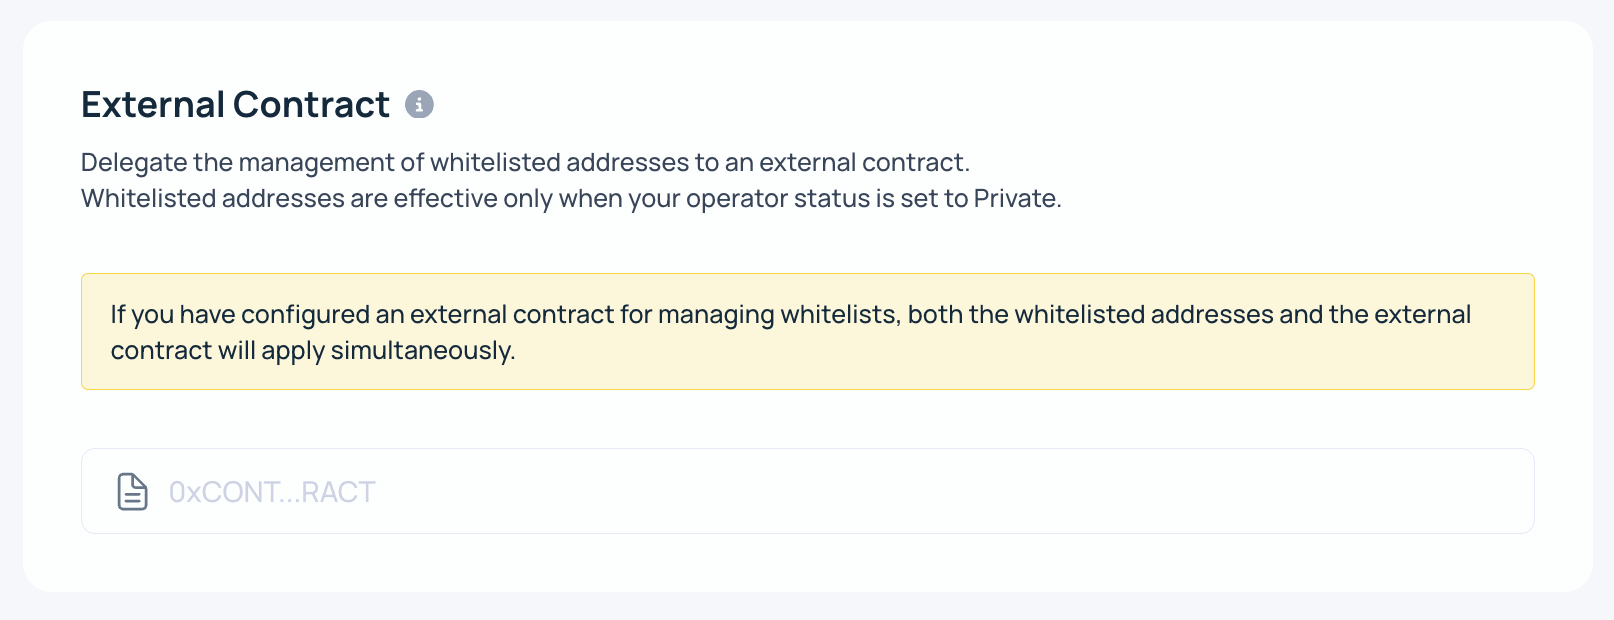
Adding an External Contract
You can also add your own whitelisting contract to manage authorized addresses. The contract must [follow these specifications](/developers/smart-contracts/external-whitelist-contract-example).
- Click on the External Contract option from the Permission Settings list
- Enter your whitelisting contract
Enter a valid whitelisting contract address and click save.
- Sign the transaction
You will be prompted to sign the transaction in your wallet. The change is saved to the SSV Network contract.